Scroll down for the French translation – Faites défiler l’écran vers le bas pour voir la traduction française de l’article.
In this week’s blog post we’re discussing first sewing projects. If you’ve been following us for a while but you’ve been holding off making your first bag, today is the day to give it a go!
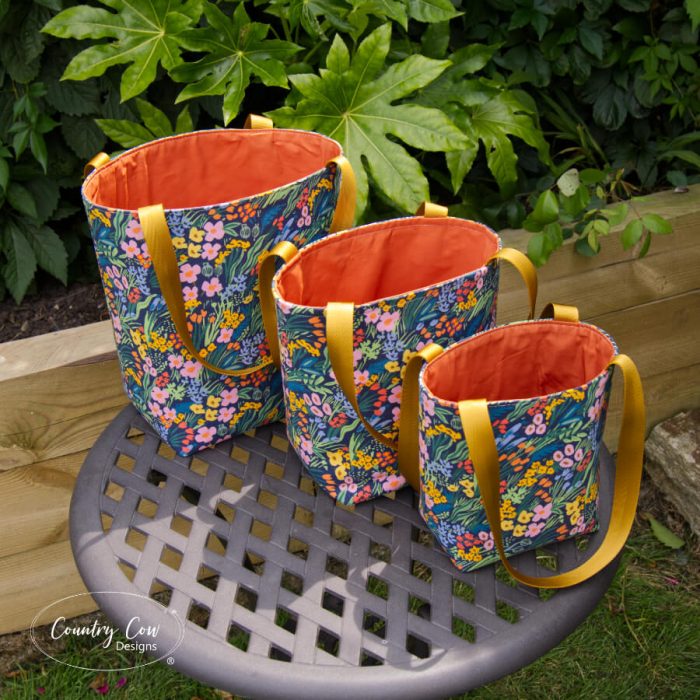
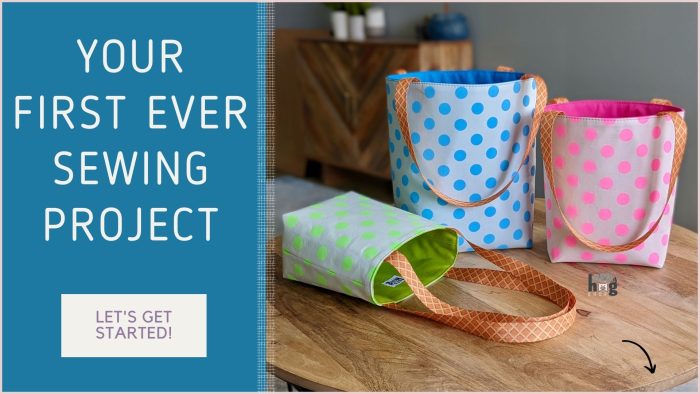
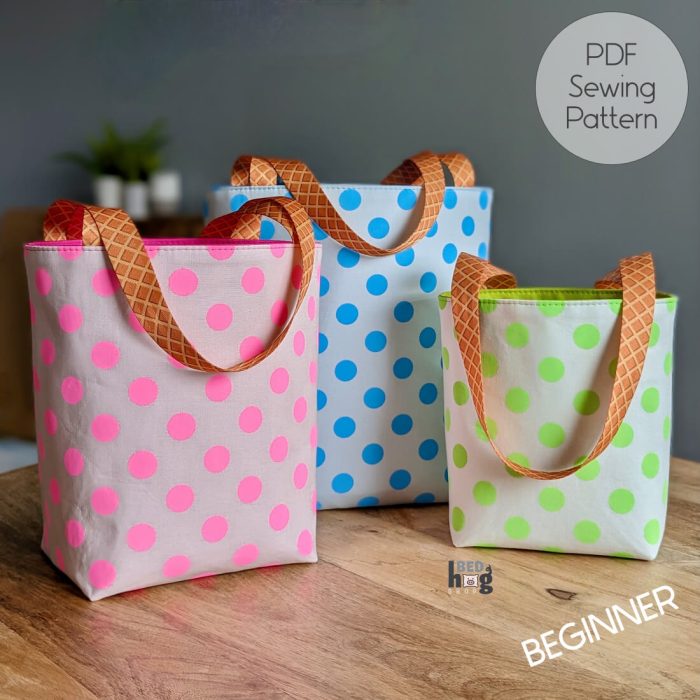
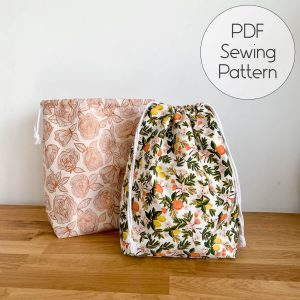
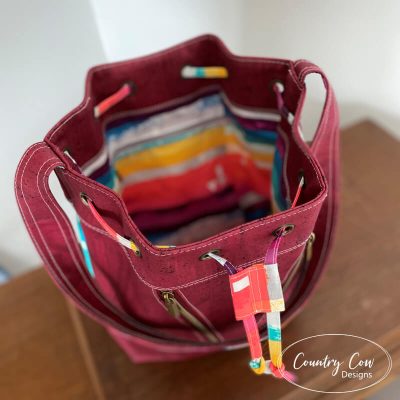
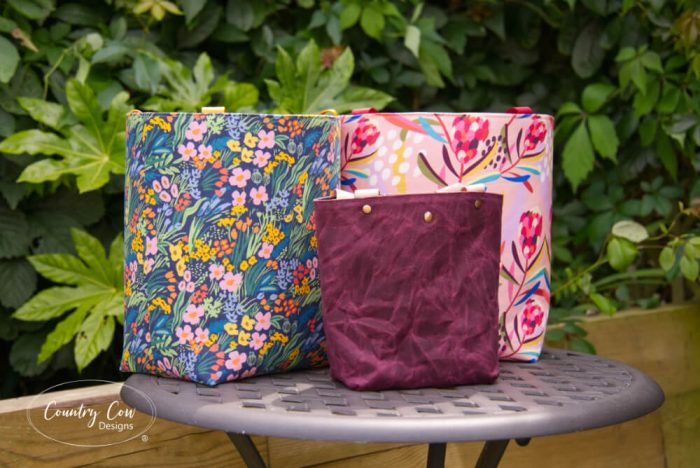
This week we’re introducing our new sewing pattern, the “My First Tote” or “MFT”. This pattern is perfect for your very first sewing project, or if you’re looking for a sewing project to make with kids. I designed this bag when my four year old niece wanted to sew with me and I needed something quick and easy that would cultivate her interest in sewing. Of course, I needed to guide her through the process, but she did almost all of the sewing herself.
Grab the MFT sewing pattern here
Bag Sewing Terminology
If this is your first ever sewing project, we’ve included a glossary to explain the sewing terminology used in the pattern and the video tutorial.
Seam Allowance: The distance between your stitch line and the edge of the fabric.
Backstitch: At the beginning of each stitch line, to secure stitches in place and ensure they don’t come loose, we sew a few stitches backward before sewing forward.
Baste: A temporary stitch to hold something in place which is usually sewn properly later. As it’s a temporary stitch we usually use a small seam allowance so it will be hidden in the seam when the bag is finished. Backstitching isn’t required.
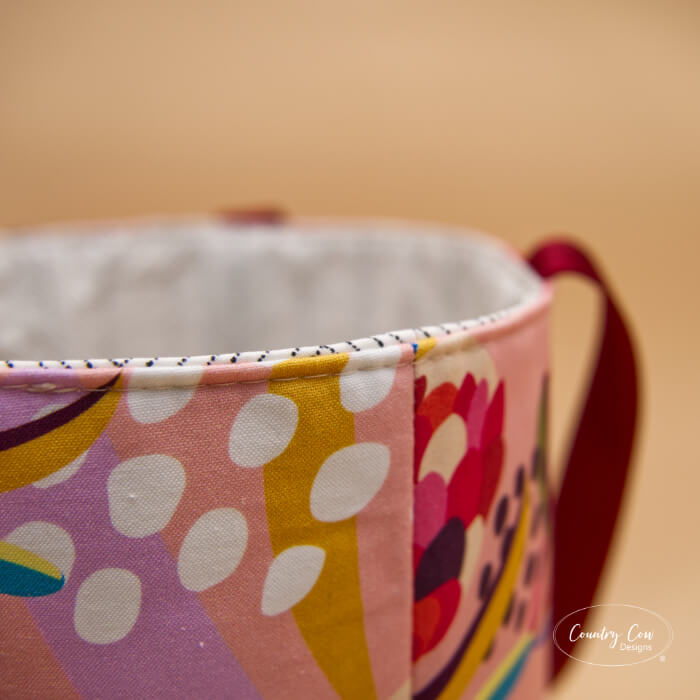
Topstitch: Sewing a row of stitches on the top side (or right side) of the bag. This is where your stitching will be on show and ideally needs to be neat.
Press: We use an iron to “press” seams open, flattening them to ensure they are neat. We also “press” the bag when it’s finished, to remove creases and give it a neater appearance. When using fabrics that you can’t iron, such as vinyl, leather or waxed canvas, you can “press” seams open with your fingers or a seam roller.
Stitch length: The length of each stitch in a seam. This is adjustable on your sewing machine and is usually measured in millimetres. We tend to use a 2-3 stitch length for construction of the bag and 4-5 stitch length for topstitching. However, this can vary depending on the materials you’re using.
Clip Together: We use wonder clips to hold two or more pieces of fabric together and ensure they stay in place when sewing.
Turning Gap: A gap left in the seam of a bag so you can turn the bag right sides out. The gap is then sewn from the outside, usually with a topstitch or by hand stitching.
RST: Right Sides Together.
WST: Wrong Sides Together.
Supplies
What materials do you need to make this bag? These supplies should all be available at your local sewing shop:
- Cotton fabrics for the exterior and lining (quilting cotton or canvas will work great)
- Medium weight fusible woven interfacing
- Fusible fleece stabiliser
- 1″ (25mm) Webbing for the handles
Other Beginner Sewing Projects
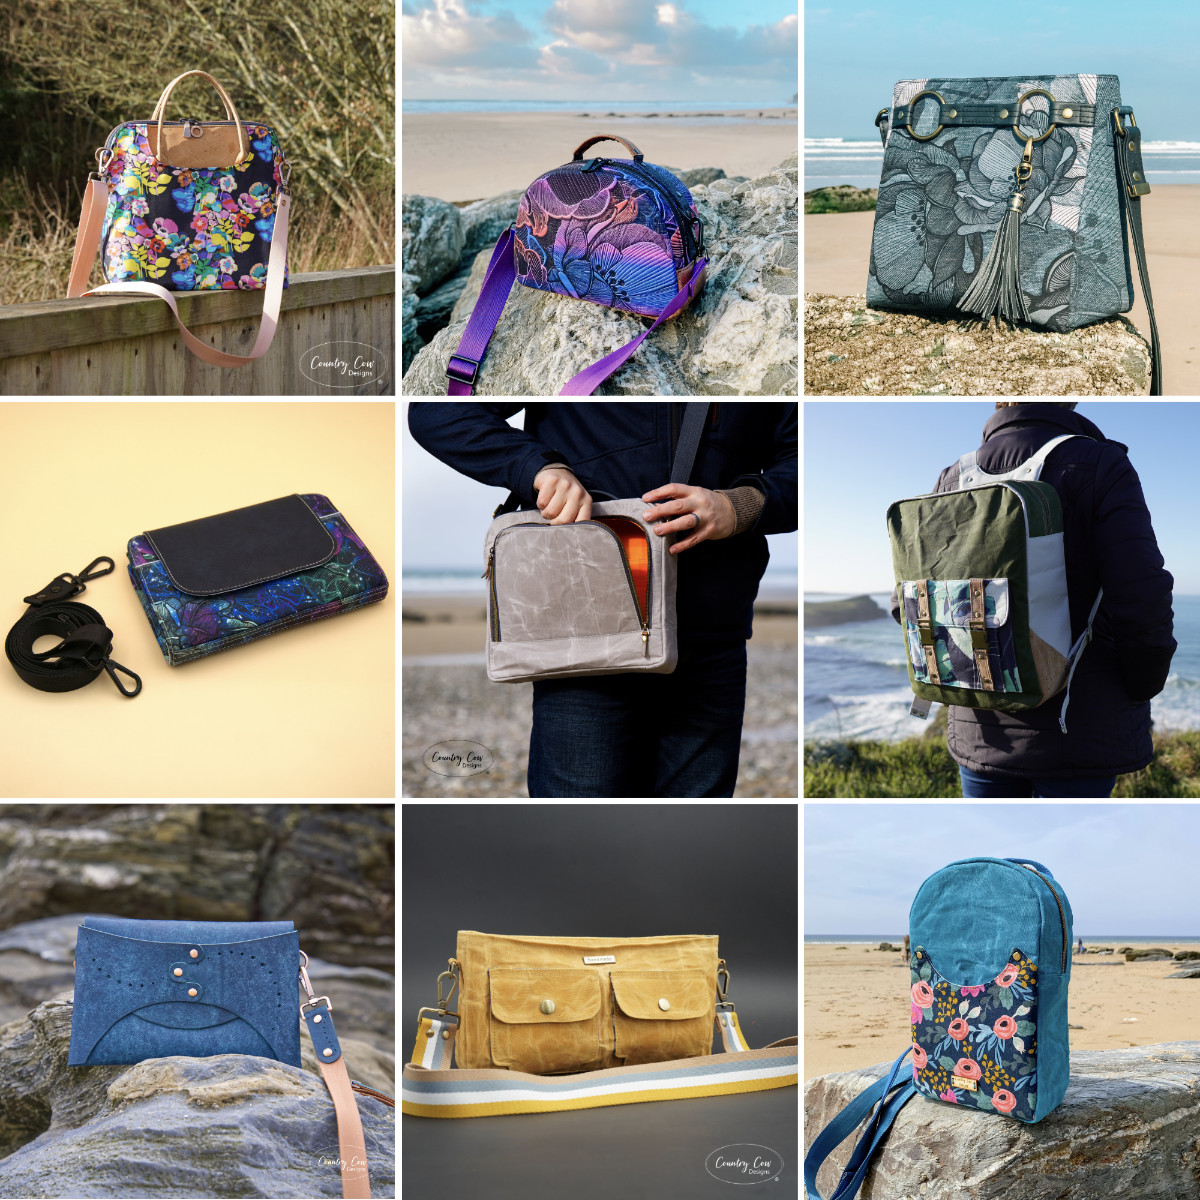
If you’re starting out sewing but this bag isn’t the one for you, check out our other first time sewing projects here:
If you’re ready for something a bit more challenging but still beginner friendly, check out these patterns:
- Teloujay 1 Crossbody Bag
- Travel Light Duffle Bag
- Roll-up Shopping Bag
- Yarnbomber Project Tote
- Deyjon Bucket Bag
WHAT DID THE PATTERN TESTERS THINK of the MFT Sewing Pattern?
“I’m confident that many beginners will absolutely love this!” – Chera Phipody
“Very fast to sew, very pleasant. I think it’s a pattern that will please kids as well as adults, beginner or not” – Sabine
“MFT is a great beginner pattern. So simple and quick to sew. Anyone can do it.” – Dunja Sije
Clear step by step instructions
It’s tough when you start sewing a project and then find the instructions aren’t quite as thorough as you’d like. It can leave us doubting what we do next and worrying we’re going to make a mistake.
As with all our patterns, we’ve included step by step photo instructions that should leave you feeling completely confident of each step.
And of course, there’s the video tutorial as a backup when pictures just aren’t working for you.
THERE’S A VIDEO FOR VISUAL LEARNERS
If you don’t enjoy learning by reading, don’t worry. There’s a full video tutorial included! In it, I cover every step of the pattern. Watch the video here.

OTHER FEATURES
- Imperial and metric measurements
- Provided in both A4 paper and letter paper sizes to ensure a smooth printing experience wherever you live in the world
- A0 pattern pieces if you prefer to use a projector or get your pattern pieces printed by a print shop
We’re confident you’re going to love this pattern and bag making in general.
Grab a copy of the pattern from our shop to get started. Leave a comment below to let us know what you love about this bag pattern. We hope you enjoy making it as much as we have and it’s our sincere hope that this will inspire many new sewists to give bag making a try!
Jo & Adam