A roll-up shopping bag is a perfect quick sewing project, but how can you make one at home? In this blog I’ll take you through the process step-by-step and show how to make a roll-up shopping bag that we’ve been using for the past few weeks. It’s the perfect DIY shopping tote.
Materials for your Roll-up Shopping Bag
As this shopping bag needs to be tough and doesn’t include a lining, we recommend a heavy waterproof canvas (WPC) for this bag. We love this WPC from Etsy. It’s very affordable but also very durable with a weight of 600 denier/20 oz. You could also make this bag using a thick canvas or waxed canvas. But we don’t recommend cotton as it won’t be as strong. Nylon or cotton webbing is perfect for the straps. We sell this in our shop. You’ll also need some leather that has a thickness of 1.2 – 2.0mm. Then you’ll need two fasteners. In this tutorial we’ll be using rivet magnetic snaps. As we’ll be sewing leather, we recommend using an industrial sewing machine or a capable straight stitch machine. If you’re using a domestic sewing machine, make sure you use an appropriate leather needle for the leather parts. I made each of my bags on my Sailrite Fabricator.
Watch this quick YouTube Short to see how I made this
Measurements to Cut
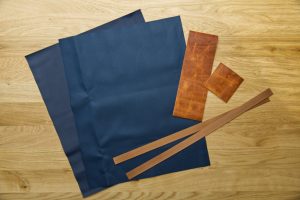
Waterproof Canvas for the Main panel x 2 (17” x 24”)
Nylon/Cotton 1” Wide Webbing x 2 (24” long)
Leather panel x 1 (4” x 12”)
Leather Panel x 1 (4”x 4”)
You’ll also need two fasteners – rivet backed magnetic snaps are easiest but you’ll need the appropriate tool to set them.
Instructions to Make Your Shopping Bag
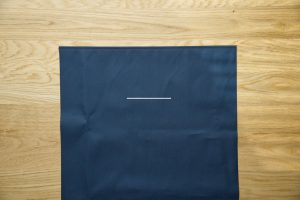
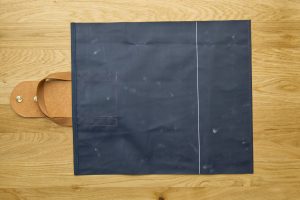
On both main panels, mark a line 1” down from the top edge.
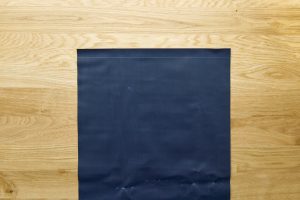
Fold the top of the panel to this line. Then fold it again so the top raw edge is hidden. Topstitch to hold it in place using ¼” seam allowance (SA). Do this for both main panels.
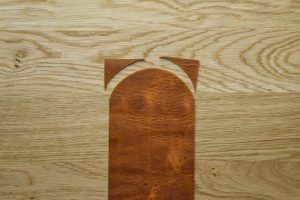
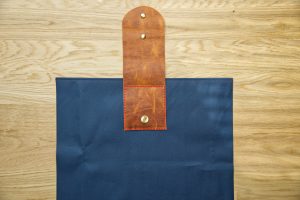
Take the largest piece of leather and shape one end into a curve.
For these instructions we’re using rivet backed magnetic snaps for the fasteners. One side has a rivet and the other side has the fastener (male/female magnetic snap).
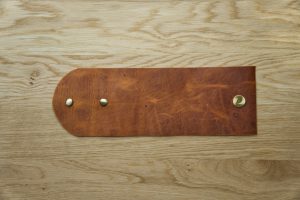
Make a centred mark 1” and 3” down from the curved edge of the leather panel. Use these marks to fit the male pieces of each fastener. The fasteners should be fitted on the wrong side of the leather (so the rivet is on the right side of the leather). Now mark 1” from the short straight side. Use this mark to fit one of the female fastener pieces which should be fitted on the right side of the leather.
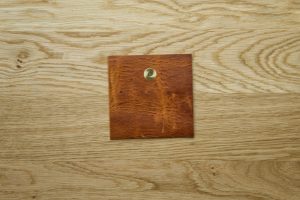
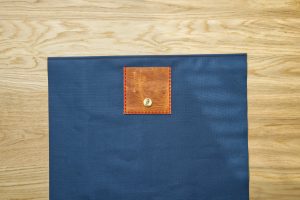
On the smaller piece of leather, mark 1” down from any edge (this piece is square). Use this mark to fit the remaining female fastener. The female fastener should be on the right side of the leather.
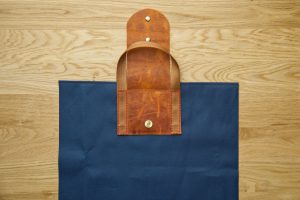
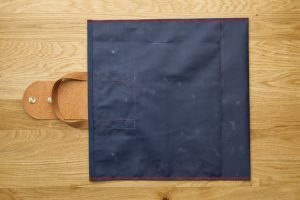
On one of the main panels mark a line 4″ wide, located 5” down from the top edge and centred. Use double side tape (DST) or fabric glue to attach the larger leather panel onto this main panel. The straight edge of the leather should be sitting on the line you drew. Sew this on with a box using 1/8” SA, stopping approximately 1″ from the top edge of the main panel.
On the remaining main panel, mark a line 4″ wide, located 5” down from the top edge and centred. Use DST or fabric glue to attach the smaller leather panel onto this main panel. The edge with the female magnetic snap should be positioned on the line you drew. Sew with 1/8″ SA on the sides and bottom only. Leave the top open to create a small pocket. This can be handy for your £1 coin trolley coin (hopefully that’s not just a British thing?)
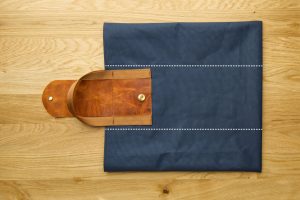
On both of the straps, mark 2” in from each end. Fold the ends of the straps to these marks and use DST or fabric glue to hold them in place.
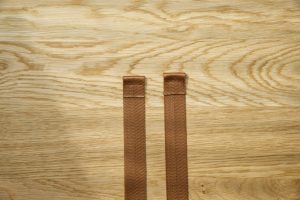
Place each end of a strap alongside the large leather panel. Sew a box using 1/8″ SA to secure the straps to the main panel. The top edge of the box stitching should be in line with the top edge of the leather panel. Repeat with the remaining main panel and strap.

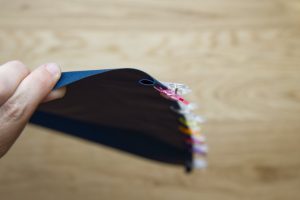
Place both main panels RST together and sew the bottom edge with ¼” SA. For added strength, sew a second line with 1/8″ SA.

Mark a line 6” up from the bottom on the WS on one of the panels. Fold the bottom edge of the main panels (the edge you just sewed) up to this line and clip it in place. Use a seam roller to help crease the material.
Sew both sides of the main panels together with ¼” SA (and also 1/8″ SA if you want to add strength). The bottom edge is still folded up at this point.
Turn the bag out and again use a seam roller to press the seams flat. Now fold the bag along the lines shown in the picture. Use a seam roller to press a neat crease. The sides of the bag fold inward on these lines before it rolls up.
Roll up the bag tight and secure with the fastener. You’re now ready to take your bag to the shops!
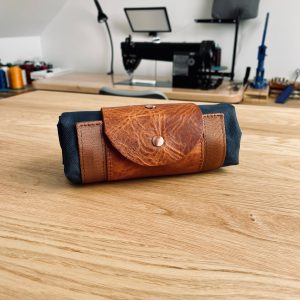
To make it easy to carry when it’s empty, just leave the handles out when you roll it up.
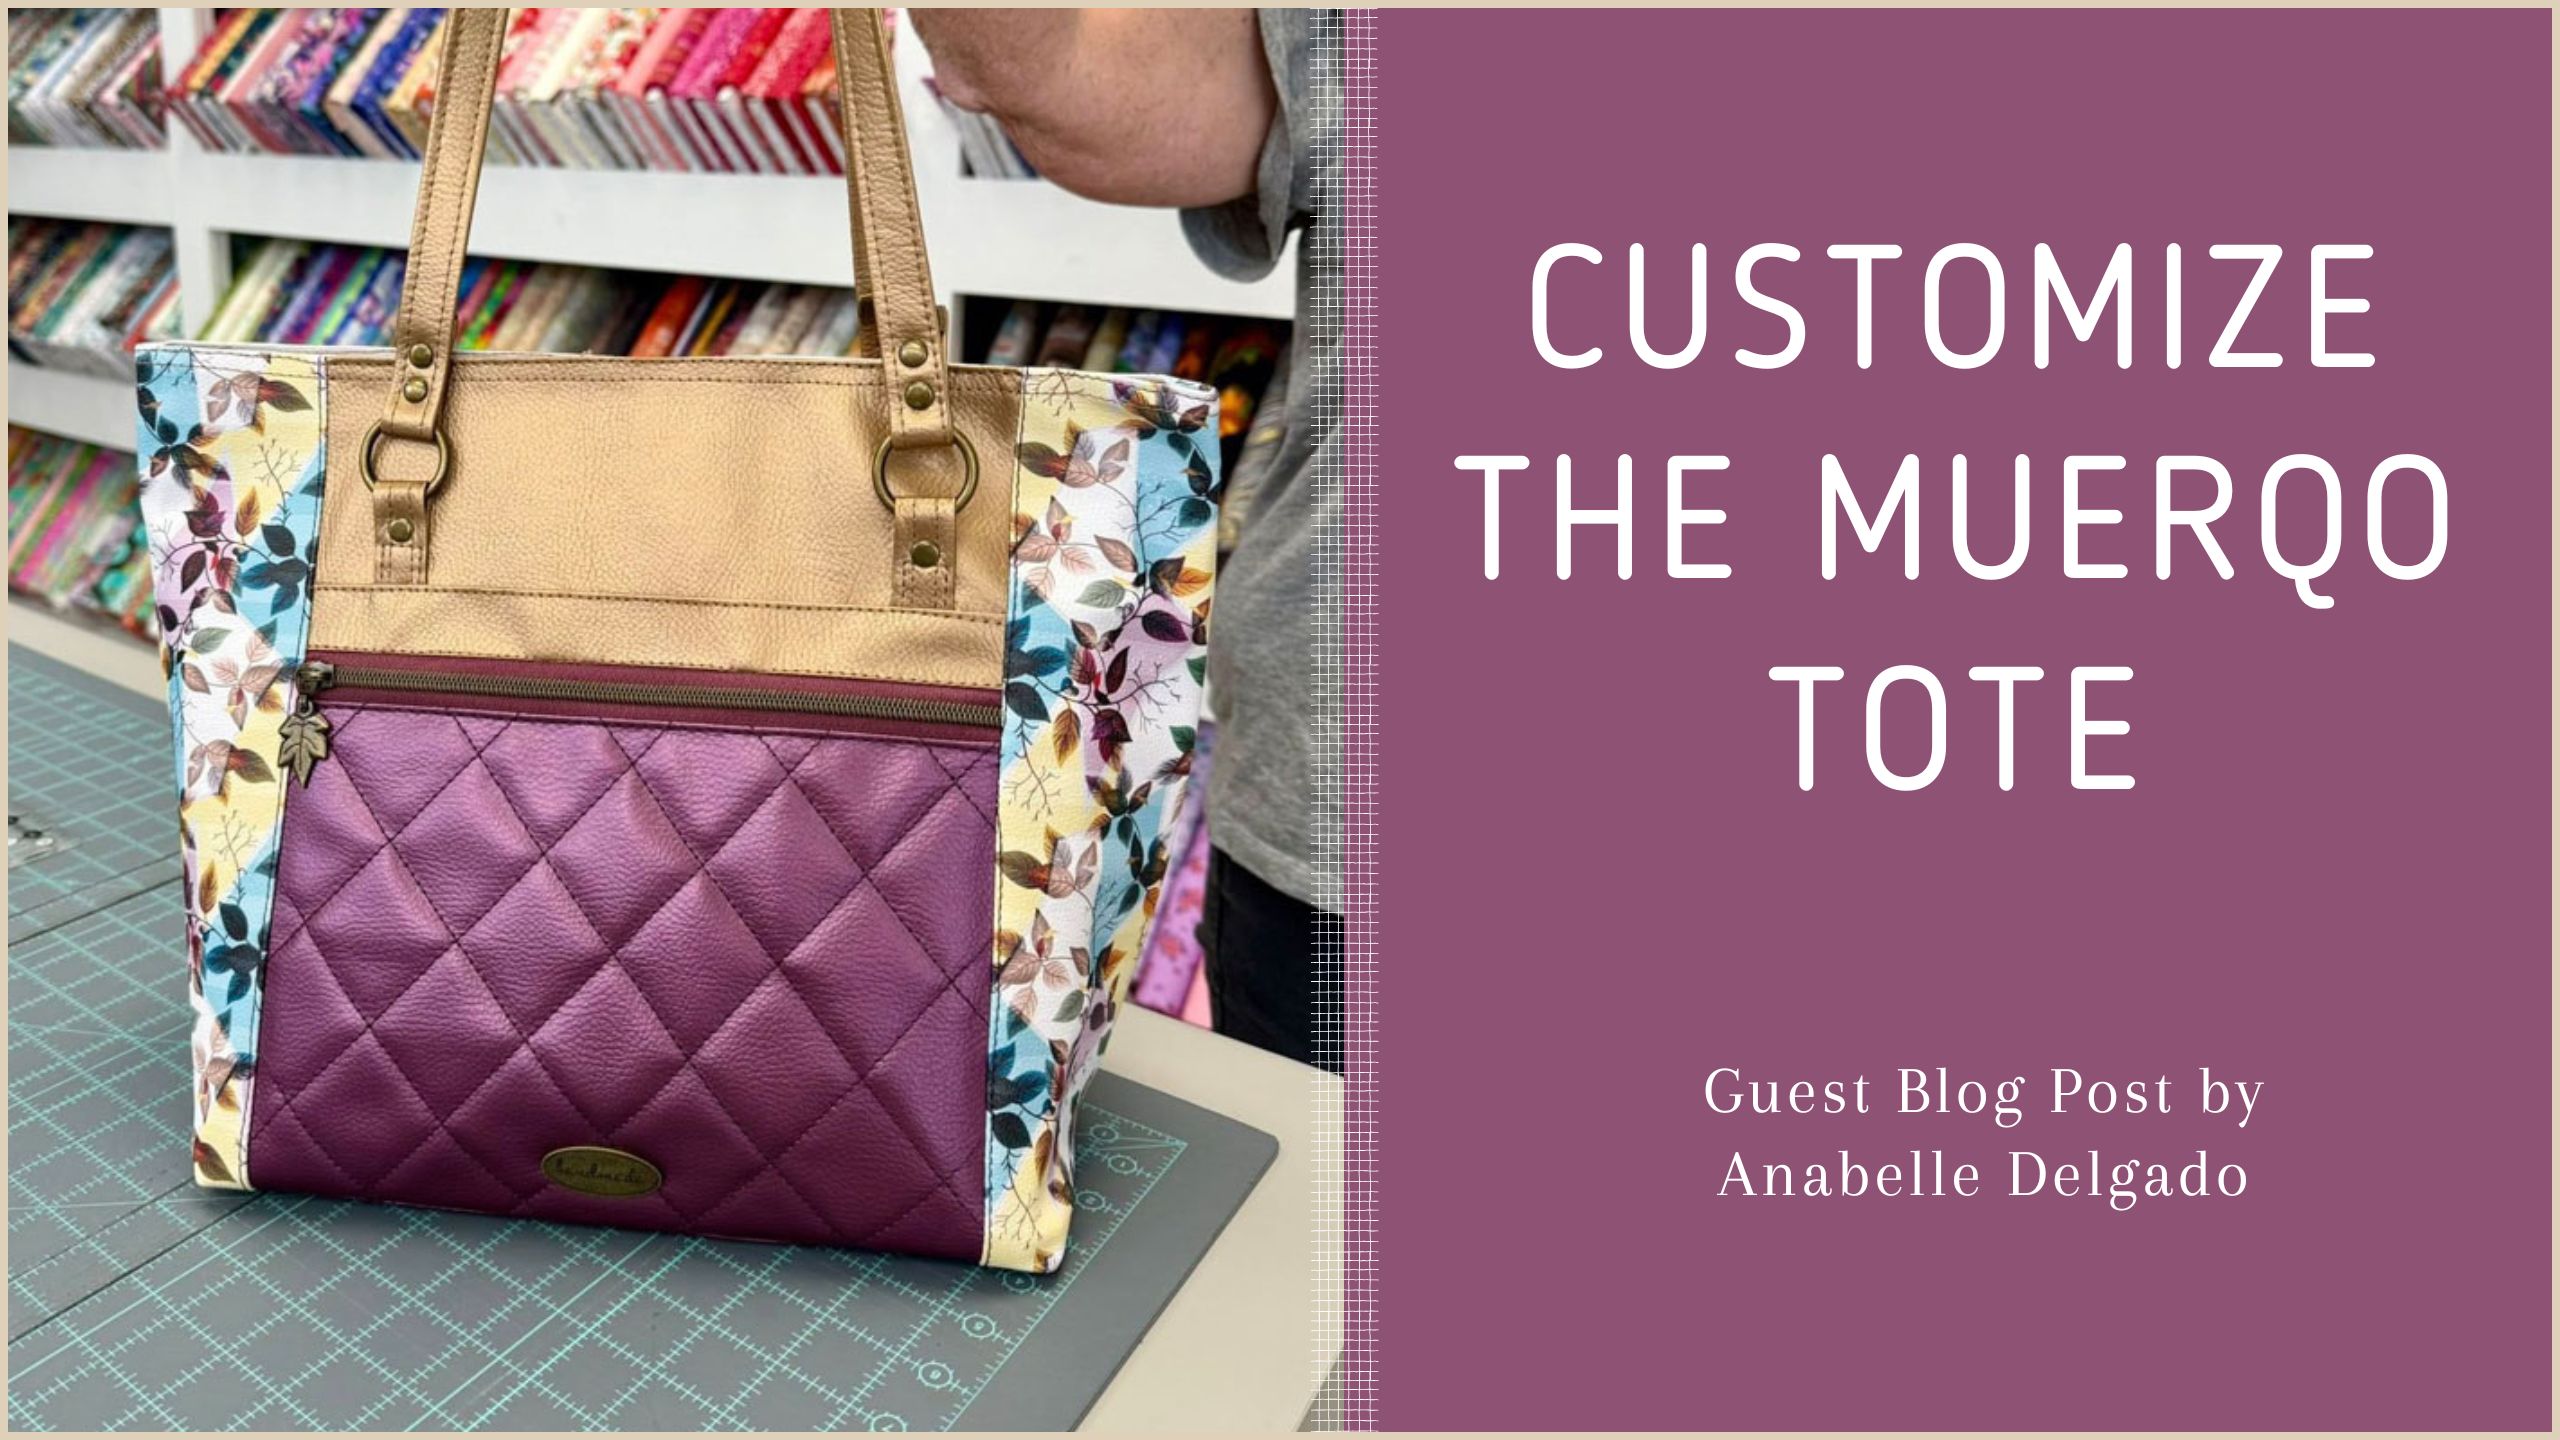
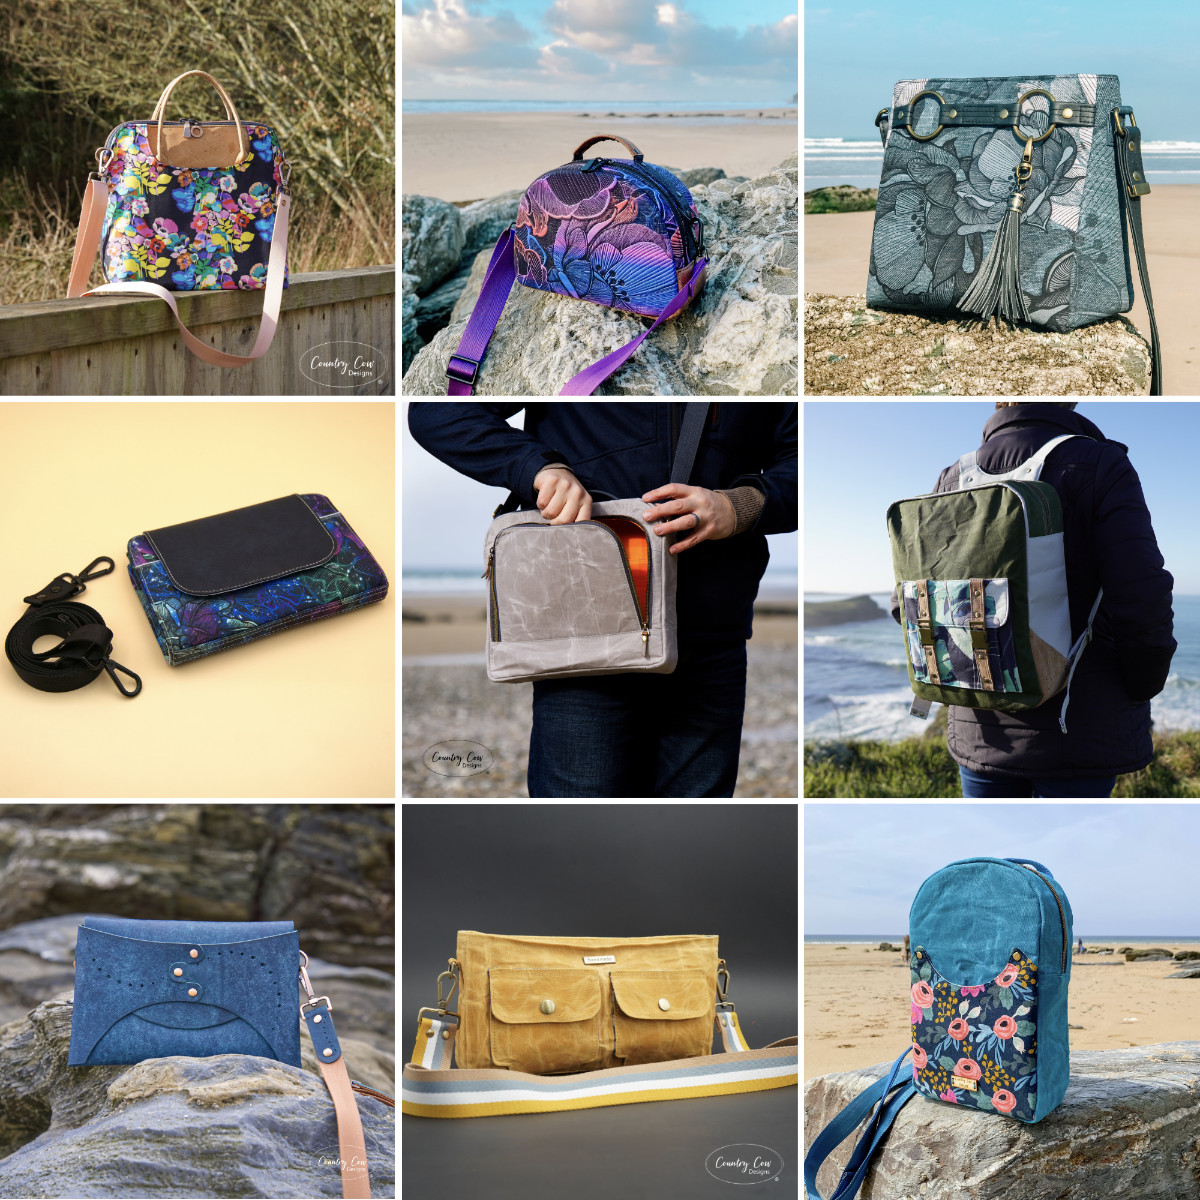
If you like making making large tote bags check out our other patterns, The No Sew Tote and The Muerqo Tote
One pound trolley coins are in the us too! This is perfect!! Thank you!!
Thank you Adam! I plan to make a couple.
Thanks you so much Jo and Adam for this beautiful free pattern