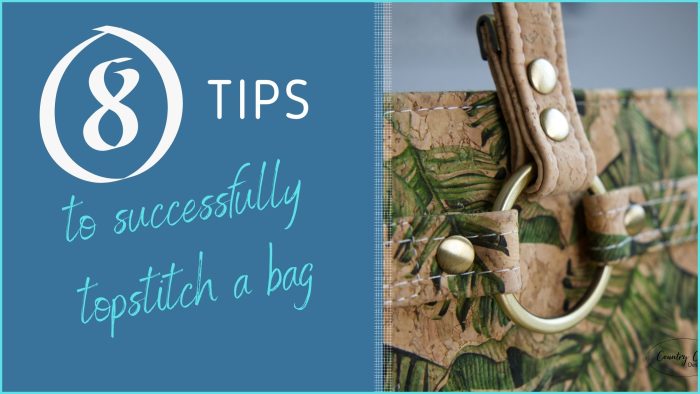
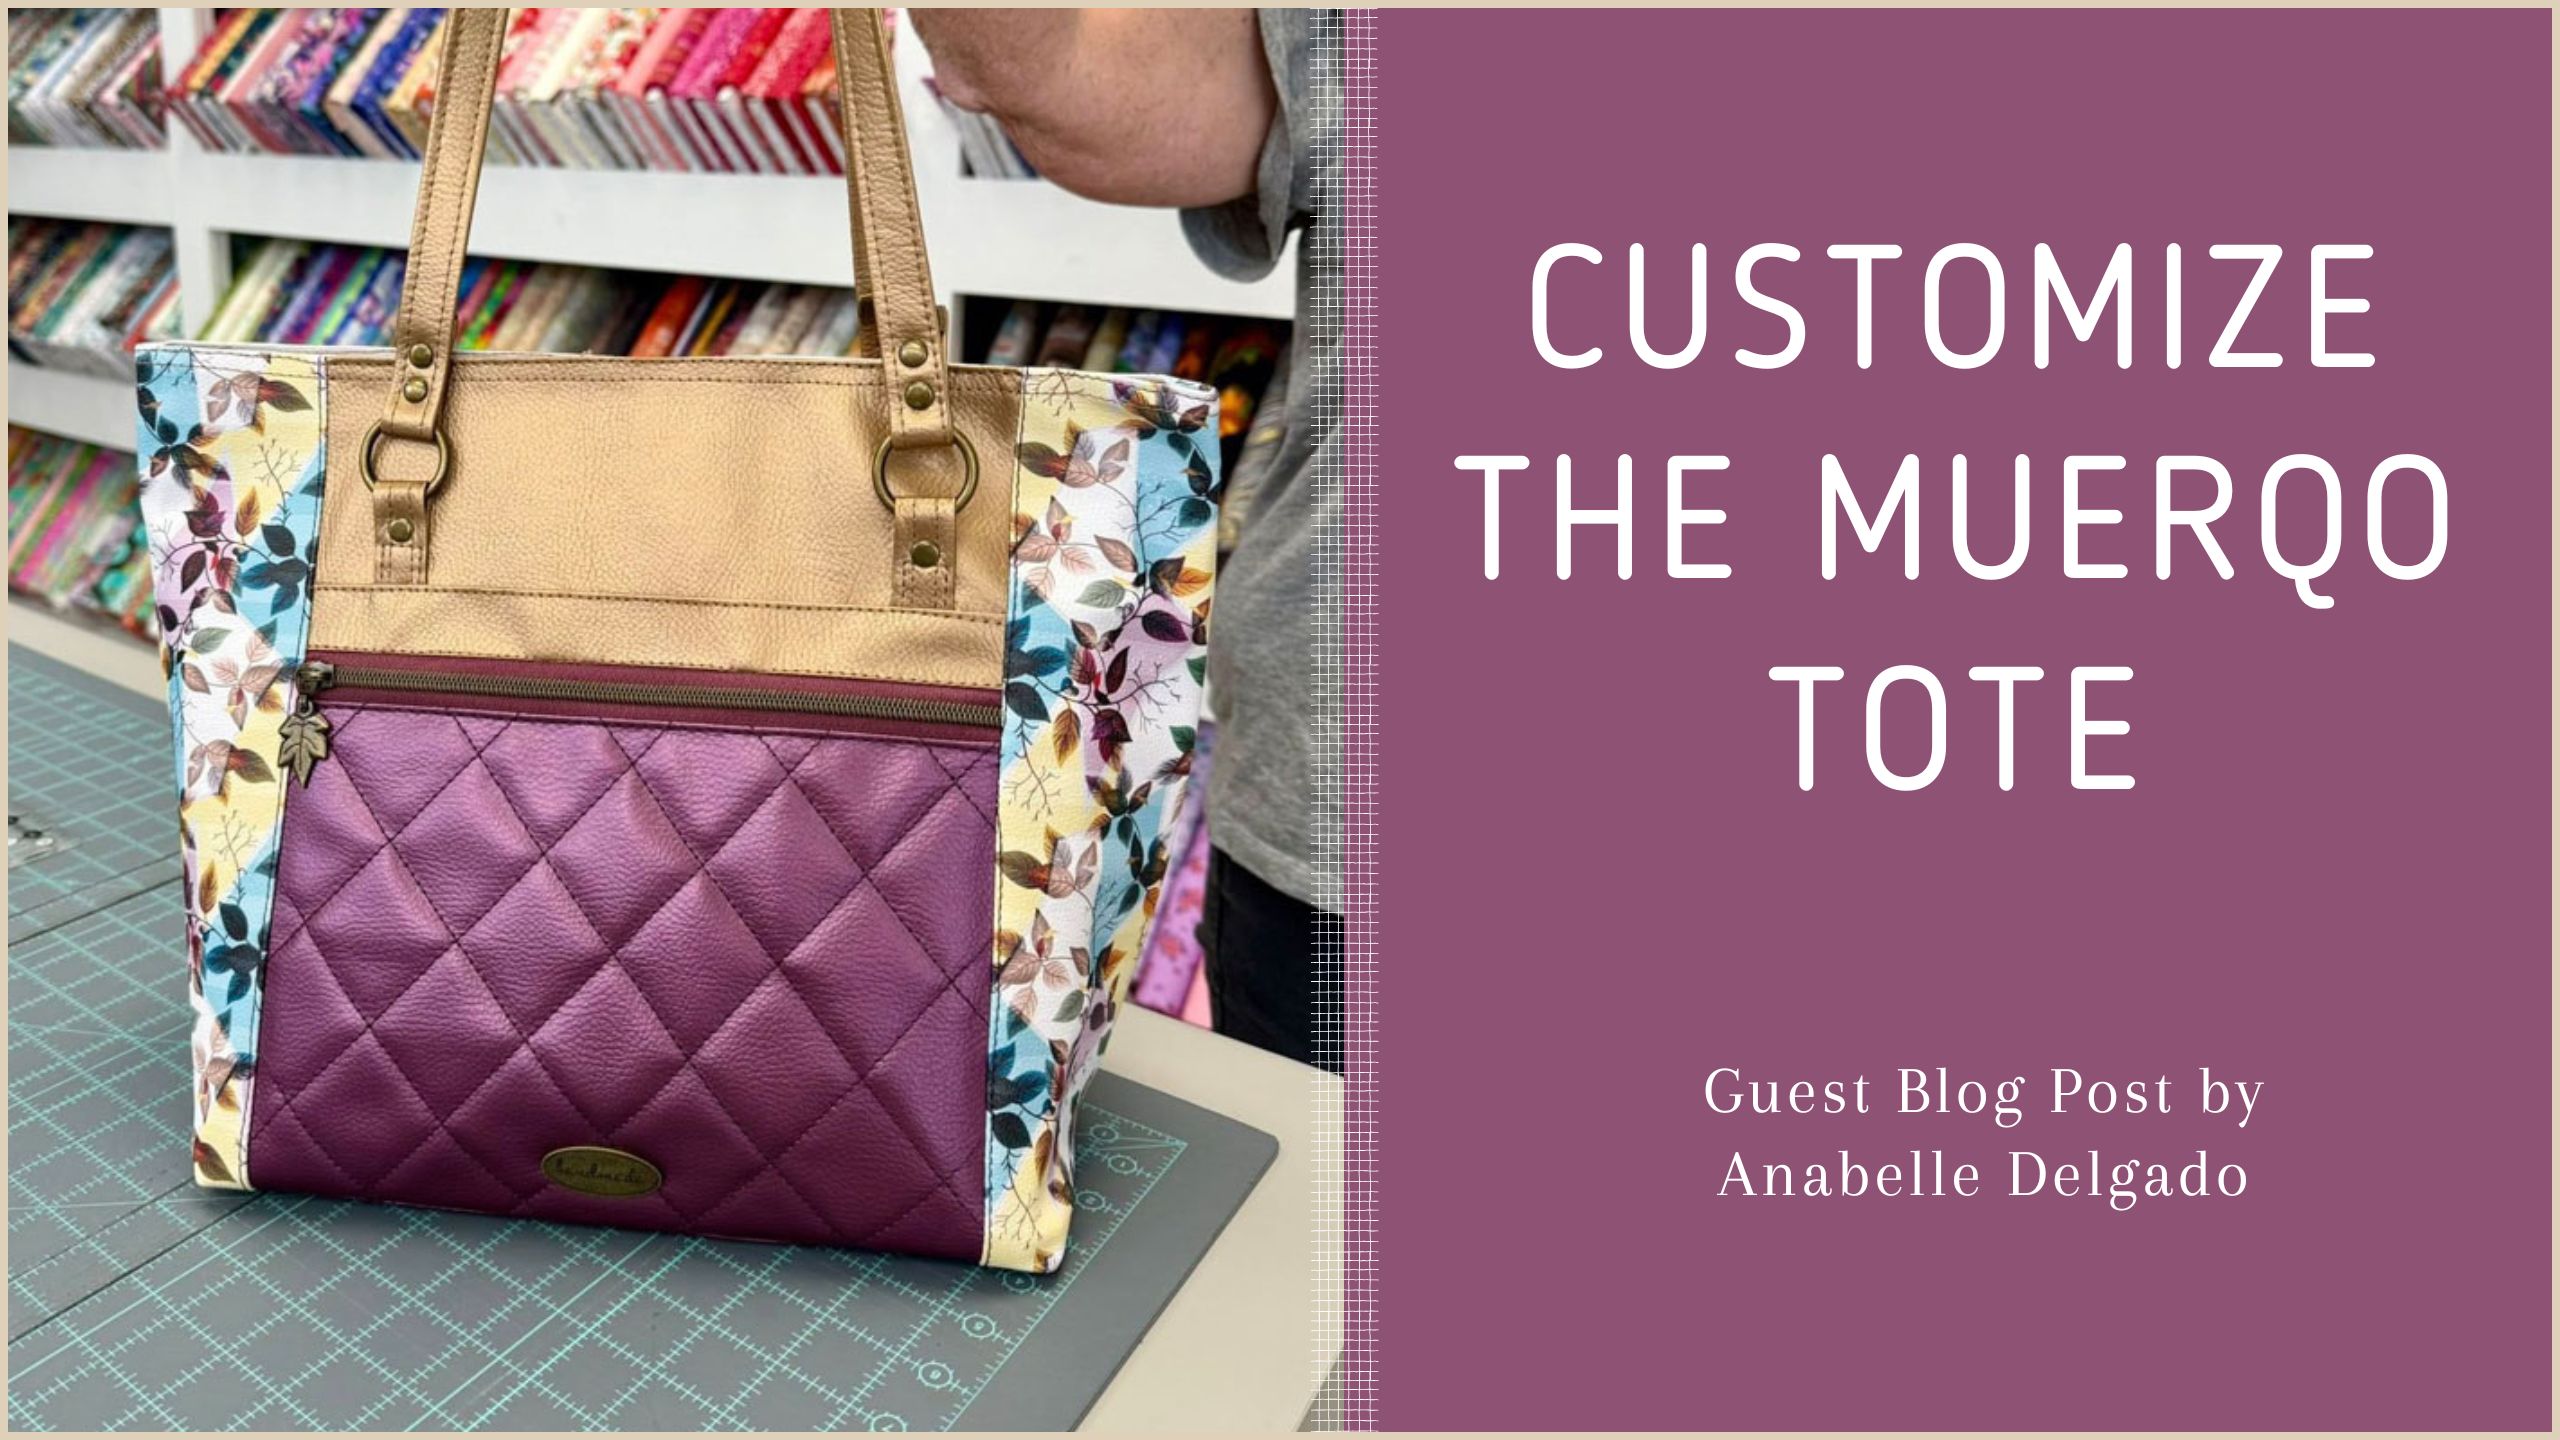
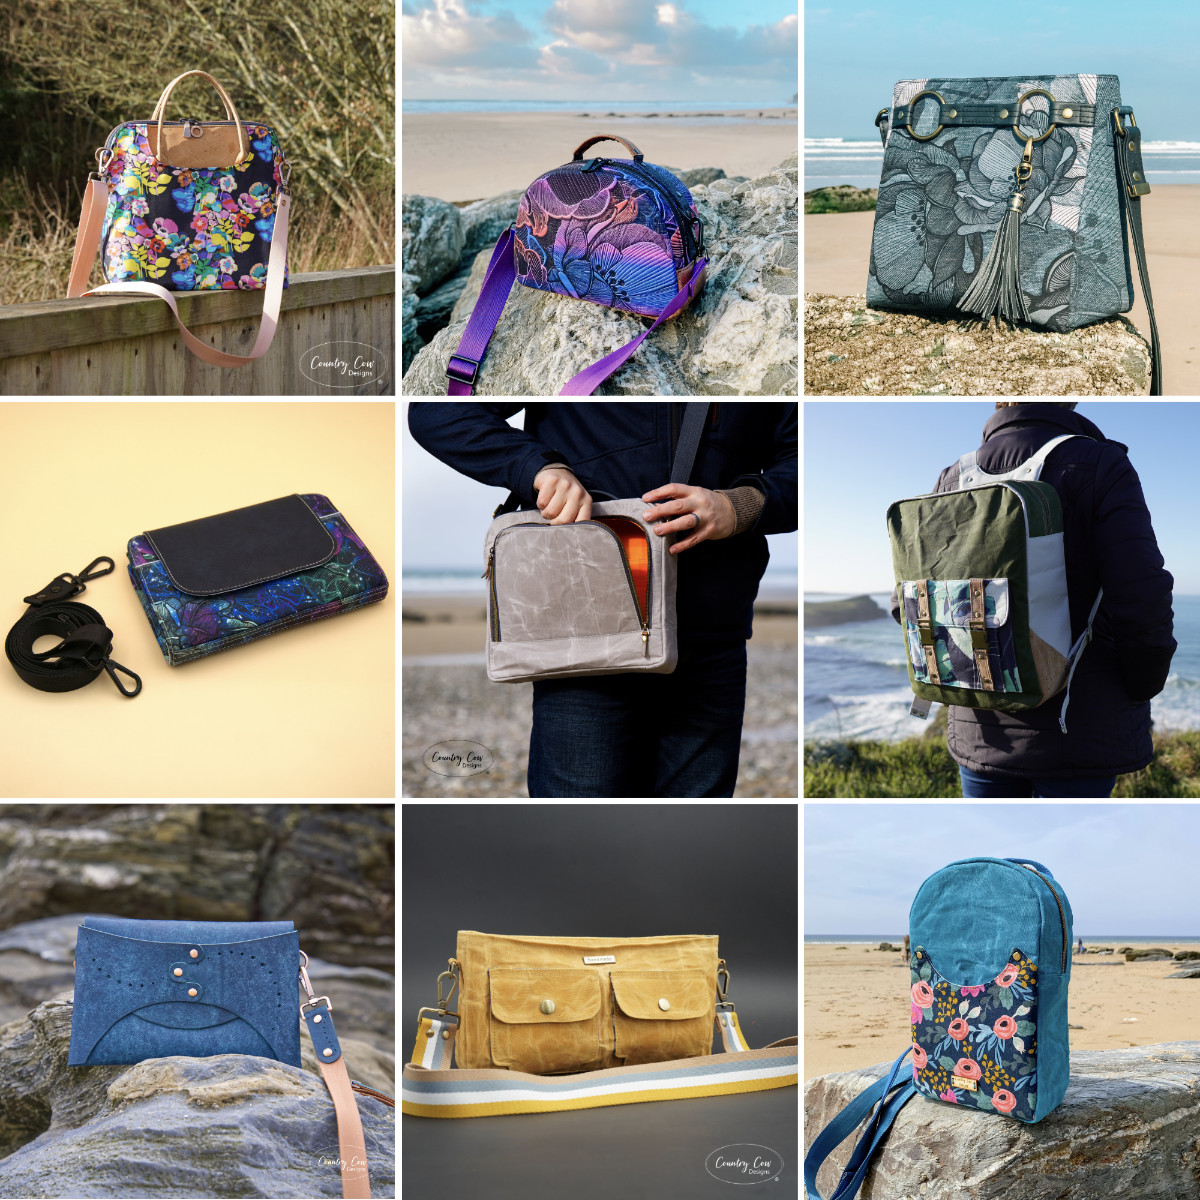
Do you like topstitching a bag? Welcome to my sewing blog! Thanks for joining me. I’m Jo, a sewing enthusiast living in Cornwall, UK. My husband Adam and I set up Country Cow Designs in 2019 and together we create sewing patterns, video tutorials and sell hardware for bag makers across the globe. Every Friday we write a new blog post for bag making tips. Join our mailing list to receive it directly to your inbox along with other exclusive perks. The tips included in this post may be helpful in other sewing situations, but this post is specifically written in the context of bag making. The post may contain affiliate links.
Why is topstitching important in bag making?
The topstitching on a bag plays an important role in its durability as well as its appearance. A neat and straight topstitch can add a professional finishing touch to any bag. In this blog post we’ll discuss eight tips for topstitching, to make the process easier and help you get the best results.
- Use the correct needle and thread
- Use the correct presser foot
- Tension!
- Start and finish carefully
- Take your time
- Use the right tools
- Keep bulk out of the seams
- Set your machine up for success
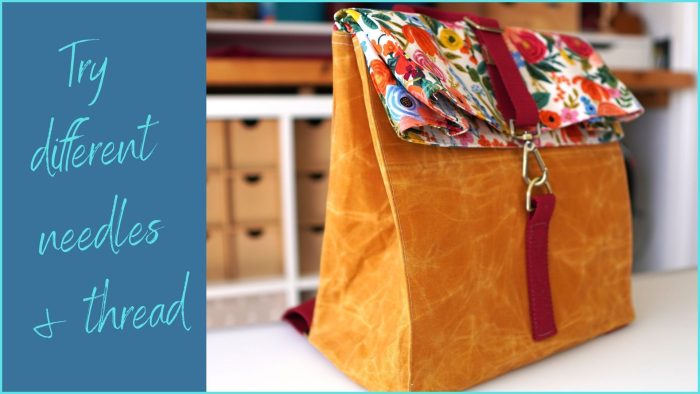
Tip #1 – Use the correct needle and thread
It’s essential to use the appropriate needle and thread for the material you’re working with. A heavy-duty needle and thick thread may be required for leather or canvas, while a lighter needle and thread may suffice for lighter fabrics such as quilting cotton. Using too small of a needle can cause your stitching to look less than perfect and can also result in skipped stitches. Using a needle that’s too big can result in big stitch holes which don’t look great.
What’s the best way to figure out the correct needle? Experience! What about if you’re just starting out in your bag making journey? Here’s what we suggest: after cutting out your bag, put together some scraps in the amount of layers required for the final topstitch. Try a variety of needles and threads until you find the perfect combination. Then when you’re ready to topstitch, you’ll already have the perfect combination.
Also consider using a thread colour that matches your fabric. It can sometimes feel time consuming changing the thread, but it’s really worth it for this final step.
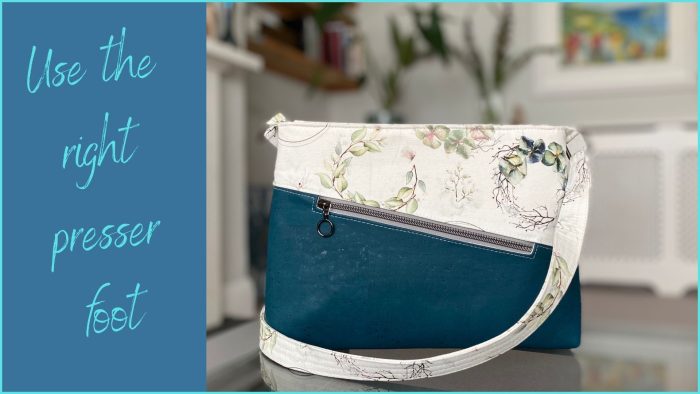
Tip #2 – Use the correct presser foot
Choosing the correct foot can make a big difference to your topstitching. A straight stitch foot or an edge-stitching foot is recommended for the best results. However, if you’re using “sticky” materials such as a glossy vinyl or leather, a Teflon foot may work better. A zipper foot is not recommended as it doesn’t tend to distribute the correct pressure required. You’re sewing through a lot of layers and want to ensure the bag moves smoothly and evenly under the presser foot.
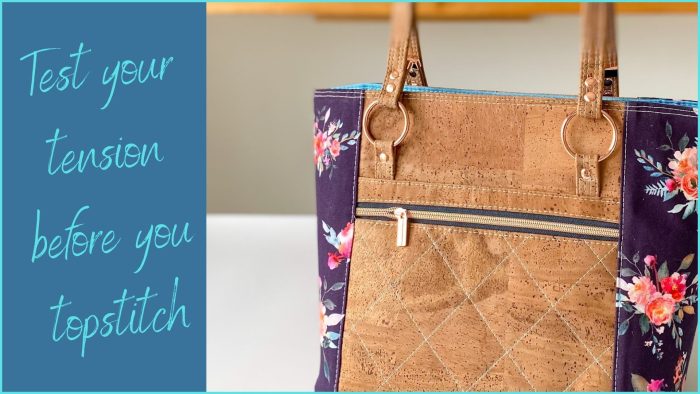
Tip #3 – Tension!
The proper tension is essential for achieving a neat and straight topstitch. If your top or bobbin tension aren’t quite right, it will result in stitching that’s too tight or too loose, neither of which look great. It’s essential to test the tension before you get to the final topstitch. As mentioned in tip #1, a practice will help you perfect this so you’re not experimenting on the final step of your bag.
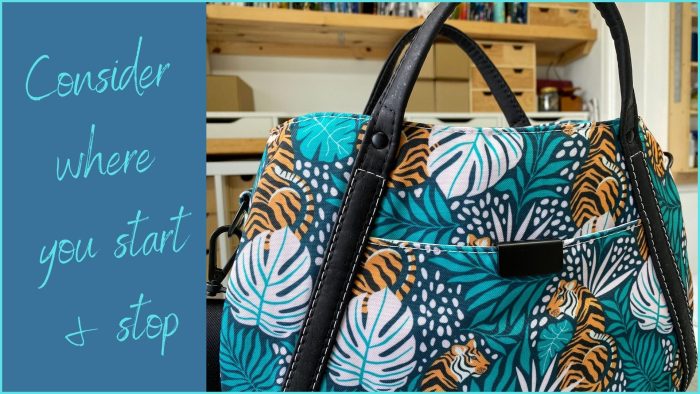
Tip #4 – Start and finish carefully
Starting and finishing the topstitching in the right place can help achieve a clean and professional look. Don’t start right in the centre of the front panel of your bag. It may seem easier, but it’s not going to look so good if your stitching doesn’t line up perfectly, or if you’re backstitching. Consider leaving your threads long and pulling them through to the lining side to tie them off rather than backstitching. This takes a bit of extra time, but it gives the bag a very neat finish. To do this, you’ll need to leave your turning gap unsewn until you’ve finished topstitching.
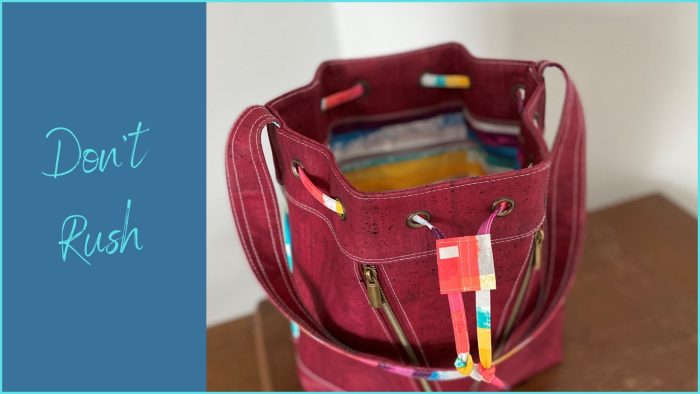
Tip #5 – Take your time when topstitching a bag
Slow and steady wins the race. Topstitching requires patience, accuracy, and attention to detail. It’s essential to go slow and steady to maintain a straight and even stitch. It really will make a difference to the final result. If your machine has the option to change speed, make sure it’s on the slowest setting before you start topstitching.
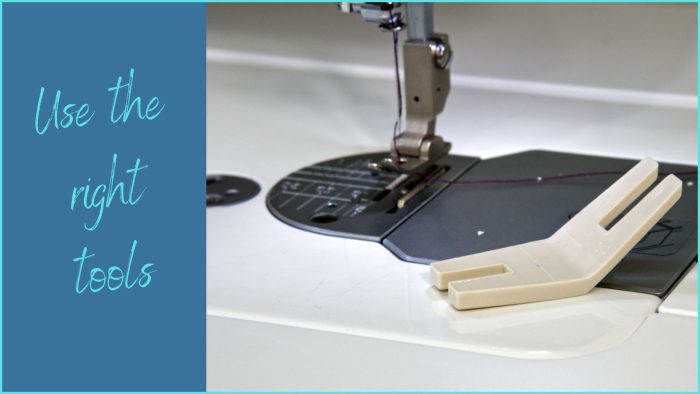
Tip #6 – Use the right tools
If it’s available for your machine, you can use a guide foot for your topstitching. Or for some machines, you can purchase an after market guide that clips onto your presser foot. This has a rigid guide that rests on the edge of the bag and ensures that you get a consistent seam allowance all the way round, usually 1/8″. Also consider using a hump jumper (aka “bulky seam aid”) when you reach the bulky seams on the side of the bag. This will ensure you don’t get skipped stitches and loose stitching on the inside of the bag. For more information about hump jumpers, read our previous blog post here.
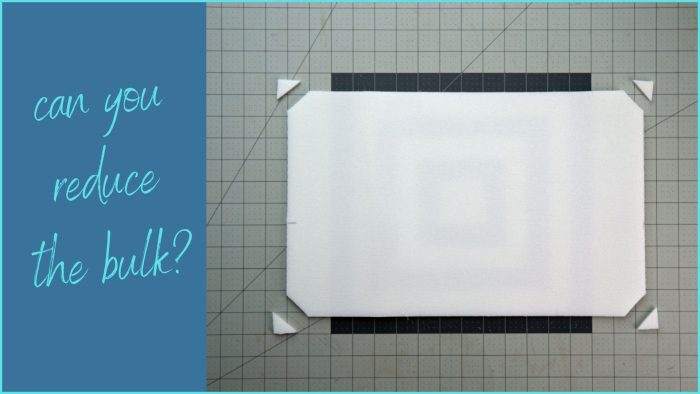
Tip #7 – Keep bulk out of the seams when topstitching a bag
Make the topstitch as easy as possible for yourself. Every extra layer of fabric, interfacing or stabiliser will make this step tougher. Think about that when you’re assembling the bag and see if there are any quick and easy ways to reduce the bulk. For example, cut a small triangle of stabiliser out of each corner on your main panels.
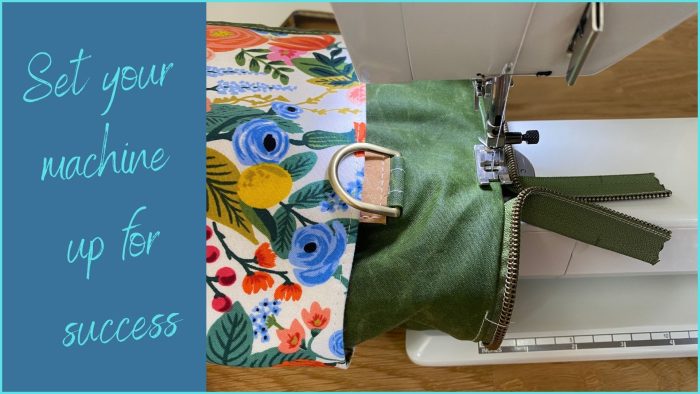
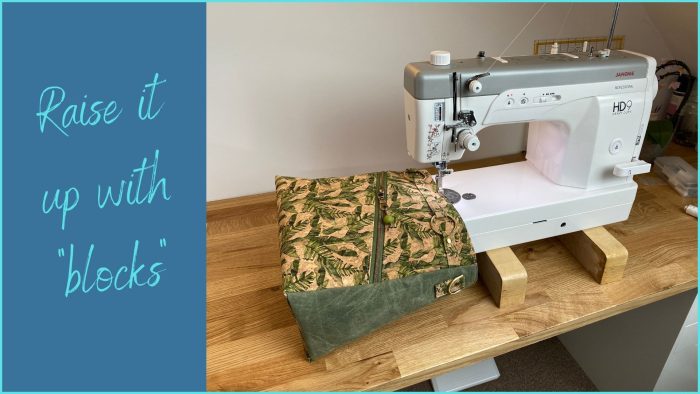
Tip #8 – Set your machine up for success
If your machine has a removable table, make sure you take it off before you start. If you’re using a machine that doesn’t have a removable table, usually you can lift your machine up and rest it on “blocks”. You can use pretty much anything for these blocks, provided they’re stable. This will make it much easier to fit the bag around the end of the machine as you topstitch and will stop the bag from catching and coming into the stitch at the wrong angle. If you haven’t tried it before, give it a go. You’ll be amazed how much easier it makes that final topstitch!
Conclusion
Topstitching a bag requires attention to detail and patience. Practice makes improvement and this skill will improve with every bag you make, but it’s not just your skills that matter, you also need to utilise the proper equipment, practice proper tension, and take your time to achieve a straight and professional-looking topstitch.
IF YOU ENJOYED THIS POST, AND YOU’RE NOT ALREADY A SUBSCRIBER, JOIN OUR MAILING LIST TO RECEIVE REGULAR BAG MAKING TIPS STRAIGHT TO YOUR INBOX.
Good tips, very helpful
Hi Jo I have the same machine as you. What a great tip in raising the machine on blocks for topstitching. Will definitely be trying that thank you.
Interesting tip about the blocks!
Liked the raising blocks idea…wish I’d thought of that before!!
Thanks Jo.
Great tips great information 👍
I have a cylinder arm industrial machine in addition to my domestic but when I need to topstitch on the domestic I use cork yoga block to raise it, works like a charm 🙂
Perfect timing for me! Topstitching is So important. Thank you
Lovely bags! Thank you for all of the tips and I will have to get some blocks for my HD9