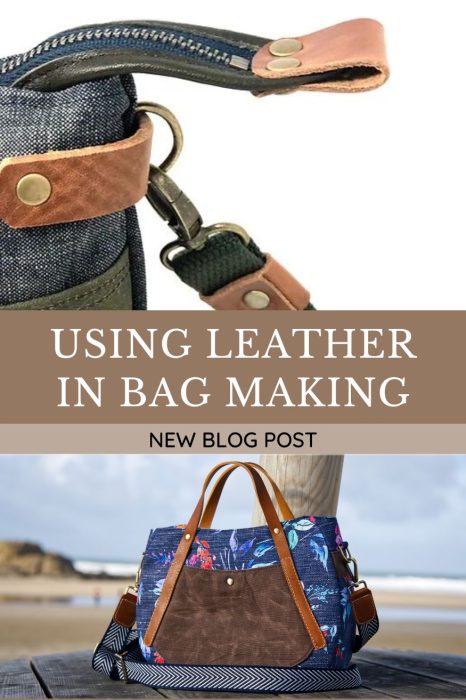
Are you ready to try leather in your bag making? For the purpose of this post, I’m talking about the really thick stuff, 5oz (1.6mm)+. This is the type of leather you’d most often use for hand-sewn leather projects, handles that are riveted in place, or for single layer accents on your bag.
I’ll discuss the following topics in this post:
- My sewing machine can’t handle leather
- Start small
- Accents for fabric bags
- Ready to make a full leather bag
- Tools for working with leather
- Where to source leather
My Sewing Machine Can’t Handle Leather
Many of us avoid using leather in bag projects because our sewing machine can’t handle it. This is the case for me, which is why Adam started designing our “no sew” range of patterns. For these, you just need rivets and something to set them with – ideally a rivet press, but hand setting tools will work too. But these aren’t the only patterns you can make using rivets. Plus, there’s lots of ways to use leather in your projects without sewing multiple layers of it. Most of our sewing machines can handle that much….
Start Small
If you’re just starting out with leather, try a quick and simple free pattern. There’s loads available, these are just the first few that come to mind (credit to Joy of Georgia Girl Stitches for letting me use some of her photos in this blog – she’s a great resource if you want to incorporate more leather into your bag making projects).
- Our mini basket tutorial
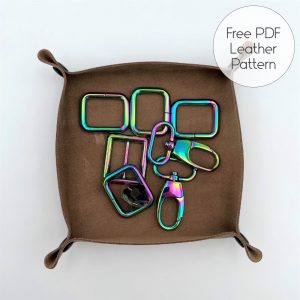
- Our foldup tray tutorial
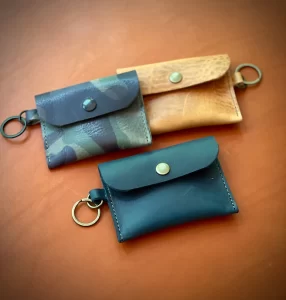
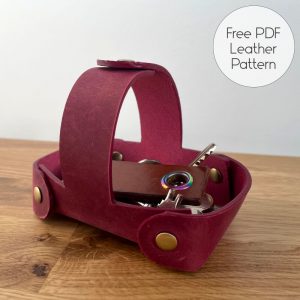
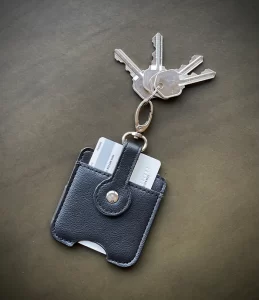
- The Keychain card wallet by Georgia Girl Stitches
- The Mandy card holder by Georgia Girl Stitches
- DIY leather notebook cover by Make Supply
- Leather card holder by Make Supply
For most of these patterns, if you don’t have any real leather yet, you can get away with using vinyl if you glue two layers wrong sides together before starting your project. Make sure you’re using very strong adhesive that will keep the edges together when the item is in use. I wouldn’t use this method when making a full size bag, but for a small project I’m happy to do it.
This type of patterns are great for getting you comfortable using leather. But how else could you introduce leather into your bag making projects….?
Accents for Fabric Bags
If you’ve seen Adam’s free tutorial for leather bag strap accents, you’ll know that a small amount of leather can really bling up your bag! If you want to introduce leather to your bag projects but aren’t ready to make a full leather bag, there’s lots of techniques you can use. Here are just a few of our suggestions:
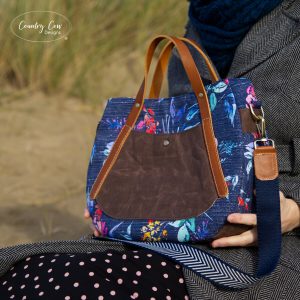
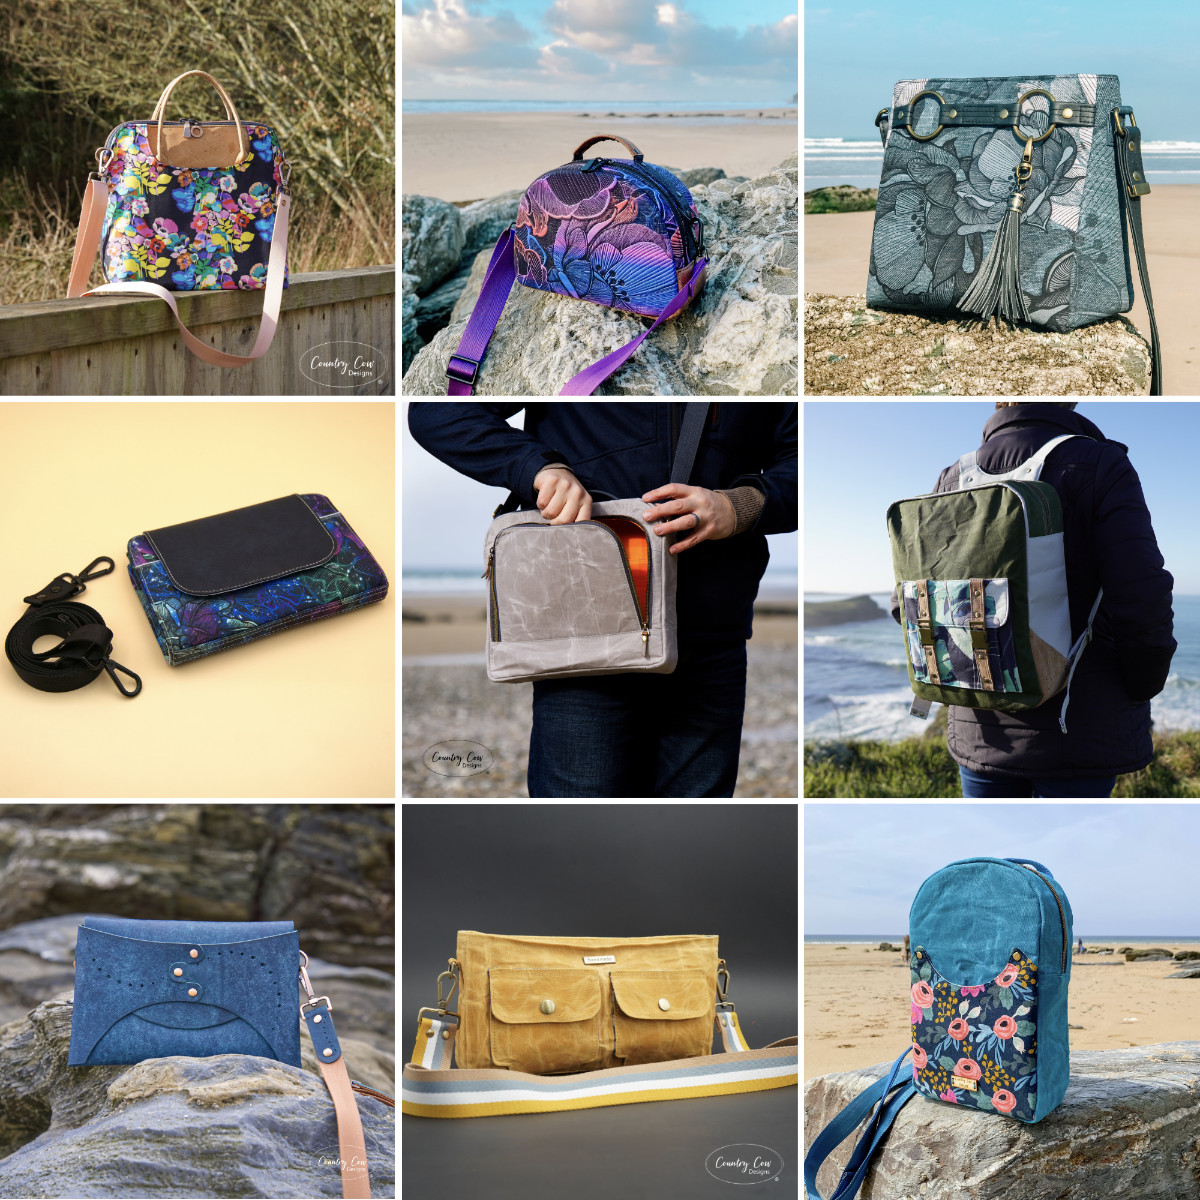
- Leather handles riveted or sewn (depending what your machine can handle), as shown on this Yasmota handbag. For this one, the machine could handle the single layer of leather plus fabric but I made sure to keep it out of the seams by cutting the handles a few inches shorter than specified in the pattern
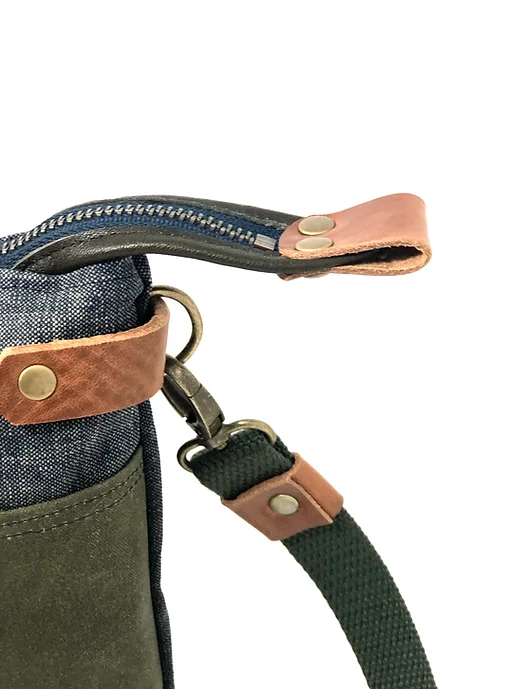
- D-ring tabs and zip ends, as shown in this example of the Cami bag by Georgia Girl Stitches. If you’re looking to make a fabric bag with leather accents, this is a fantastic pattern to get you started!
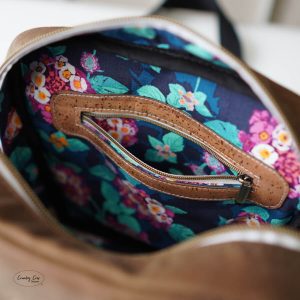
- Leather facings for zip pocket or slip pocket trims. Ok, I admit this one is made of cork as I didn’t have a photo on hand of a leather one, but it’s the same theory! These are great if your machine can handle one layer of leather plus the fabric underneath. This method is included our Ojyma sewing pattern, and can be completed using cork, vinyl or leather
Tools for Working with Leather
We could end up down a rabbit hole talking about the best tools for leather. There’s a lot of options! So for now I’ll just discover the ones you’ll find most useful for the patterns and projects we’ve been discussing (some links are affiliate links).
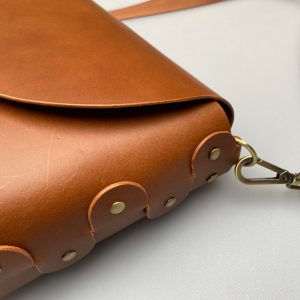
- Half circle punches for the tabs on the No Sew Tote and No Sew Crossbody (as well as many other useful things!). Adam uses the 1/2 round set a lot. You simply place it where you need it, cutting side down, and smack it with a hammer. Easy peasy!
- An awl. This simple little tool is great for marking the leather ready for cutting out or hole punching
- Japanese hole punch. This little fella is fabulous for punching rivet holes when the standard leather hole punch won’t reach
- A craft knife. We replace the blade on this knife very regularly. A sharp blade makes all the difference when you’re cutting leather
Of course, Adam has a few other tools for bevelling leather and finishing the edges, but we don’t have time to cover that in this blog post. Check out Adam’s YouTube video if you’d like to learn more about edge finishing.
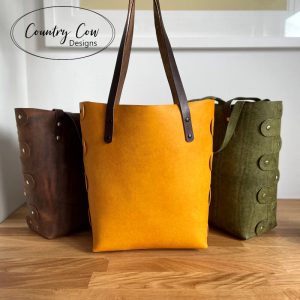
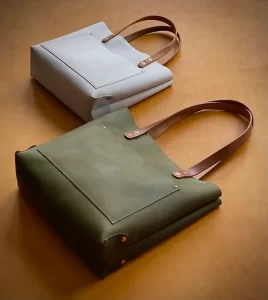
Ready to Try a Full Size Bag?
If you’re eager for a bigger project, check out the No Sew Tote or the No Sew Crossbody. Both these bags are assembled without sewing a stitch. In our opinion, the No Sew Tote is the easiest one to start with as it’s bigger inside and easier to work with a hand press. You also don’t have to worry about fitting a magnetic snap closure so that’s one less thing to worry about.
If you’re happy to do just a little bit of sewing, just two layers, then check out the Brooke tote bag pattern by Gorgia Girl Stitches. This one is assembled using mostly rivets and a tiny bit of sewing, it comes in two size, and results in a beautiful bag.
Also worth checking out is the Laced Leather Satchel by Make Supply. However, you’ll need to sort the printing out at a print shop as the pattern pieces only come in one large document which is not suitable for home printers. The instructions are done by video as opposed to having a written pattern.
What about sourcing leather?
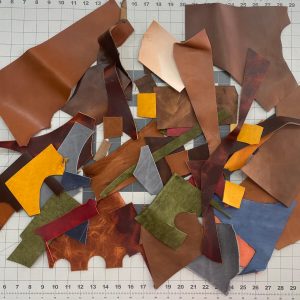
Most towns (unfortunately not mine) have a sewing shop or fabric shop where you can grab fabric when you need it. However, leather tends to be more difficult to source. It’s also worth remembering that when you buy leather, you usually buy an entire hide, which, depending on the type, can be quite huge. This makes it expensive to start your stash.
The place we like most here in the UK is A&A Crack & Sons in Northampton. They supply full leather hides, but they sell wholesale so it’s not going to be the same experience as you get in a high street shop. You need to book ahead to visit them and if you ask, they’ll let you rummage through their discount “sheds”. If you’re ordering online you have to order samples first and then you can place your order. But it’s a strange experience compared with buying fabric because you never know how big your hide is going to be (and therefore how much it will cost), until they pull it off the rack. If you’re just looking for small offcuts to use for zip ends, D-ring connectors and such, we have small scrap packs available on the website when the hardware section is open.
If you’re in the USA, District Leather Supply and Rocky Mountain Leather both come highly recommended. I’ve also heard Tandy Leather recommended a lot. Or if you’re looking for small pieces of leather for leather accents or handles, check out Georgia Girl Stitches or Noodlehead.
If you’re in Europe, Tandy Leather has a European store. Or check out Creative Awl on Etsy (based in Poland).
Wherever you’re located, if you’re looking for smaller pieces of leather, not full hides, it’s worth checking Etsy. There are plenty of sellers who sell pieces of leather suited to smaller projects.
What a great post. Love how you gave examples of each of the ideas for using leather!
Post is absolutely well written and understandable. I’m new to leather bag making and looking forward to learning.