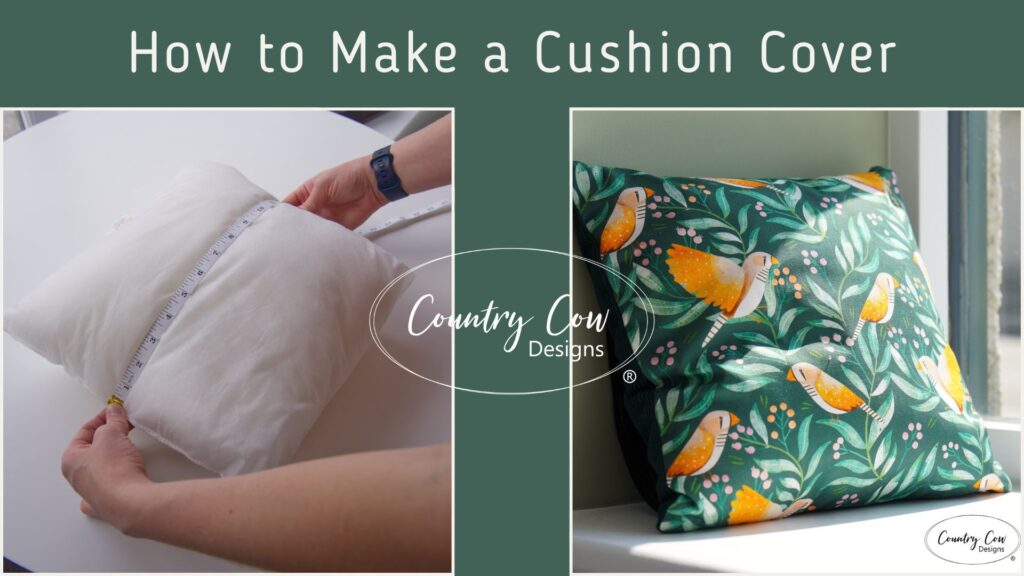
Re-cover your cushions with this quick and easy guide. This is a super simple, super quick sewing sewing project to get your sewjo back, or as a first time sew for those of you who are new to sewing. There’s no buttons and no zips.
For this sewing project you’ll need:
- – Suitable fabric (the quantity depends on the size of your cushion pad)
- – A square or rectangular cushion pad
- – Thread
- – A sewing machine with straight stitch and zig-zag stitch options
- – An iron
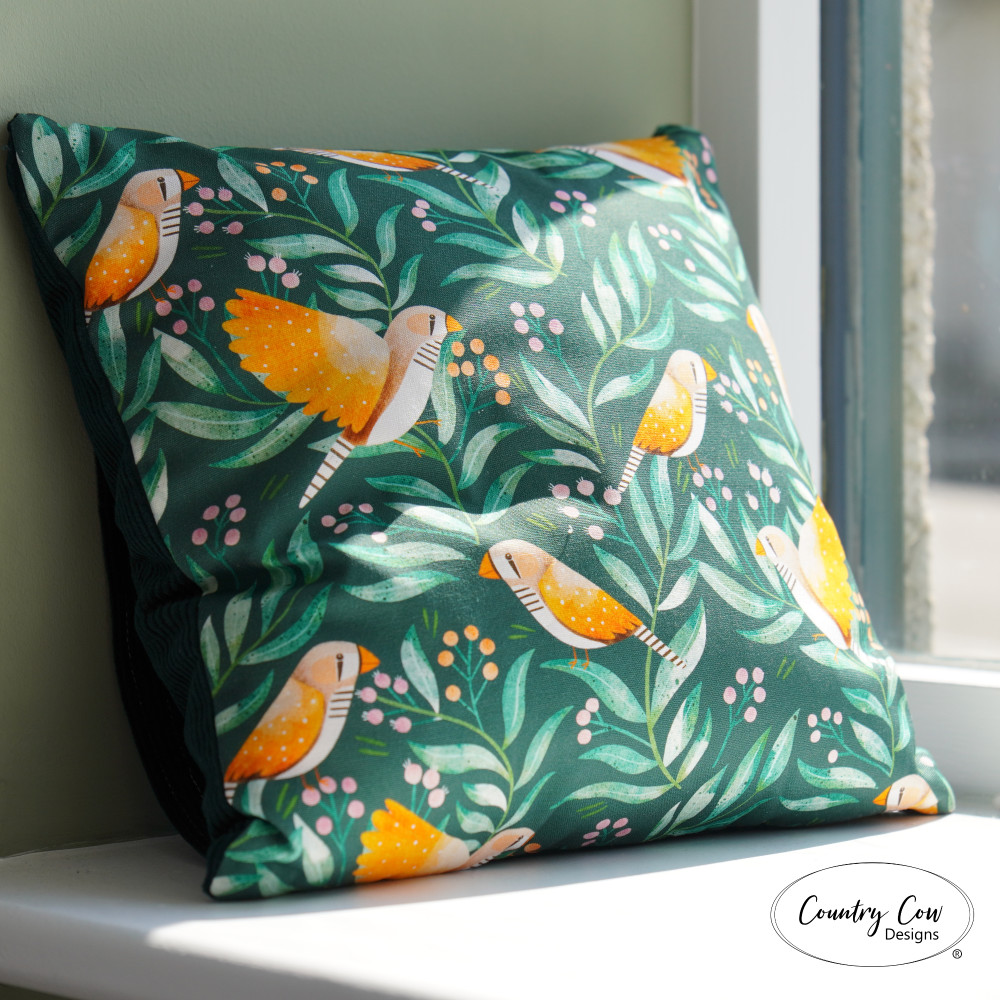
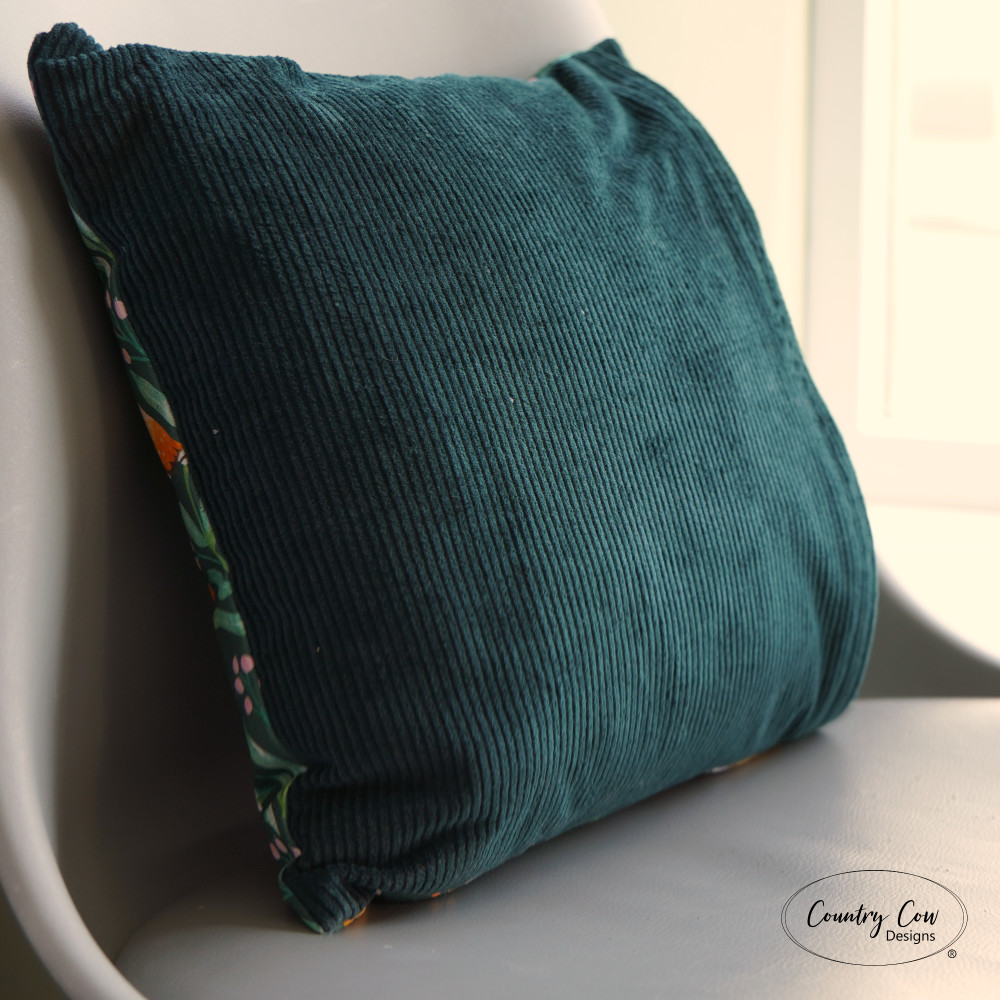
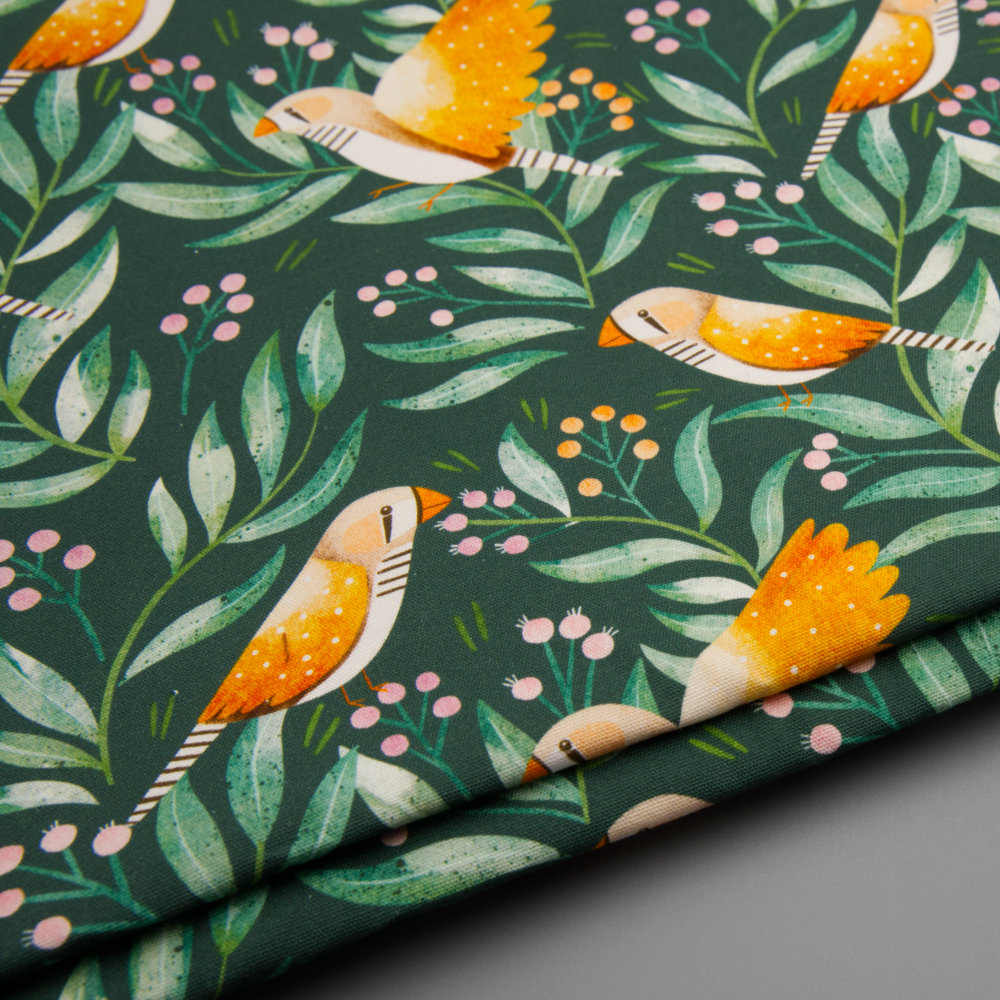
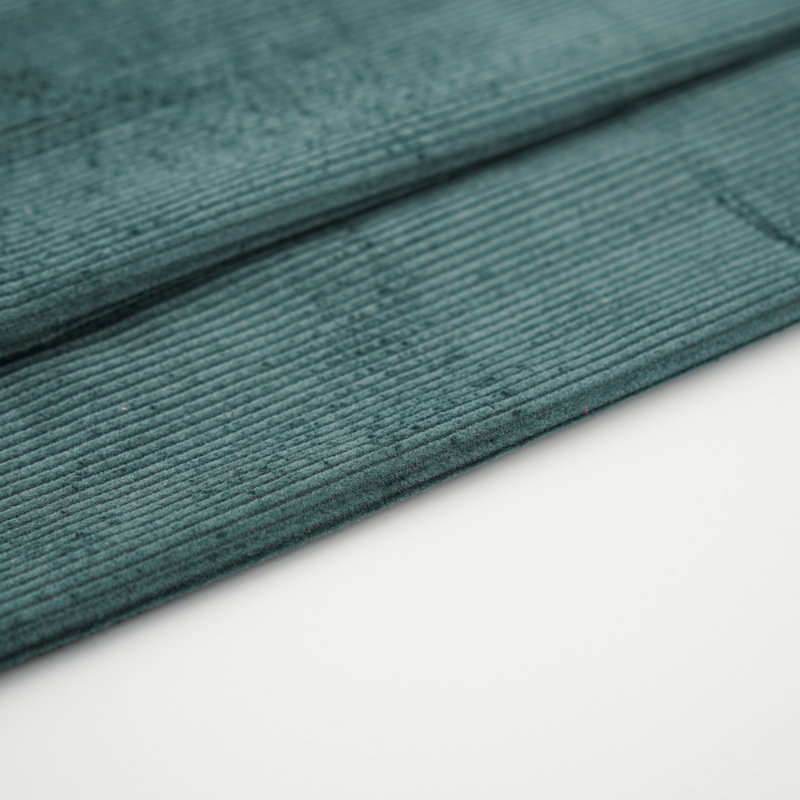
In this short sewing tutorial, I’ll be using a printed cotton canvas for the front of the cushion, and corduroy for the back.
Pre-Washing Fabrics
If you want to wash your cushion cover regularly, you need to pre-wash the fabric on your standard wash cycle. Fabric shrinks the first time it’s washed, so it’s best to get the shrinking out of the way before cutting it to the size you need. For most cotton fabrics, it’s recommended to wash them in a net bag as the edges will fray when you wash it. The net bag will reduce the fraying and ensure it doesn’t get into your washing machine. Alternatively, you can overlock or zig-zag stitch the edges of the fabric before washing.
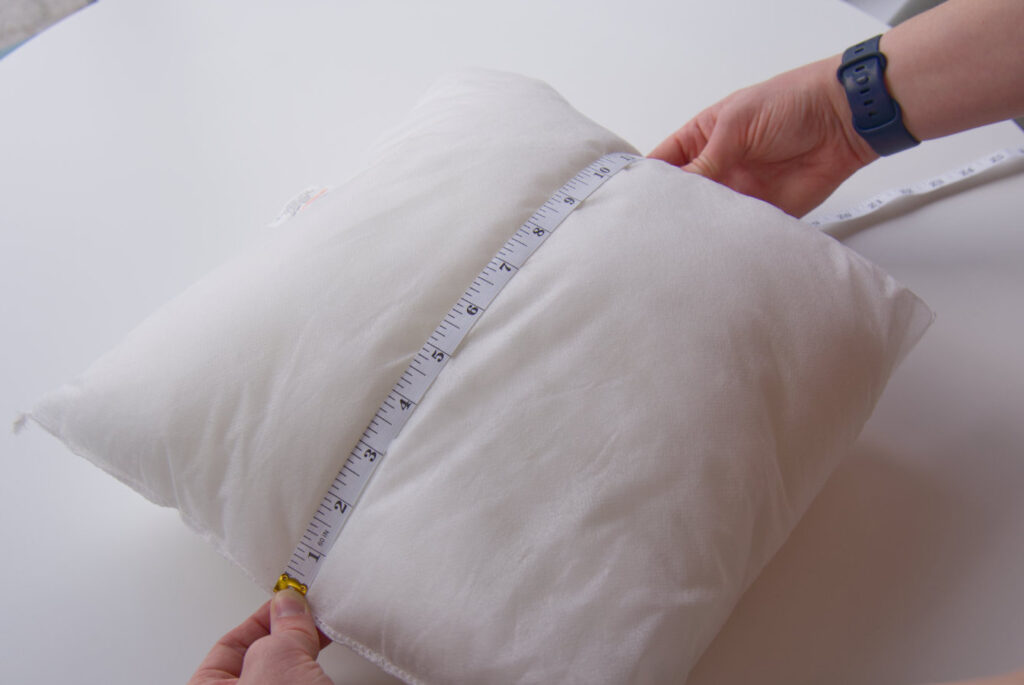
Measure Your Cushion
How big is your cushion? This guide will work for cushions that are squares or rectangles. Measure the length and height of the cushion pad that you want to cover. My cushion pad is 12″ x 12″ [30cm x 30cm].
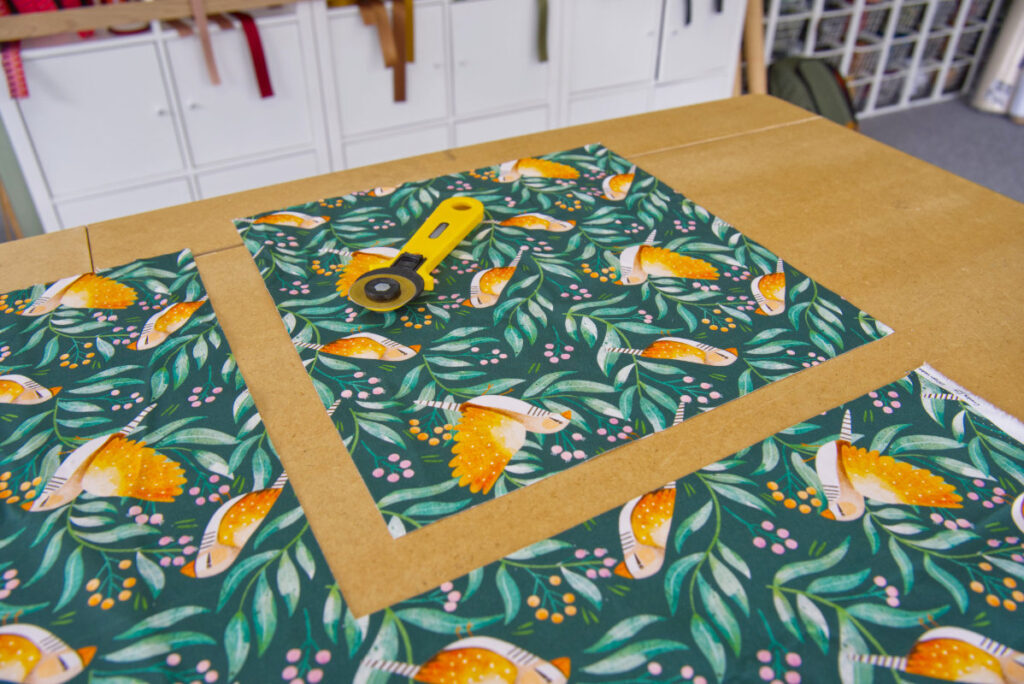
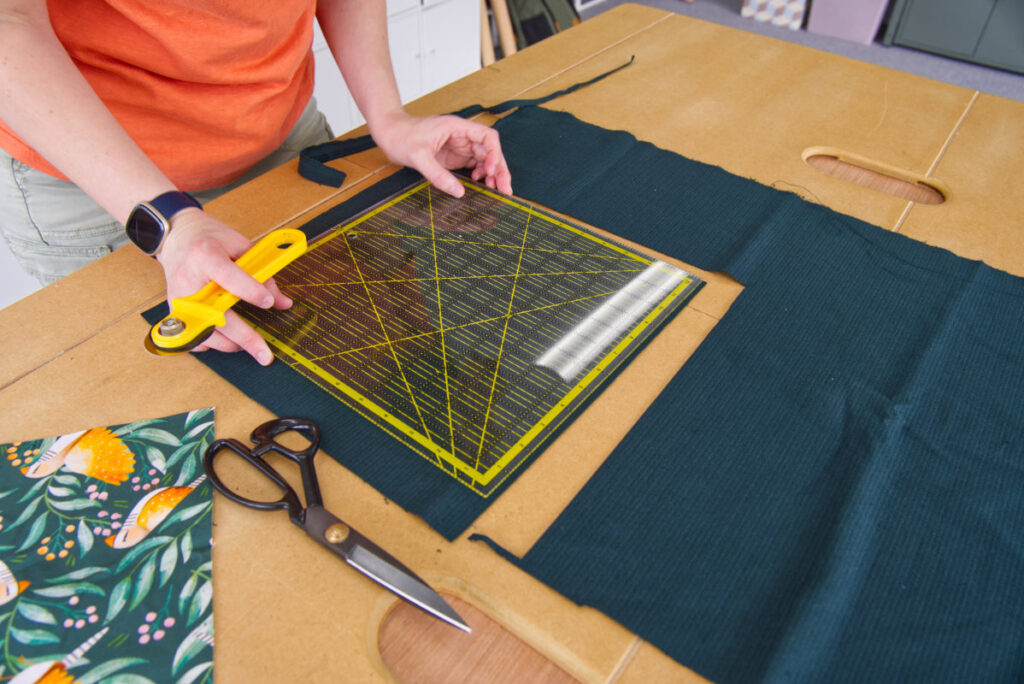
Cut the fabric
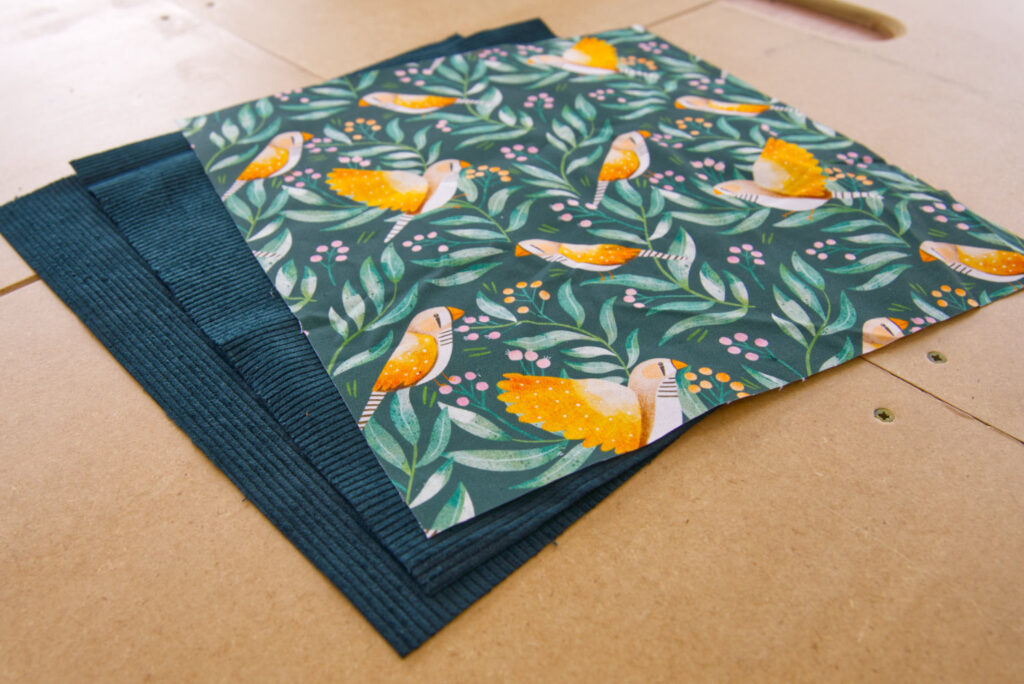
Once you have the measurements for your cushion, you need to cut your fabric to exactly the same size. One piece for the front, two pieces for the back. My cushion pad measures 12″ x 12″ [30cm x 30cm] so I’m going to cut three panels at that size. One is a printed canvas for the front panel. For the two back panels, I’m using corduroy
We actually want the finished cover to be slightly smaller than the cushion pad so it looks plump when it’s finished. The folds and seam allowances we use while making it will reduce the size of the cover slightly and ensure the cushion looks great when it’s finished.
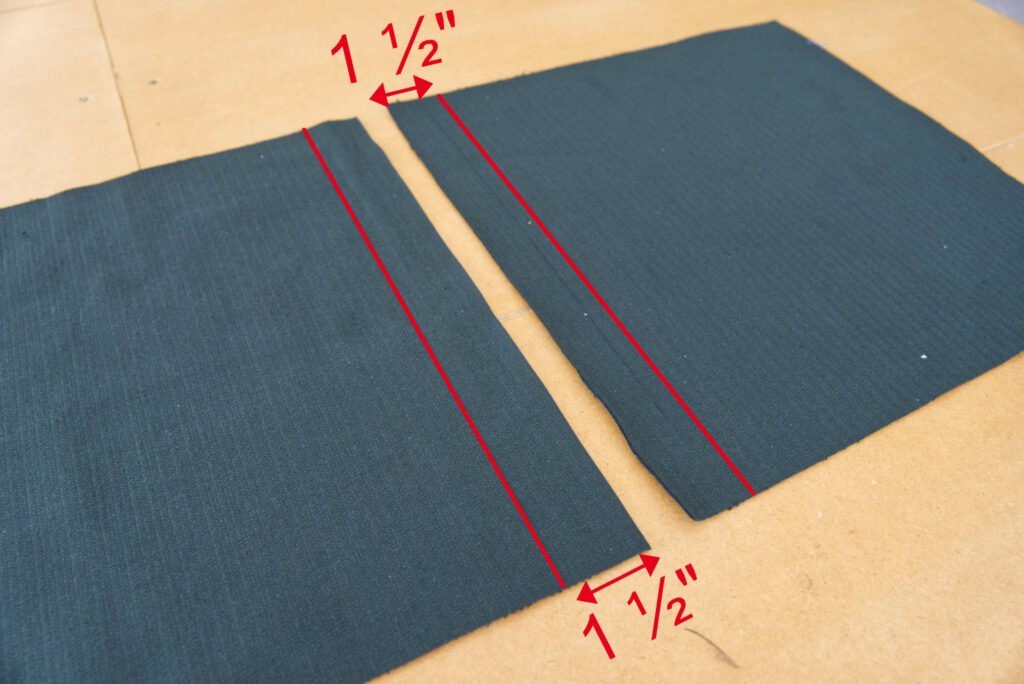
Make the Back Panels
Place both of your back panels right sides down, so you’re looking at the wrong side of the fabric. On the wrong side of the fabric, mark a line 1 1/2″ [3.75cm] in from one of the side edges using a fabric pen. This is shown in red in the image.
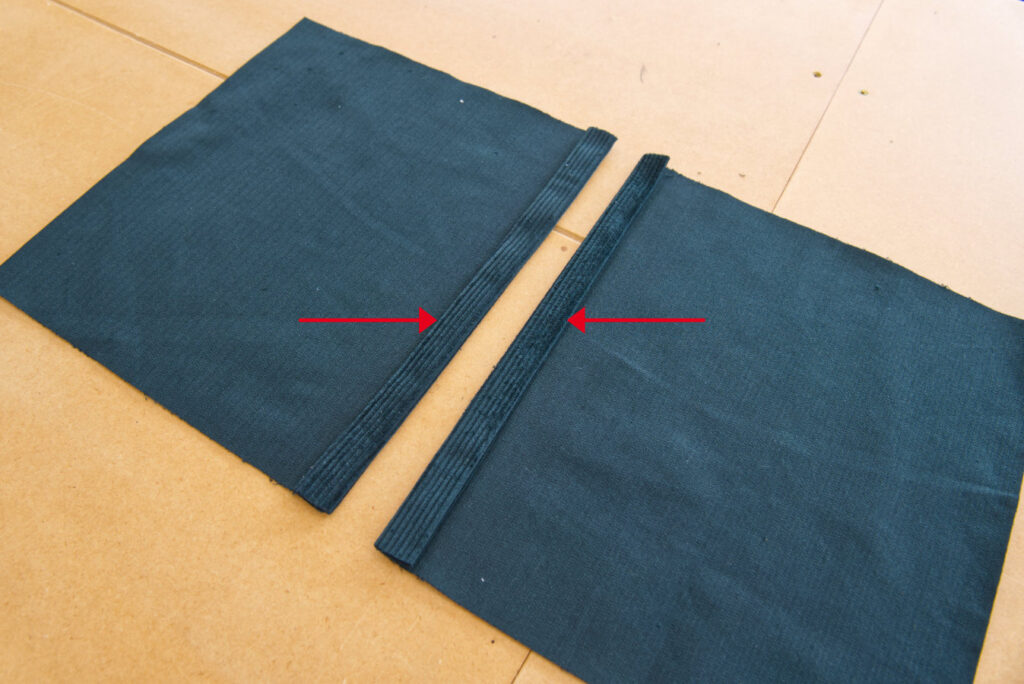
Fold the edge of each panel to the line and press with the iron to create a neat crease.
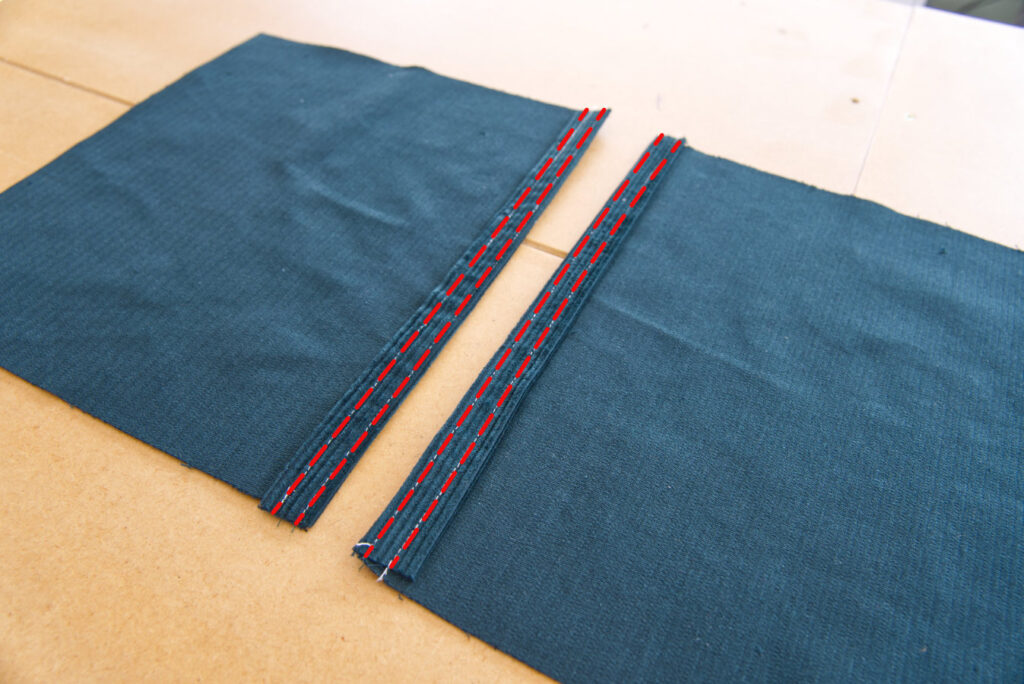
Fold again on the line so the raw edge is now tucked under itself. Press with the iron to create a neat crease. Sew a line down each edge of the fold, using approximately 1/8″ [0.3cm] seam allowance. The stitching is shown in red in the image.
Assemble Your Cushion
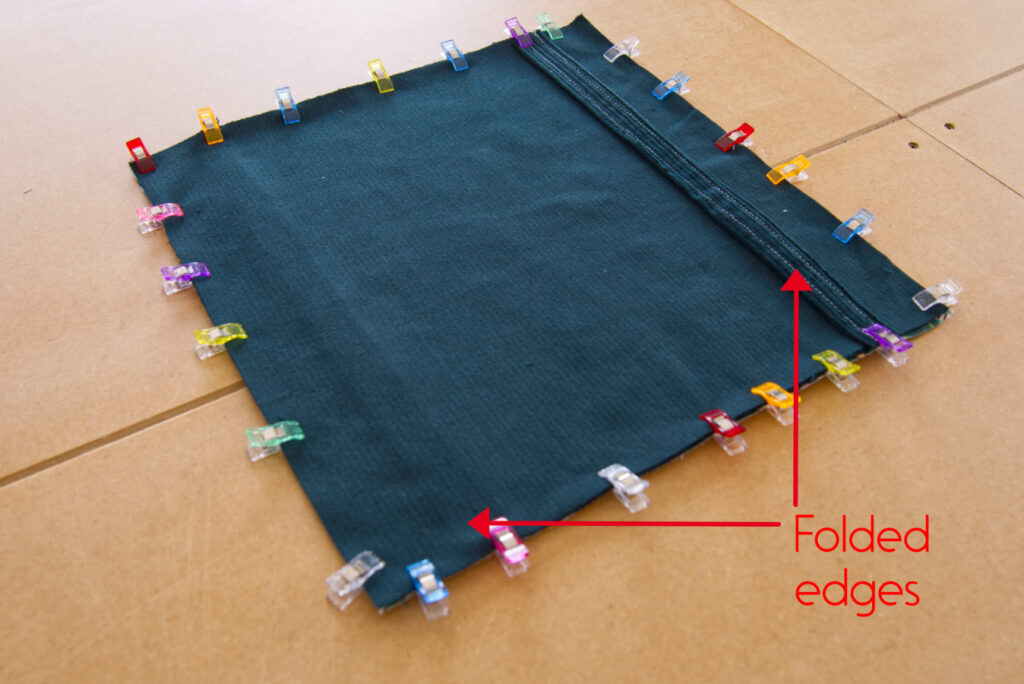
Place the front panel right side up. Place one of your back panels right side down on top of it and clip together using wonder clips, or pins. The back panel is slightly smaller on the width so it won’t cover the front panel on one side. The folded edge should be the edge that doesn’t reach the side, as shown in the image. Notice in the image that the panels are right sides together.
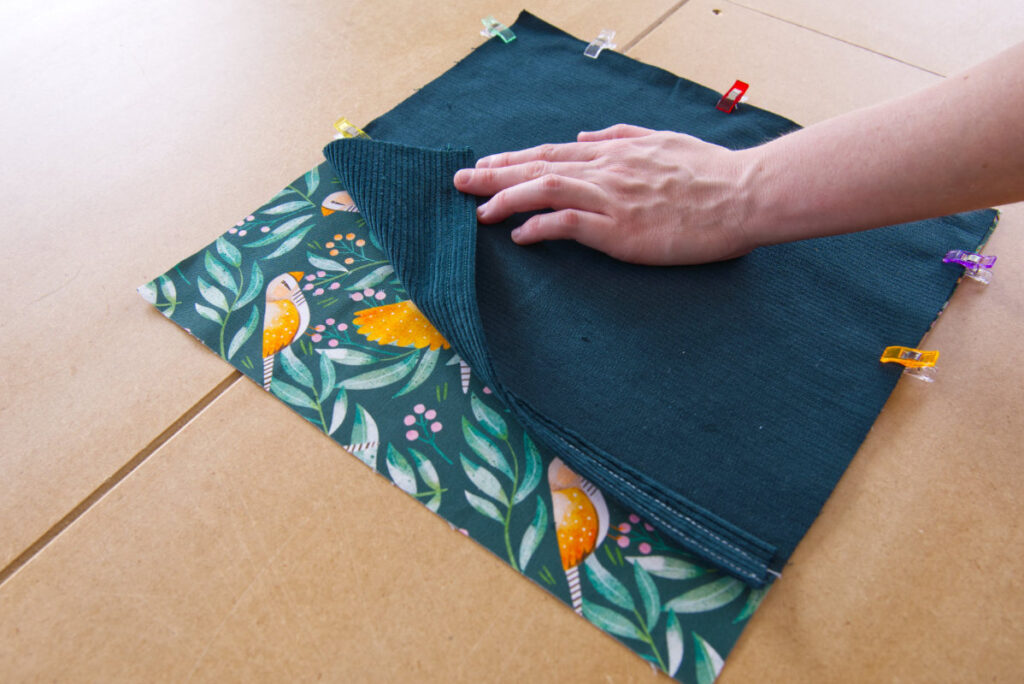
Place the remaining back panel right side down on top of the first, but this time it should be lined up with the other side of the front panel, with the folded edge not reaching the other side. See the image for clarification.
Sew the cushion panels together on all four edges using 1/2″ [1.2cm] seam allowance. Backstitch well at the beginning and end. When you reach the folds, you may find it easier to use a hump jumper (bulky seam aid) to get over the seams.
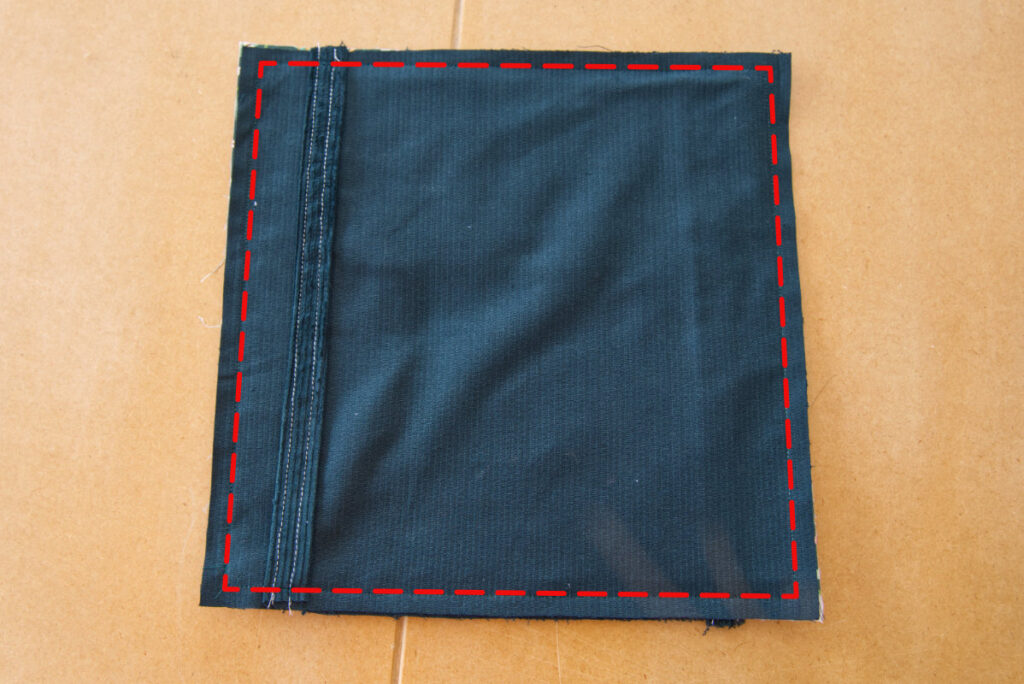
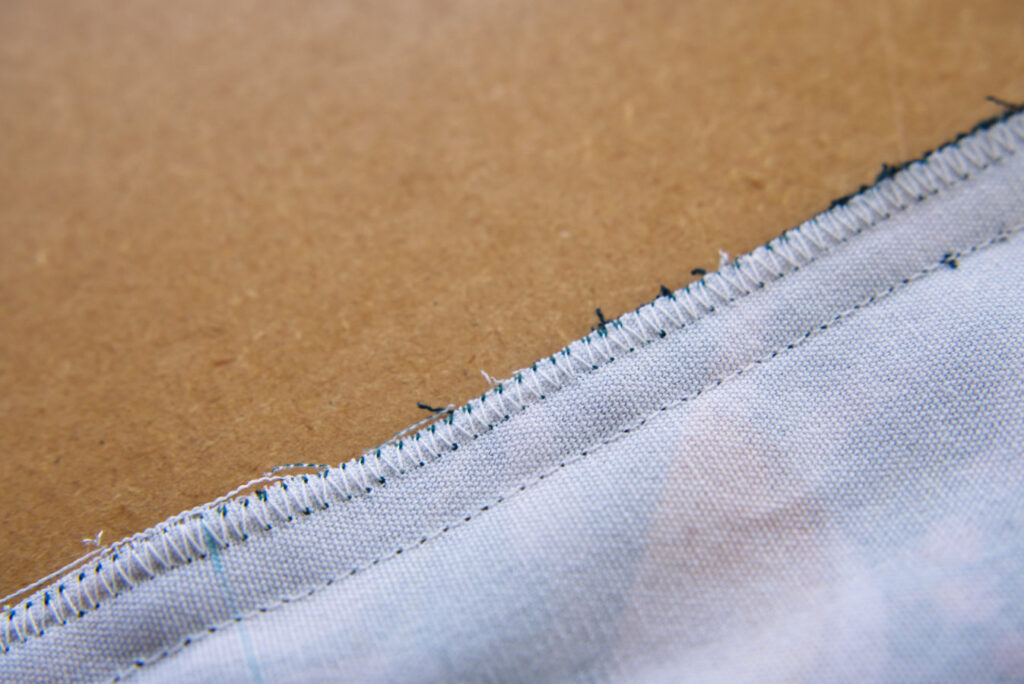
Now you need to zig-zag stitch the raw seams to ensure they don’t unravel next time you wash the cushion cover. In the image below, I’ve shown it from the side of the printed canvas so you see the zig-zag stitch more clearly. As you’re sewing, the zig-zag should be just off the edge of the fabric. Alternatively, you can use an overlocker to finish your edges.
Finish Your Cushion Cover
Now the cushion cover is finished, you need to turn it right sides out through the gaps between the back layers. This can be a bit awkward so take your time. Once it’s out, it will look a little dishevelled, like mine in the image below. Take some time to push the corners and edges out. A chopstick is a great tool for doing this, if you have one. Alternatively, you can use your fingers to poke the corners out. Then give your cover a press with the iron and make sure the fabric is seating neatly where the folds of the back panel meet the front panel.

And Voila! You’ve Learned How to Make Your Own Cushion Cover
It’s as easy as that. If you’re ready for something a little more in-depth, check out our free Nasyow pouch sewing pattern or our free drawstring bag sewing pattern.
If you need fabric for this project, check out our in-stock range here. When you’re ready to jump into something more in-depth, check out our comprehensive bag sewing patterns.
Thanks for joining us for this cushion cover tutorial, Adam & Jo.