Are you an experienced bag maker, or just starting out? Either way, I hope this post will interest you and help guide you through the world of interfacing. This post may contain some affiliate links.
In this post I’ll discuss interfacing in relation to sewing bags (garment sewing is an entirely different subject). My next blog post will discuss stabilisers so keep an eye out for that later this month. There are hundreds of variations of interfacing and stabilisers on the market. I won’t be covering them all as it’s just not possible. If you have a favourite type or brand that I’ve failed to mention, please leave a comment below and let us know what you love about it and where to source it.
Interfacing and Stabilisers – What’s the Difference?
Often these two words are used interchangeably, and they also seem to have varying meanings in different countries. For me, there’s a clear difference (but that could just be my opinion):
- Interfacing thickens the fabric. It’s helpful for reducing stretch and adding strength and durability to the fabric. It adds a bit of weight to the fabric but it doesn’t really add stability or structure
- Stabilisers add structure. They come in different forms but they all add some kind of stability and/or structure to the bag
Interfacing – Which should you use in your bag making projects?
So let’s begin with interfacing. My next post will deal with stabilisers so keep an eye out for it if you’re on our mailing list. For me, the biggest benefits to interfacing my fabric are:
- It adds strength and makes it more durable
- Reduces stretching so the fabric and bag keep it’s shape, not stretching out of shape from use (think of clothes and how your top is often a bit baggier after you’ve worn it all day)
- Adds thickness to the fabric where needed
- Can help colours shine brighter
Woven & Non-Woven – What’s the Difference?
There’s a broad range of interfacings available within each of these categories and a huge variety of weights, thicknesses and qualities, but I’ll try to sum them up with the main differences:
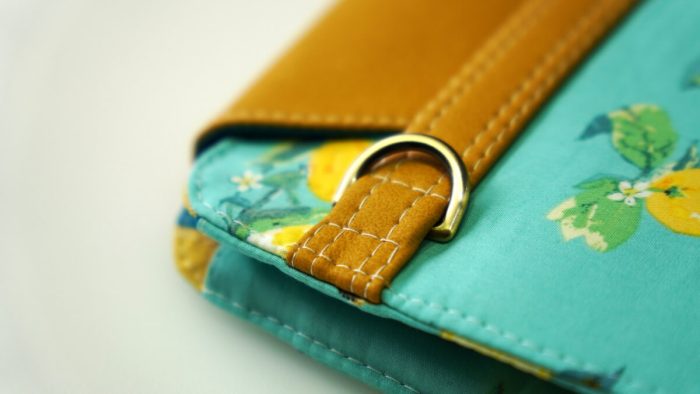
- Woven interfacing is usually made from 100% cotton. It adds thickness and strength while still keeping the beautiful drape of your fabric. It’s best when you want your fabric to keep it’s natural look. Because it’s woven, it’s more expensive
- Non-woven interfacing tends to be slightly stiffer, more paper-like and is usually made from polyester or similar materials. This is fantastic when you’re making a slip pocket or card slots and you want a crisp finish, but it’s not so great for the main panels of the bag where you want the fabric to look it’s absolute best. Non-woven interfacing is usually cheaper
What about the weights/thicknesses?
- Lightweight interfacing is great for card slots and other areas where the layers add up
- Medium weight interfacing is great for quilting cotton when lining a bag or for canvas on a bag exterior
- Heavyweight interfacing is good if you’re using quilting cotton for the bag exterior, but it tends to be too thick for pockets or areas that have lots of layers
Below is a list of some interfacings I use or have had recommended to me. Where you live will dictate which products are easily available to you. For example, Pellon products tend to be easily available in North America, Vlieseline (Vilene) products tend to be more widely available in Europe and Legacy products seem to be more common in Australasia. Some countries have all the brands available, but some will be more expensive than others because the brand is based on a different continent. You may also notice that Pellon and Legacy products have the same names and codes. It would appear that Legacy is the brand name used for Pellon products outside of North America. There’s also loads of unbranded interfacing available on Ebay and Amazon.
Beware, bad quality interfacing can drastically reduce the quality of your finished bag so before you buy loads of any type of interfacing, try it out on a test project and see if you like it. You’ll find that some products work best with specific fabrics. For example, some interfacings work well with quilting cotton but not with canvas. The best way to find your favourites is to buy a small sample of what’s available locally and give it a try. When buying interfacing make sure you check the width! The width varies from 20″ to 60″ so bear this in mind when comparing the price per metre as some will be three times the width of others.
Woven Interfacing Brands & Products
Medium Weight
- Vilene G700 (in the UK you can buy it from SewHot)
- Pellon Shape-flex SF101 (available from Jo-Ann in the USA)
- Legacy L-SF101 (sometimes available from Spotlight stores in Australia)
- EB-Fuse Light (Emmaline Bags Canada)
- SewFuse (Castine Handcrafted USA)
- Gold Star Interfacing (USA)
- Online Bag Supplies (Australia)
Heavy Weight
- Wovenfix 2 (we stock this in the UK and it’s produced by Serial BagMakers in the EU)
- EB-Fuse Heavy (Emmaline Bags Canada)
- SewFuse Plus (Castine Handcrafted USA)
- Gold Star Heavy Interfacing (USA)
- EzeFuse (ChrisWDesigns Australia)
- Online Bag Supplies (Australia)
Non-Woven Interfacing Brands & Products
Lightweight (perfect for card slots)
- Vilene F220 (available in the UK from SewHot)
- Pellon P44F (available in the USA from Jo-Ann)
Medium Weight (great for pockets)
- Pellon Craft-Fuse 808 (available in the USA from Jo-Ann)
- Legacy Craft-Fuse L-808 (sometimes available in Australia from Spotlight stores)
Fusible or Non-Fusible?
For bag making, I always choose fusible interfacing. You’ll notice that all the interfacing products mentioned above are fusible. Fusible is much easier to use and in my opinion, results in a better looking finish. But cutting out interfacing and fusing it to each individual piece can be time consuming. Have you considered block fusing?
What’s Block Fusing?
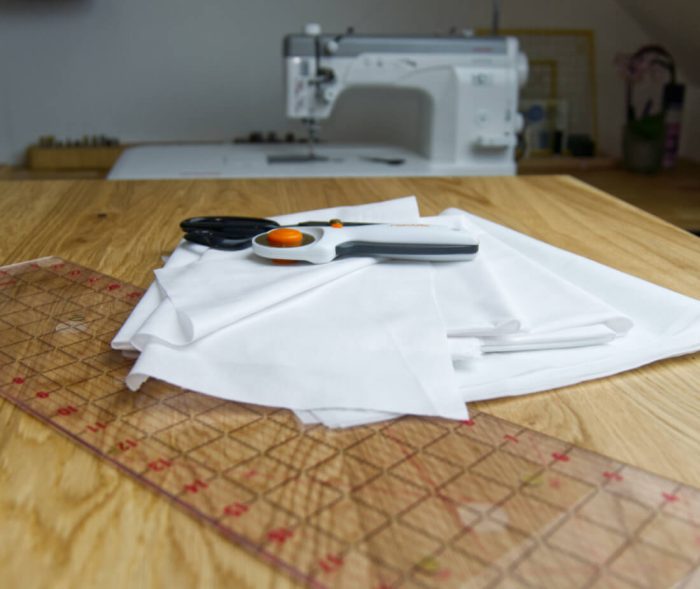
Block fusing is my preferred method for fusing interfacing to fabric. In my opinion, it saves time, results in better adhesion, and saves getting glue stuck to the iron. What’s involved?
- Cut the total amount of fabric you need. To make this easier, lay your pattern pieces out on the fabric and then cut around them in one large piece – your fabric will usually shrink when you interface it due to the heat so it’s important to always cut the fabric larger than you need.
- Interface the entire piece in one go. This is much easier than interfacing lots of small pieces of fabric, and you only have four large edges to worry about so you’re less likely to get interfacing stuck to your iron.
- Now cut your pattern pieces out. They’re already interfaced so you only have to cut out once, rather than cutting them out of the fabric and then the interfacing. A great time saver!
One last perk of block fusing is that your fabric usually shrinks when you’re fusing it (due to the heat). It’s much better that it shrinks when you’re block fusing rather than having it shrink after you’ve cut your pieces out. This results in a better overall finish and an easier sewing experience as your pattern pieces are the correct size!

Summary
There are many many options for interfacing your bag making projects. Everyone has different opinions on the best products to use and these will also depend on the type of fabrics you’re working with. Ultimately, the best thing you can do is source samples of different types and give them all a go. You’ll discover your favourites for each fabric that you work with. I hope you’ve found this post helpful. My next post will cover the subject of stabilisers in bag making.
Hi Jo, I really enjoy your blog and YouTube videos. I was wondering, do you pre-season your cotton fabrics before you use them? I was just wondering if that has any effect on how well the interfacing adheres to it? Thanks
Thanks, I’m really glad you’re enjoying the blog 😁 the only thing I do before using my cotton is give it a quick iron. Then I’m straight in with the interfacing.
Hi again Jo, auto correct made my comment a little off from what I actually meant. I was asking about pre-washing the fabric.I don’t know if that helps clarify my question. Thanks again for all the help you provide.
Hi Brenda, I thought that might be what you meant, but no I just iron it, no pre-washing. From what I can gather, there’s not a lot of bag makers who pre-wash their fabrics
Brenda,
This is Anne, ANother bagmaker since 8 years with no previous experience in sewing.
I learned that pre-washing fabric is mostly done by people who make clothing.
Since clothing will be washed later, it’s important you remove all the shrinking and whatever can be in a fabric before it touches your skin.
Since you will often not wash your handbag in the machine but only – at a maximum – spot clean it, there is no need for that.
The other downfall of pre-washing your fabric is that it removes all the sturdiness and adds a lot of wrinkles. And it will be very hard to remove those again.
What I always do, though, is make sure my fabric is preshrunk. I place a hot steam iron on top before I interface my fabric. You need to ensure all the shrinking has left your fabric before you adhere it to another fabric.
That is the same as what Jo said in her reply 😉
Thanks Jo
A good few wee pointers in there for us.Ive saved the link to this blog in my Samsung notes, so its handy for referencing at anytime.
Have a great weekend
Mags x
Hi Jo,
I would like you to know the interfacing from Another small, woman-operated – business in New York: Sew your bag.
https://sewyourbag.com/product-category/dlh2010/
Katherine, the woman who established that small business, is a bagmaker herself, and when she added interfacing to her shop, she was very aware of what bagmakers need.
Thanks Anne! Small business recommendations are our favourite 😁
I’ve also started to block interface (even if I didn’t know it was called that!) and think it’s much easier, faster and gives a better result. Of course the only downside is that one uses slightly more interfacing fabric and there are no left over pieces to ‘frankinface’ zipper pockets with. Thanks for the brand names used in Australia; after 2 years of bagmaking, I still get confused!
Hi Jo I don’t use a branded woven interfacing I use the woven interfacing from Crackers fabrics in the UK. Shirley’s little company is a great source of fabrics for bag making and she provides I think I am correct in saying at least four different weights. Her woven interfacing is excellent and I have been very pleased with the use in my bags.
She has a lovely lady who demonstrates the differences on videos.
I can’t do a link as I don’t know how but the company is Crackers Fabrics .
I will be trying your suggestion of block cutting from now on. I also will be looking forward to your blog on stabilisers which I get very confused with.
Thanks Jayne