Scroll down for the French translation – Faites défiler l’écran vers le bas pour voir la traduction française de l’article.
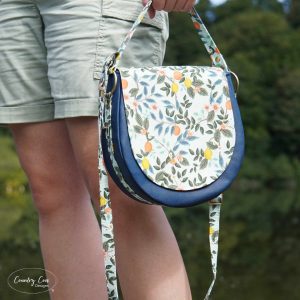
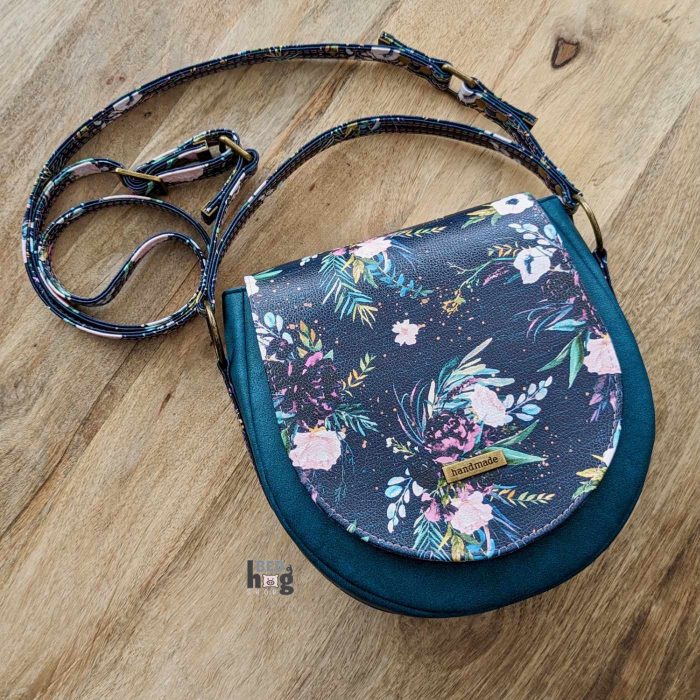
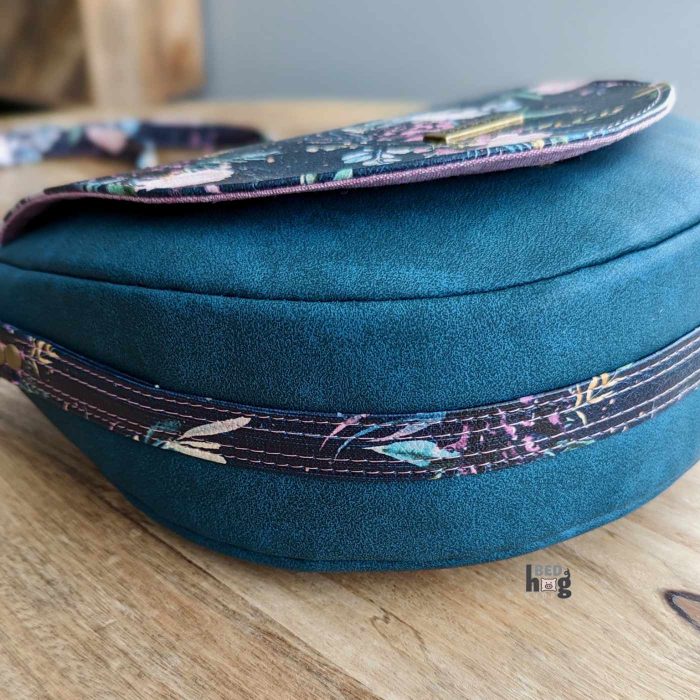
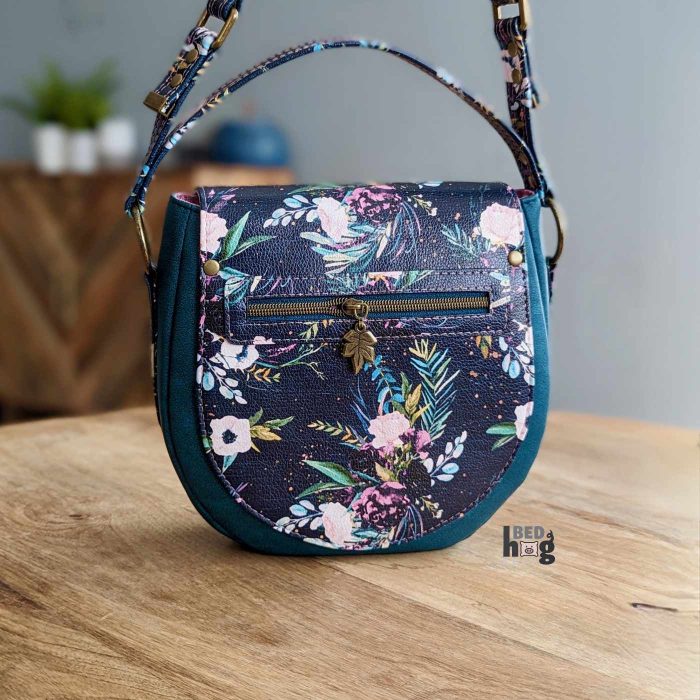
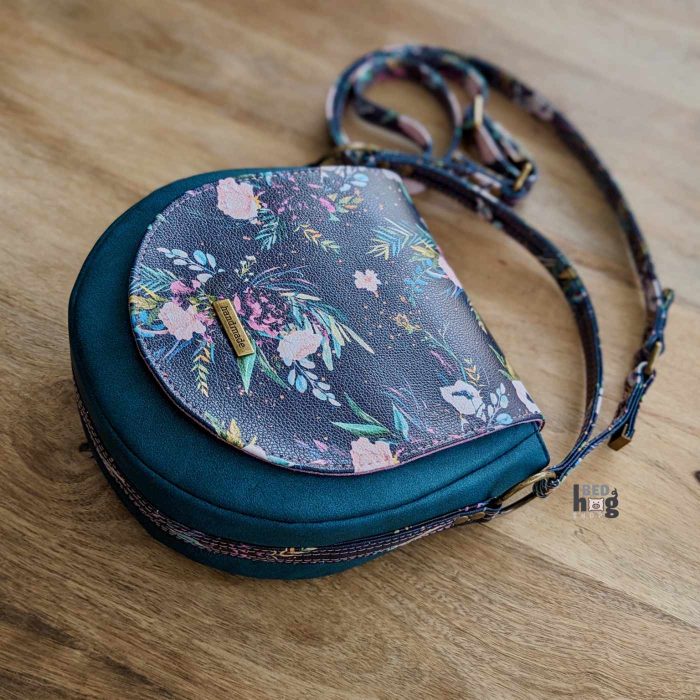
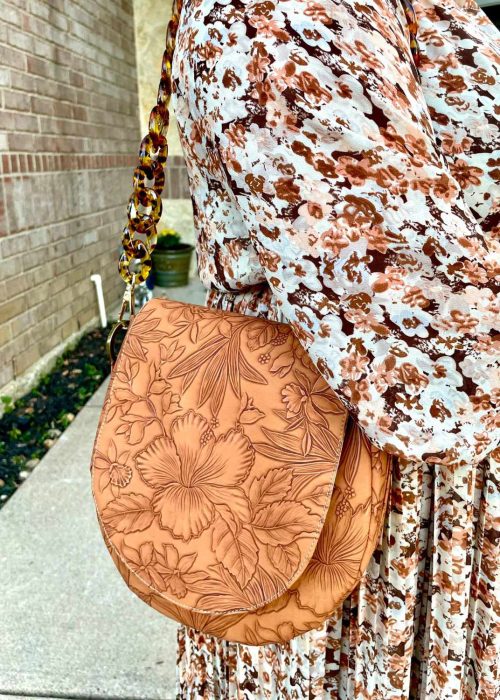
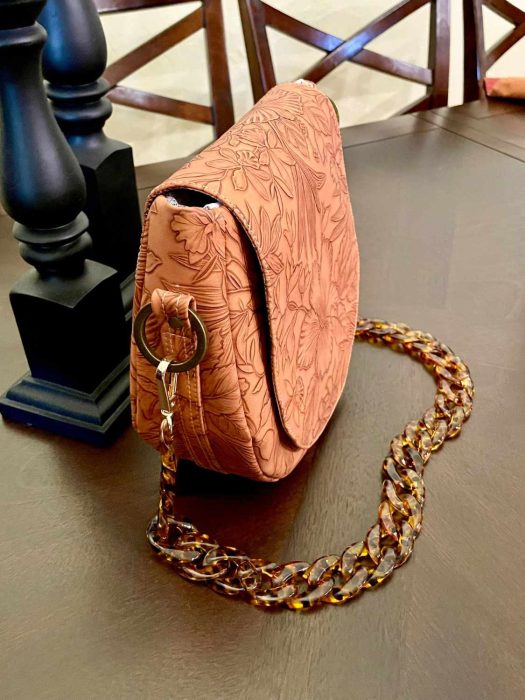
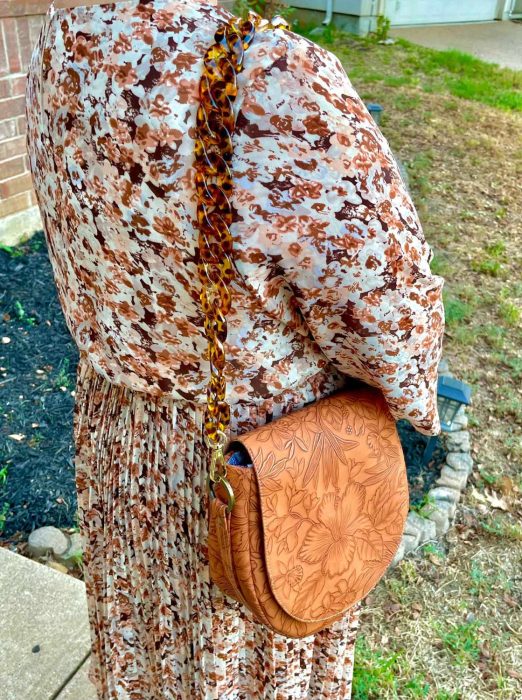
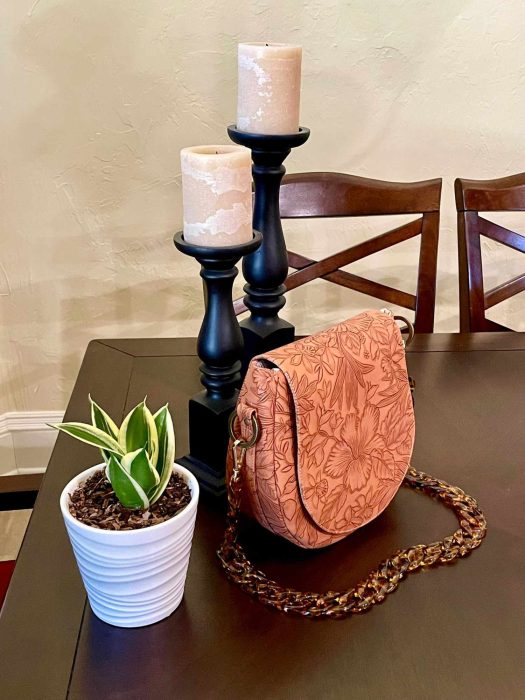
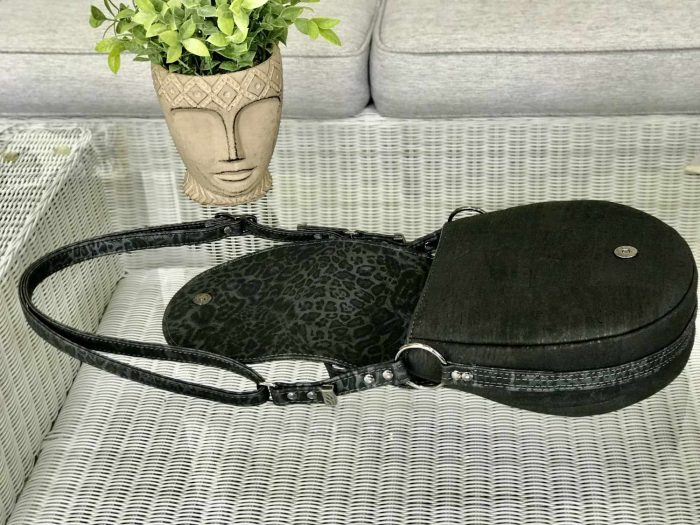
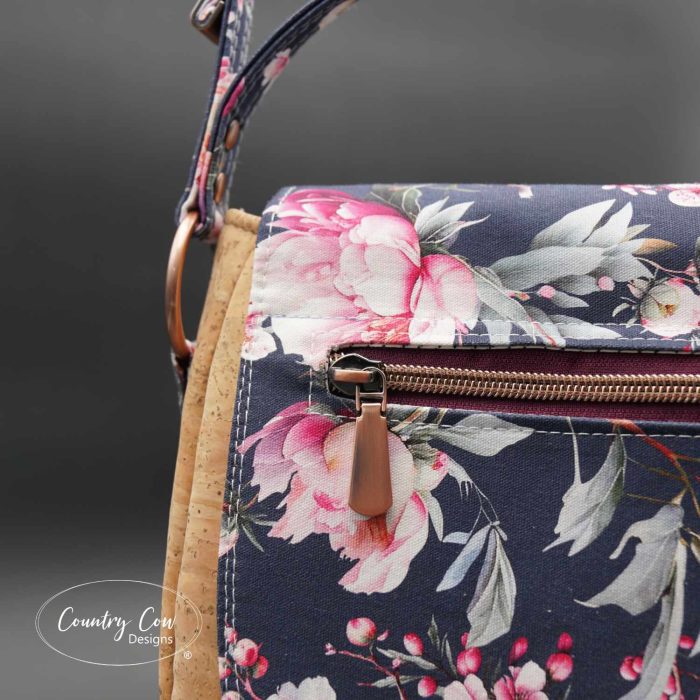
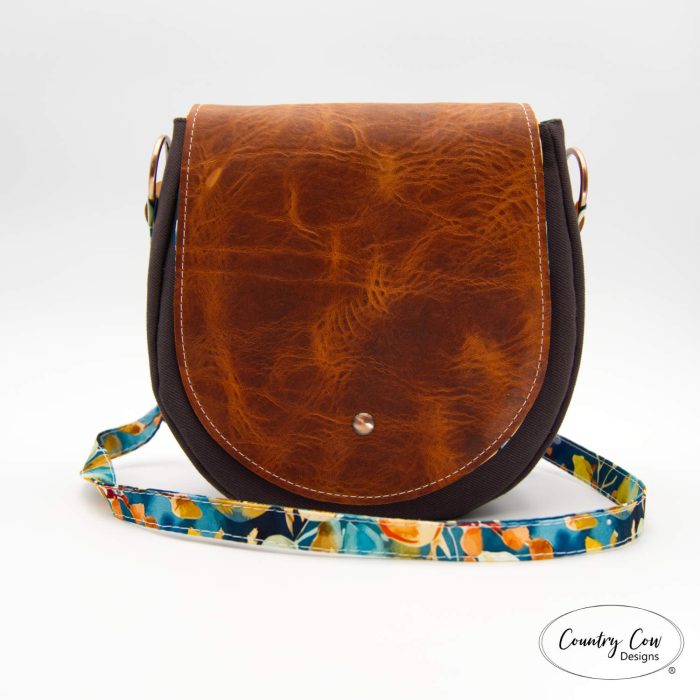
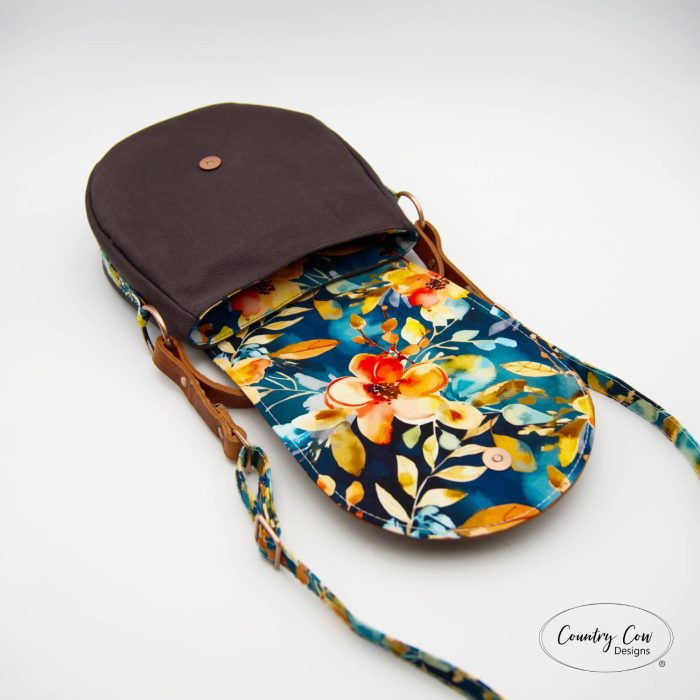
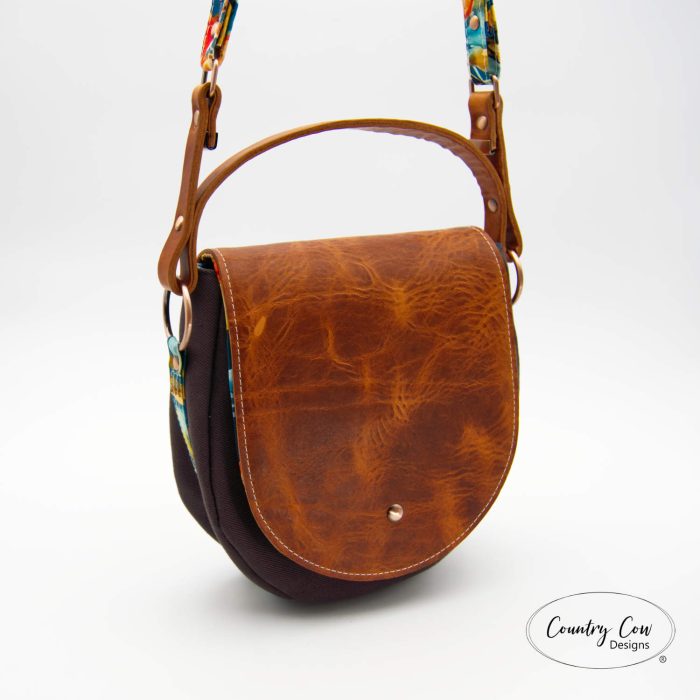
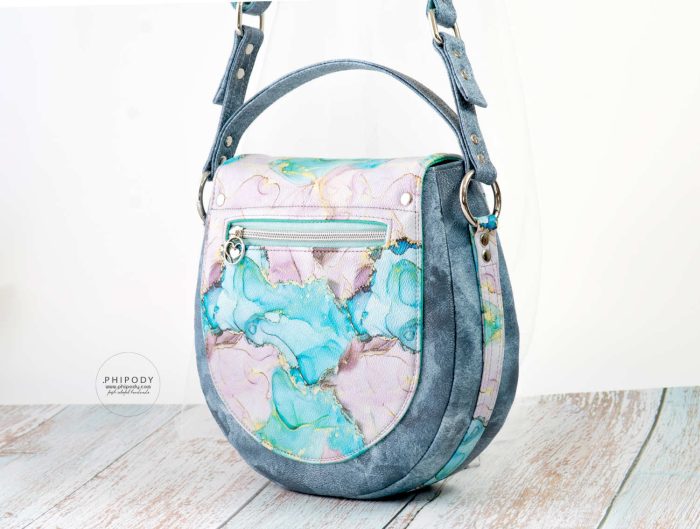
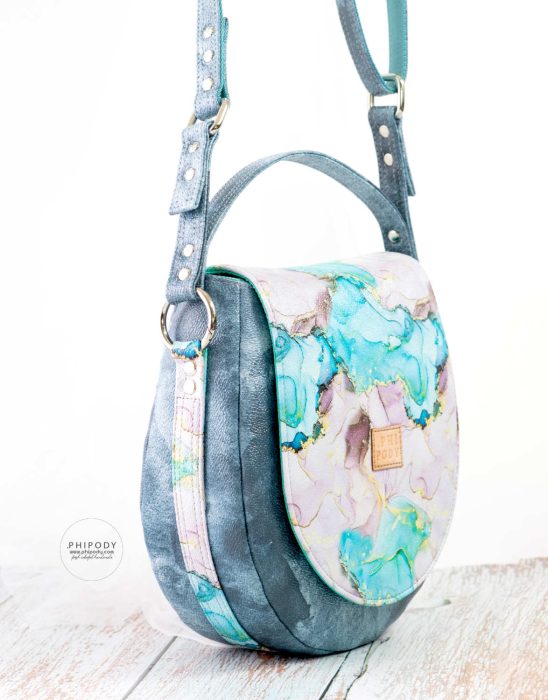
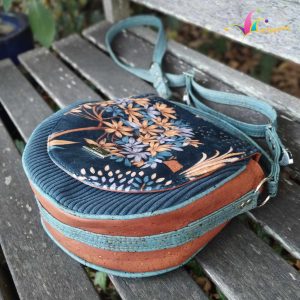
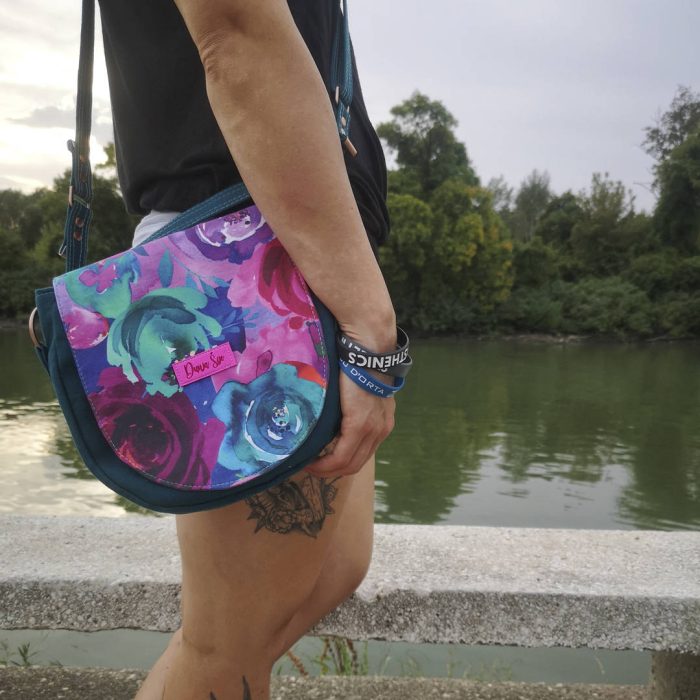
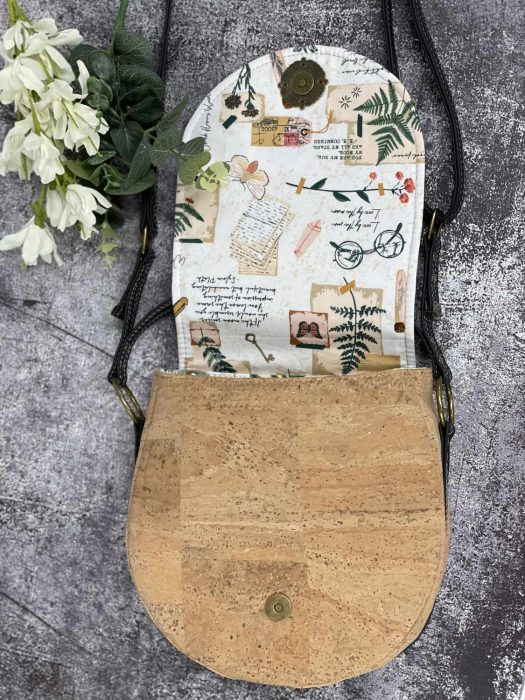
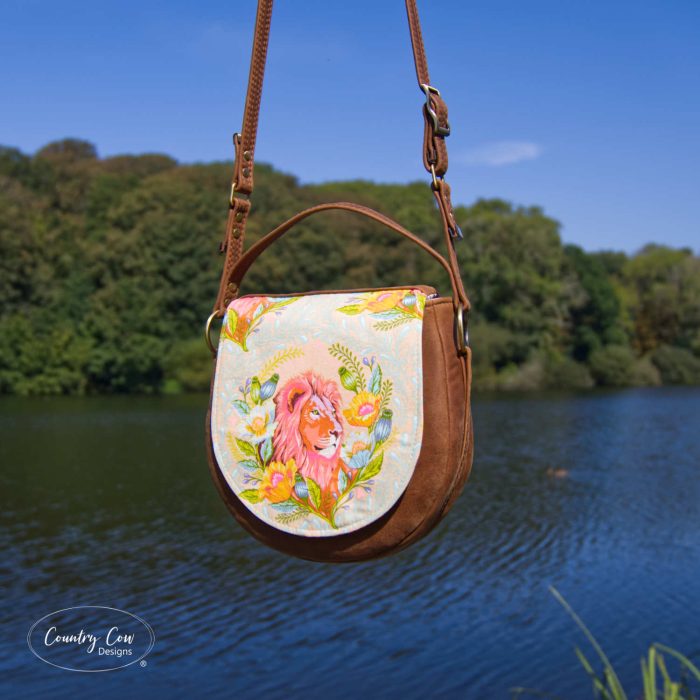
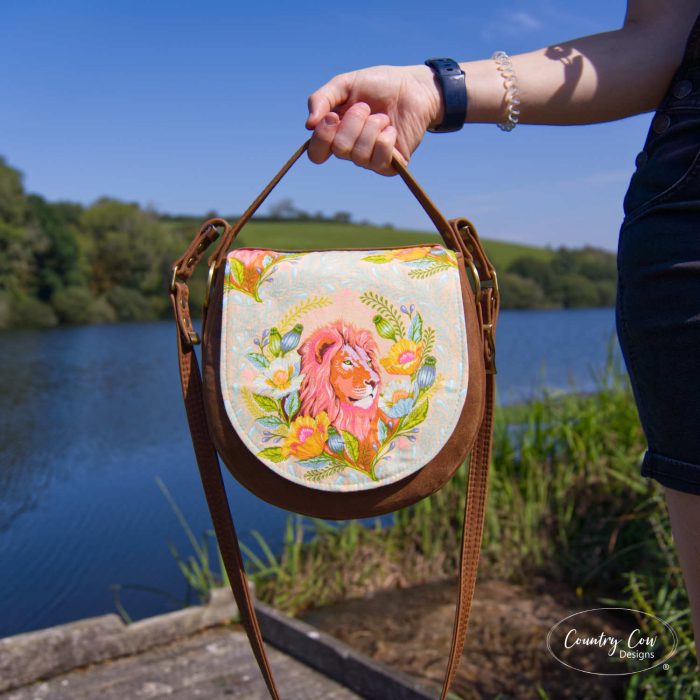
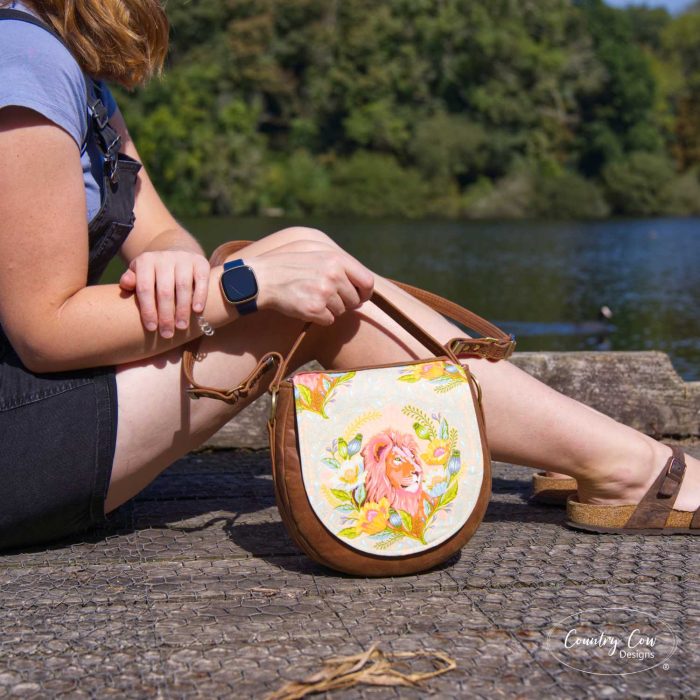
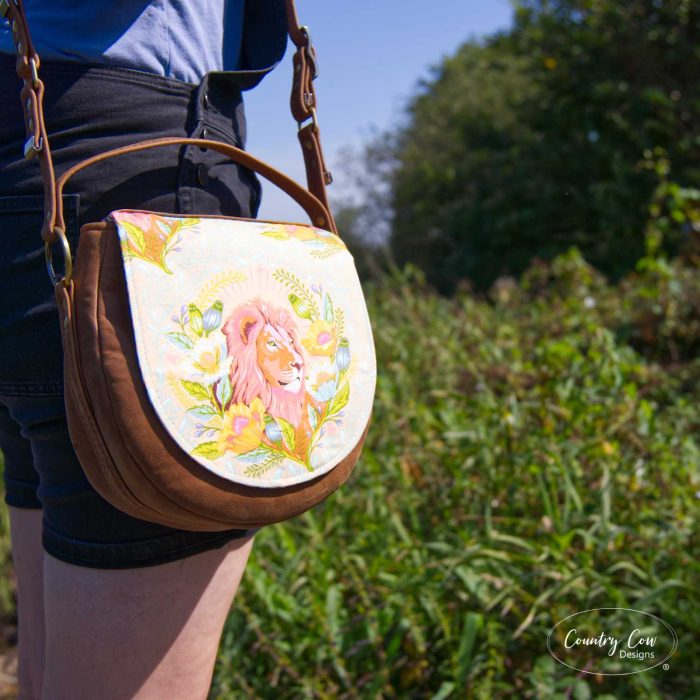
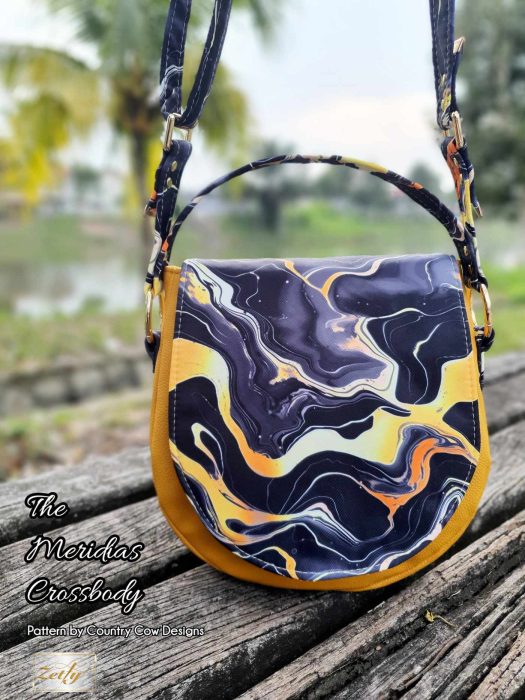
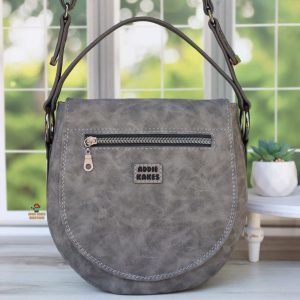
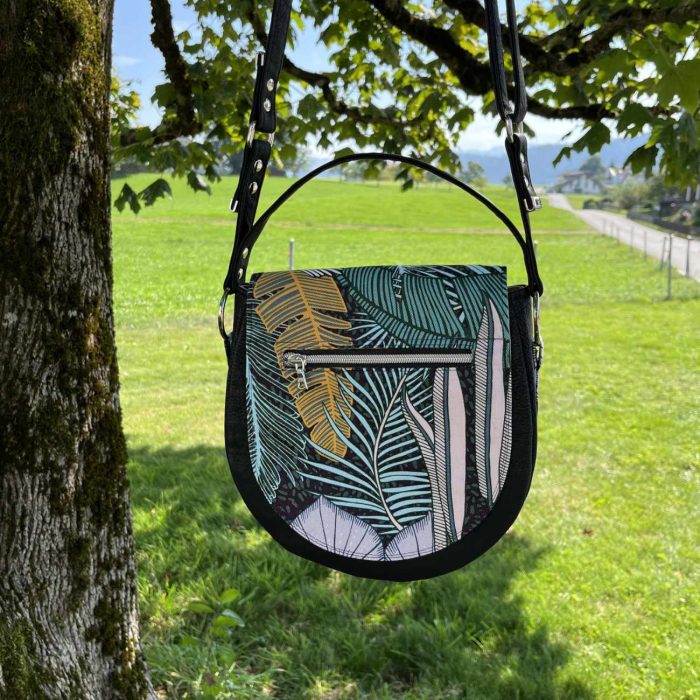
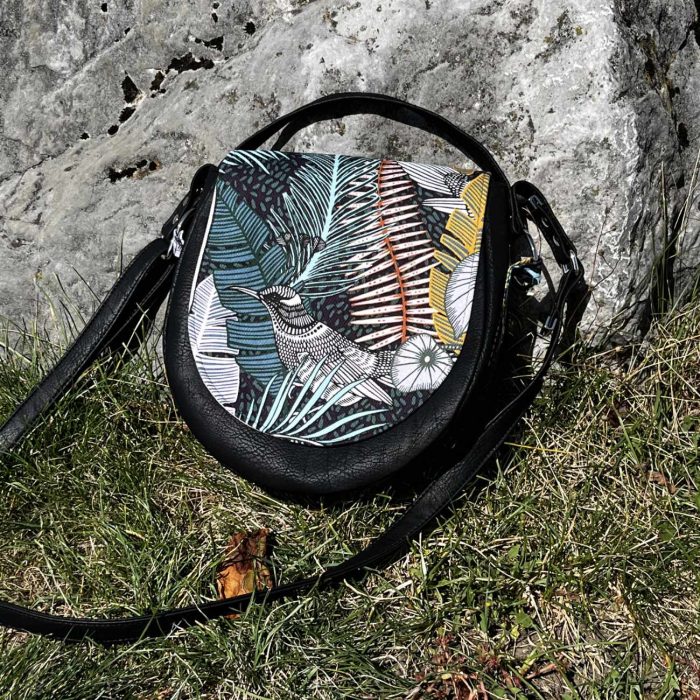
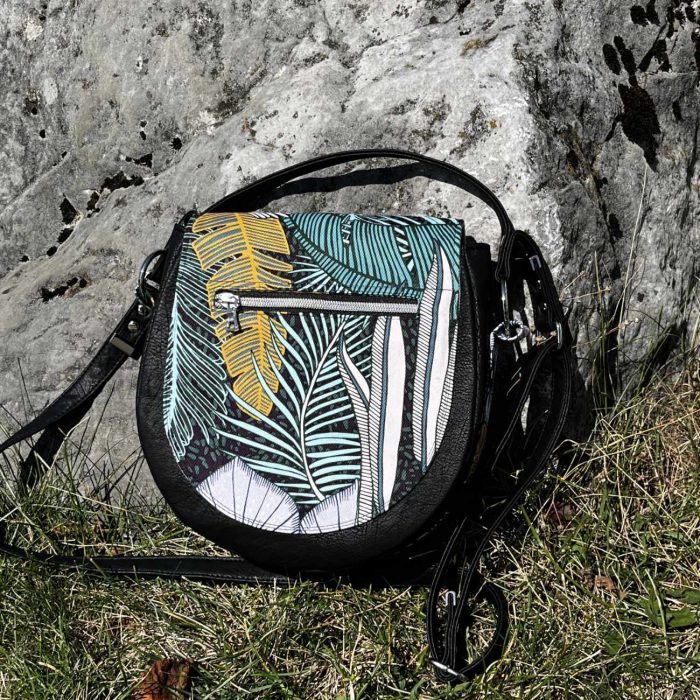
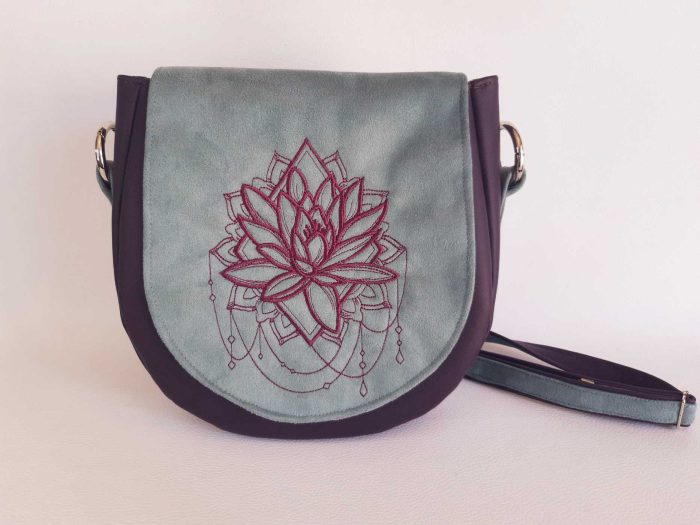
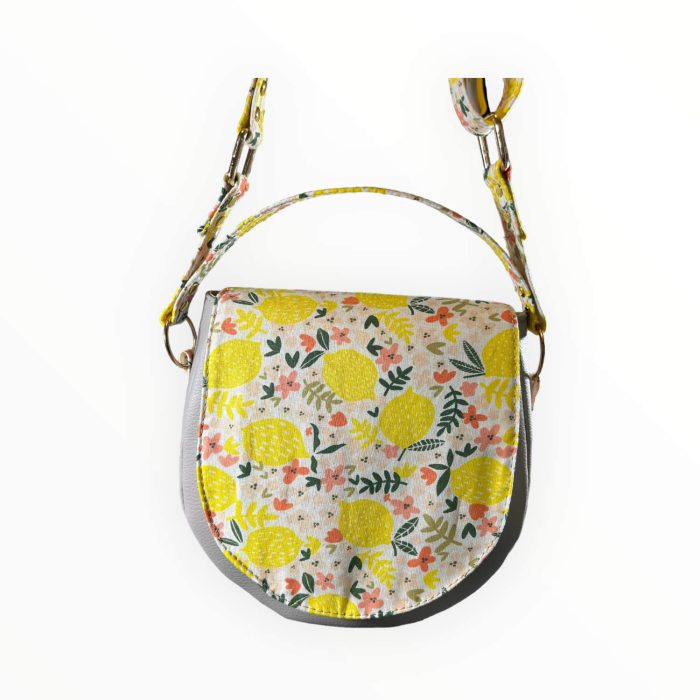
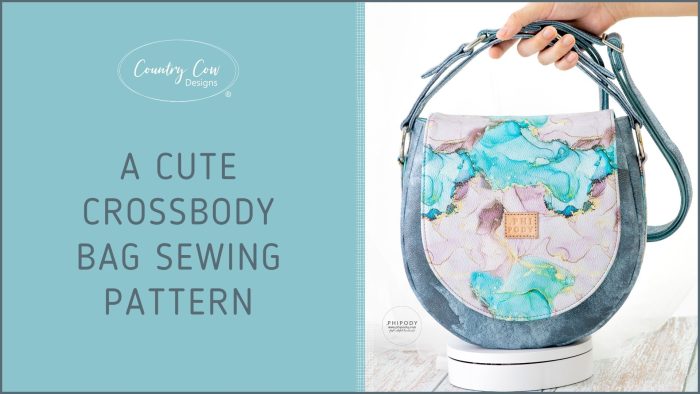
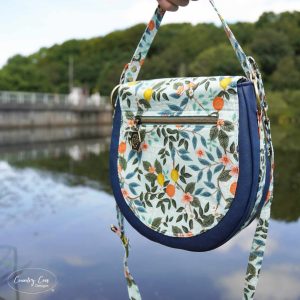
Are you looking for a cute crossbody bag sewing pattern? Look no further than our NEW Meridias crossbody bag.
Scroll down the page to see the amazing tester photos and get some inspiration before making your own bag!
BUY THE SEWING PATTERN HERE
WHAT’S SPECIAL ABOUT THIS BAG PATTERN?
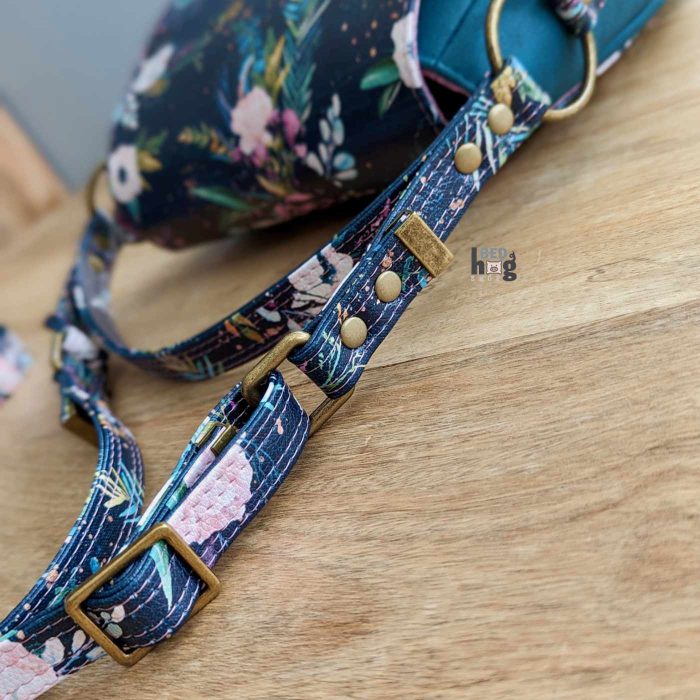
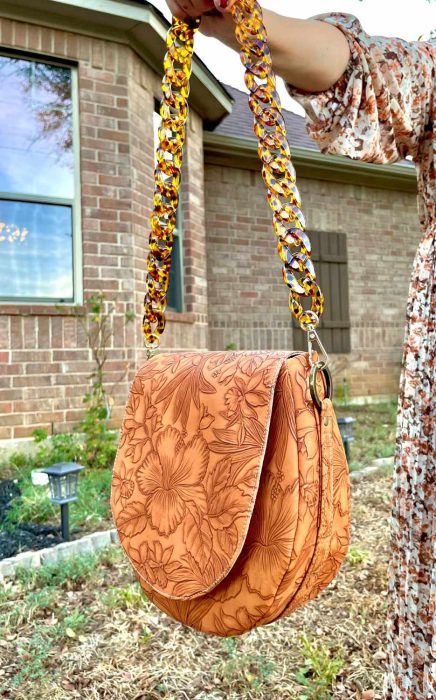
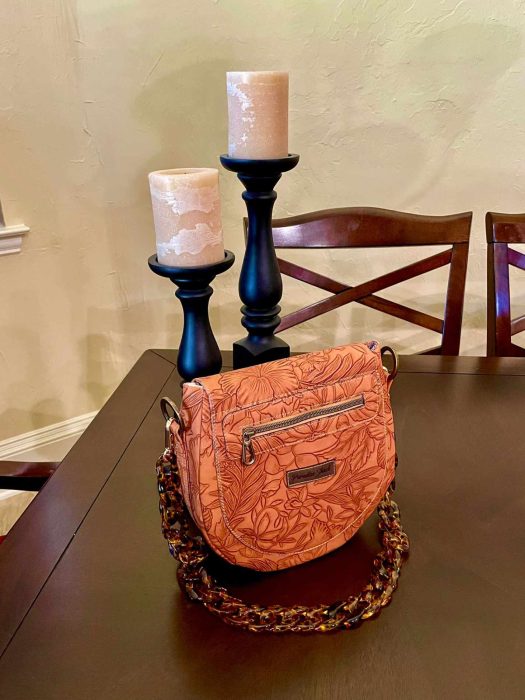
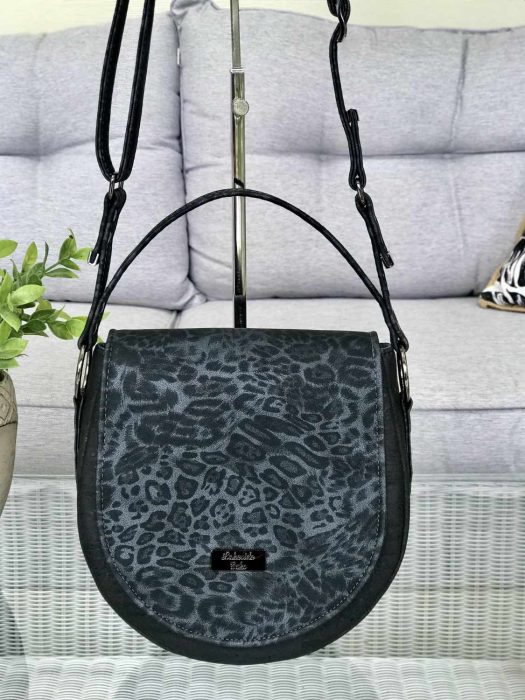
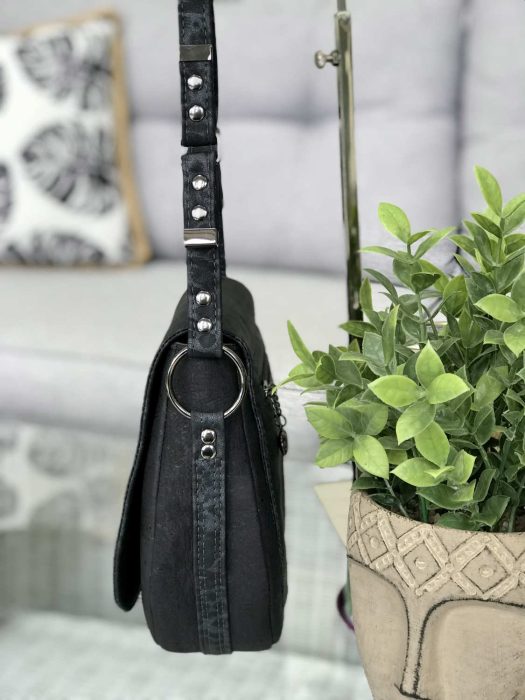
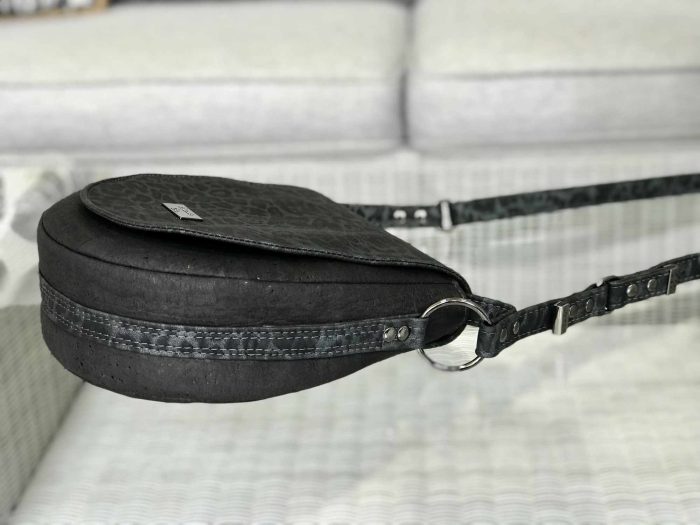
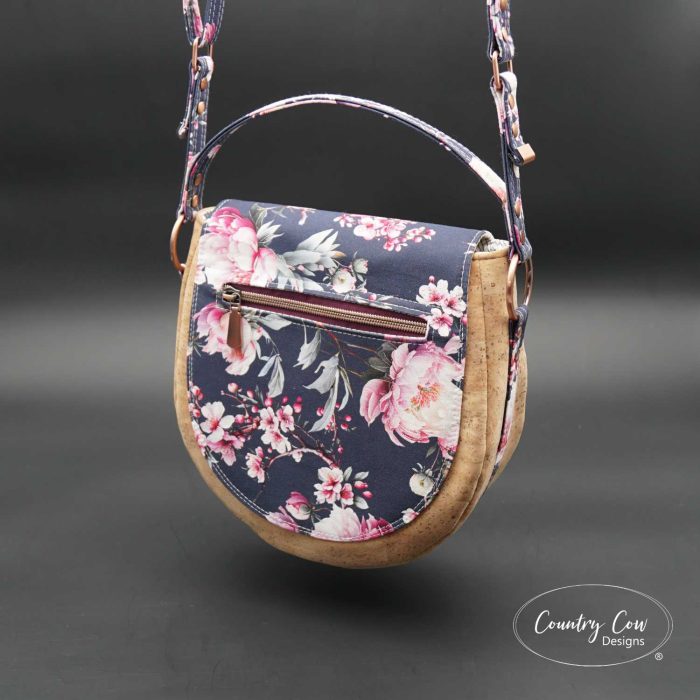
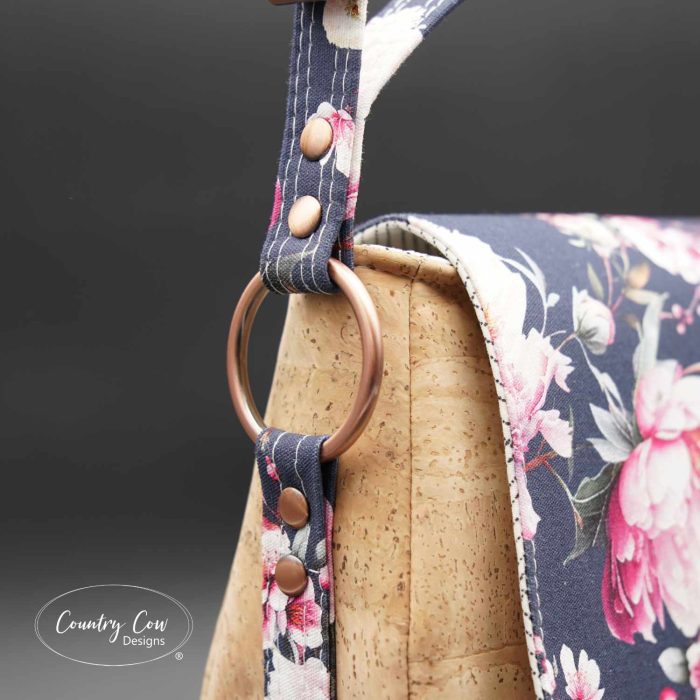
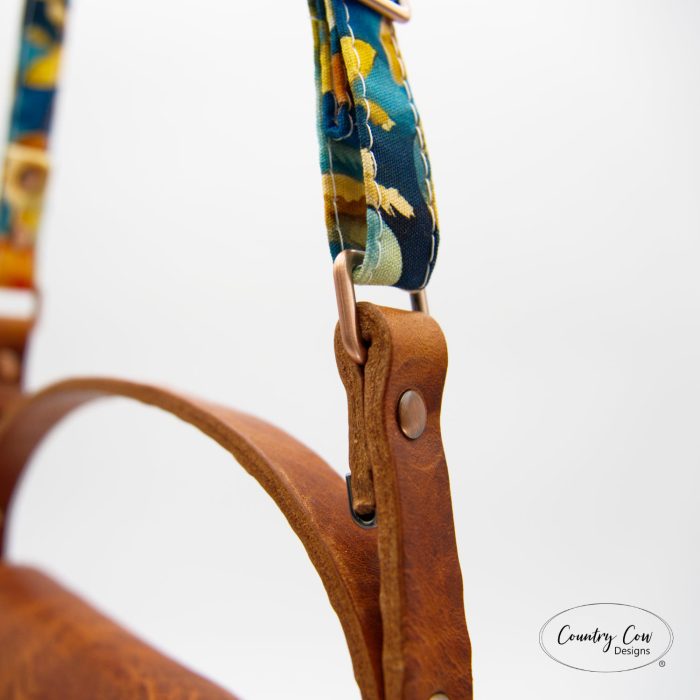
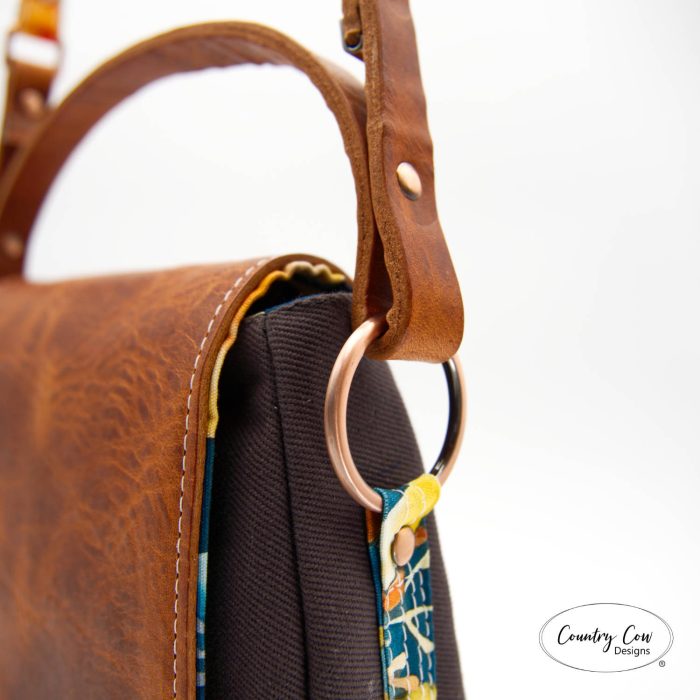
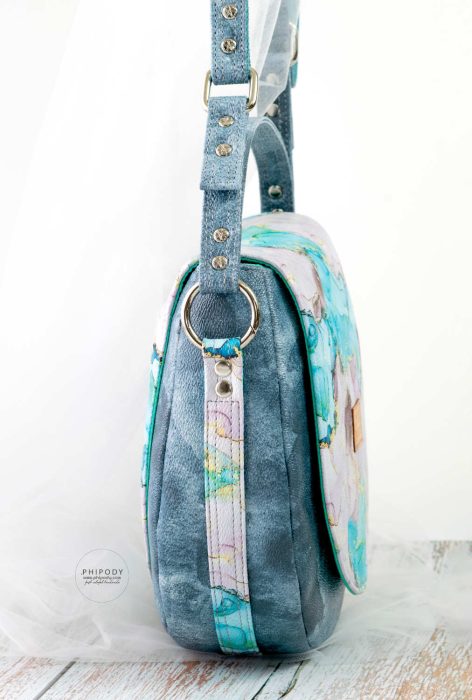
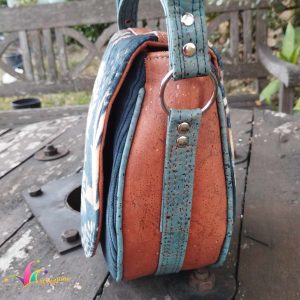
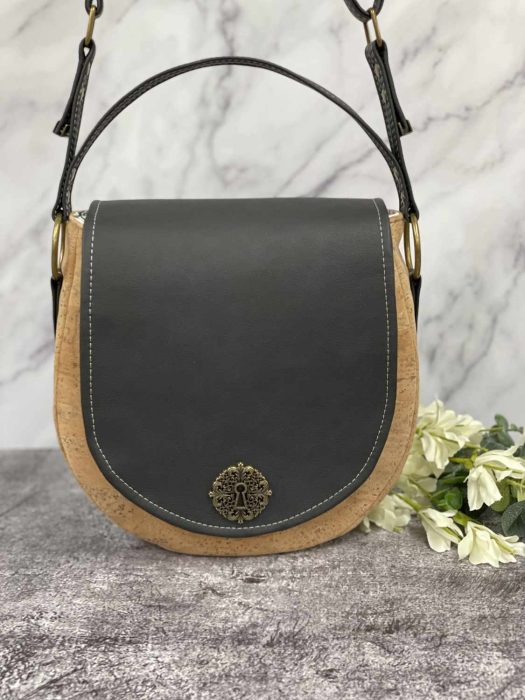
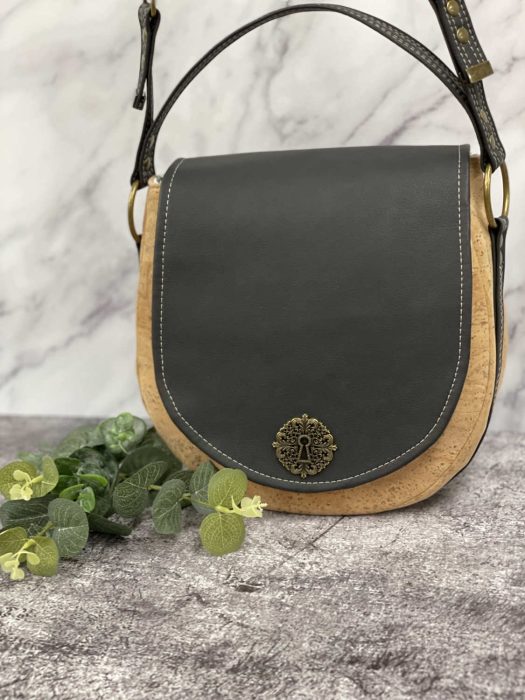
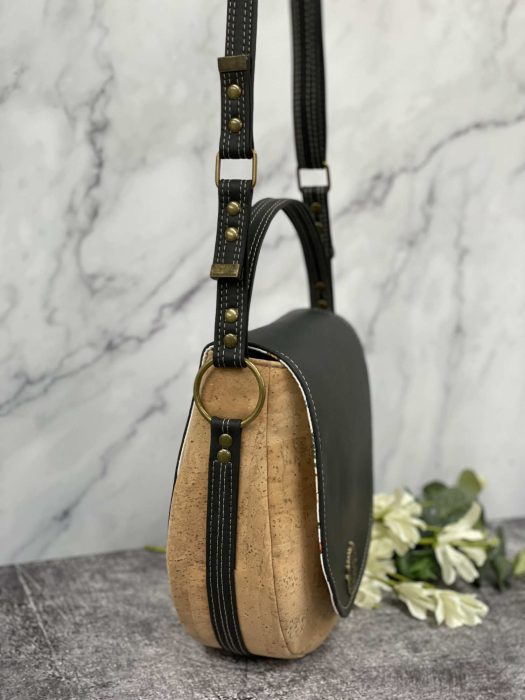
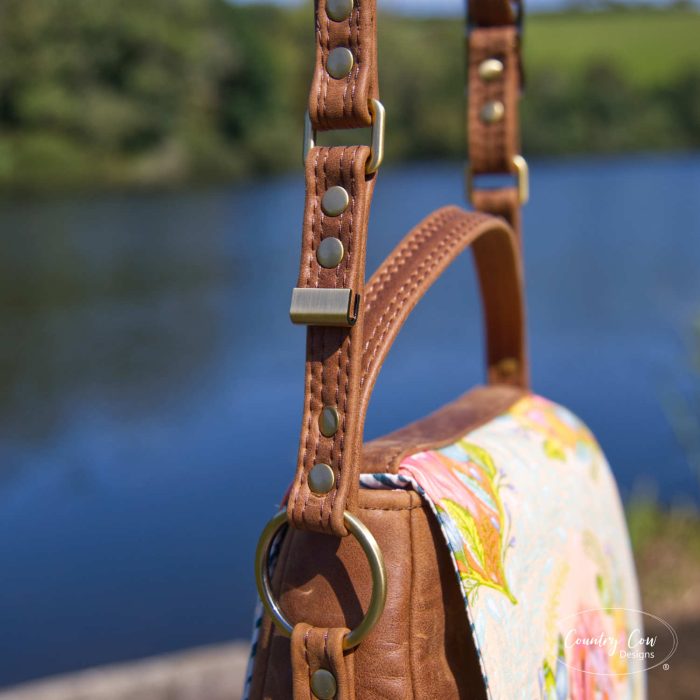
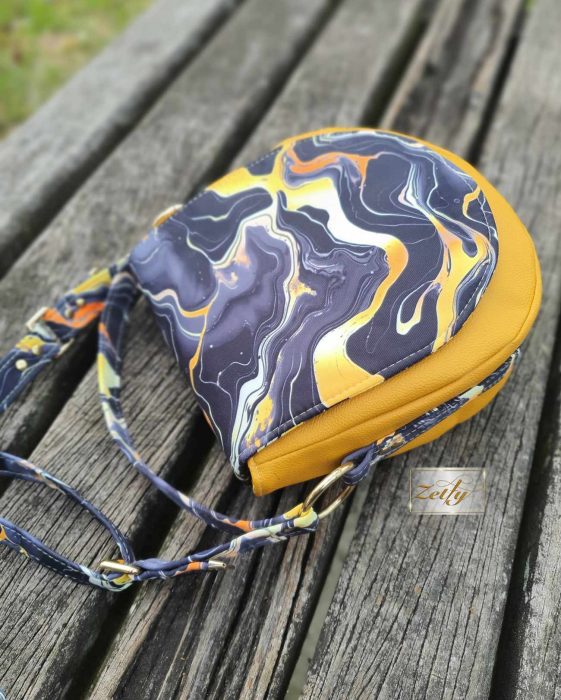
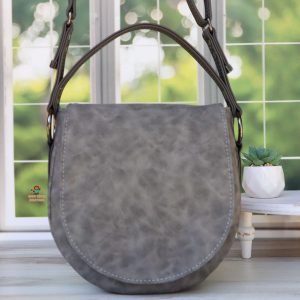
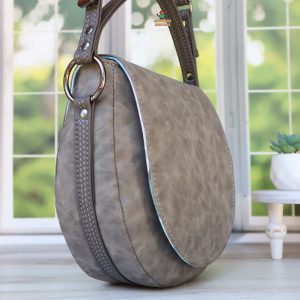
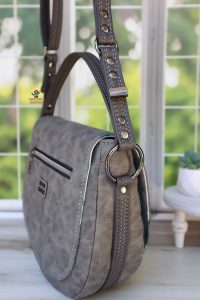
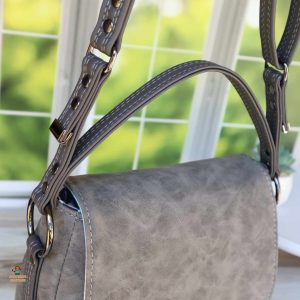
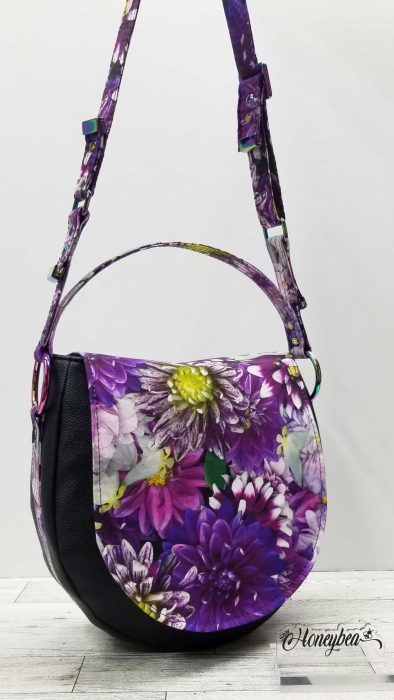
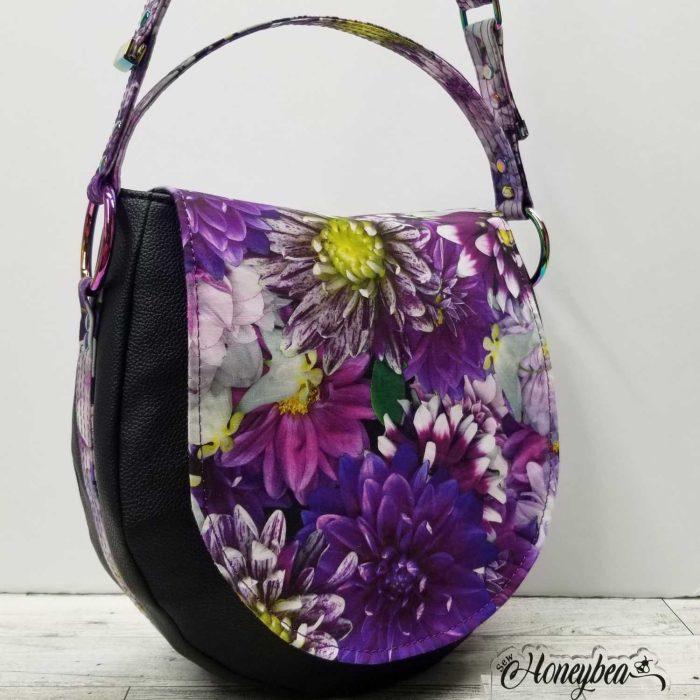
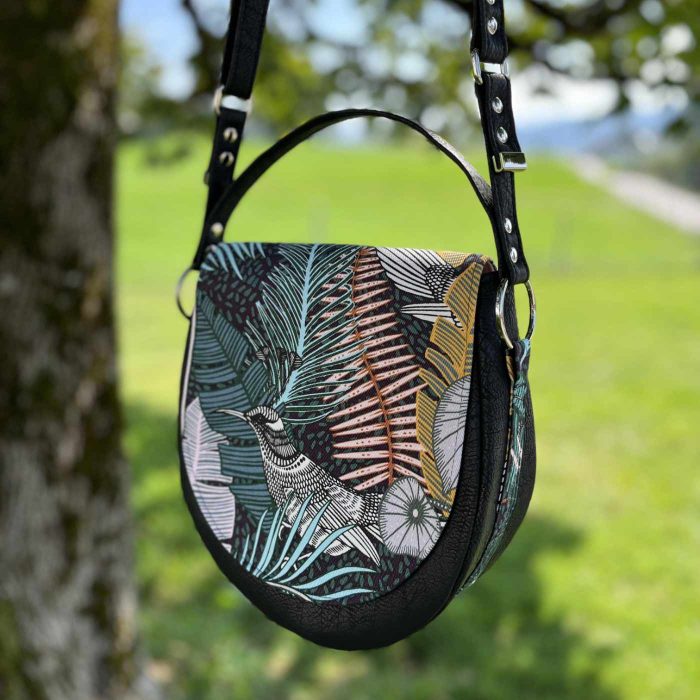
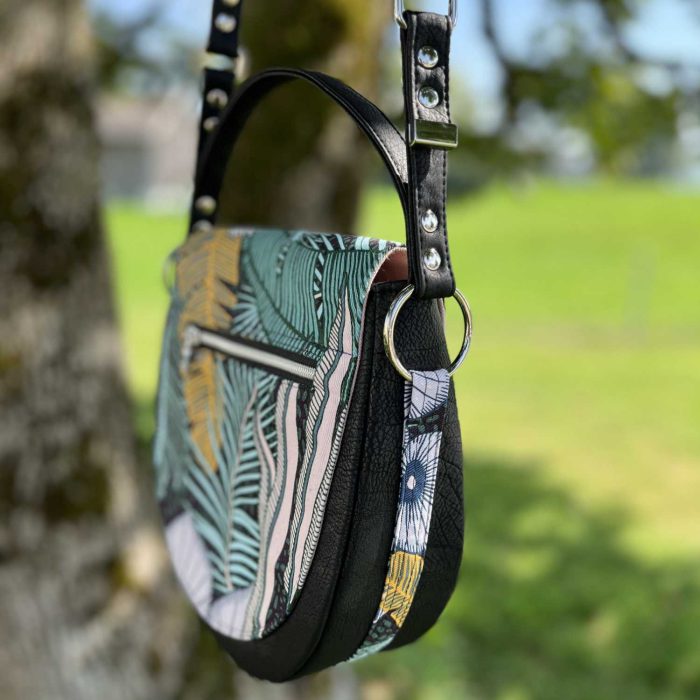
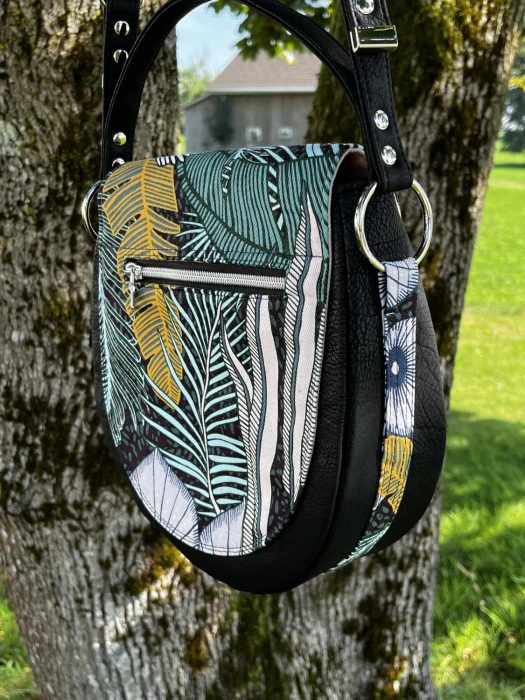
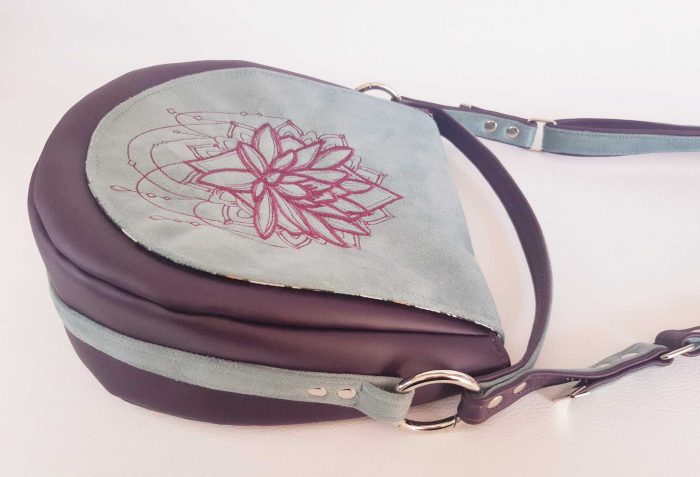
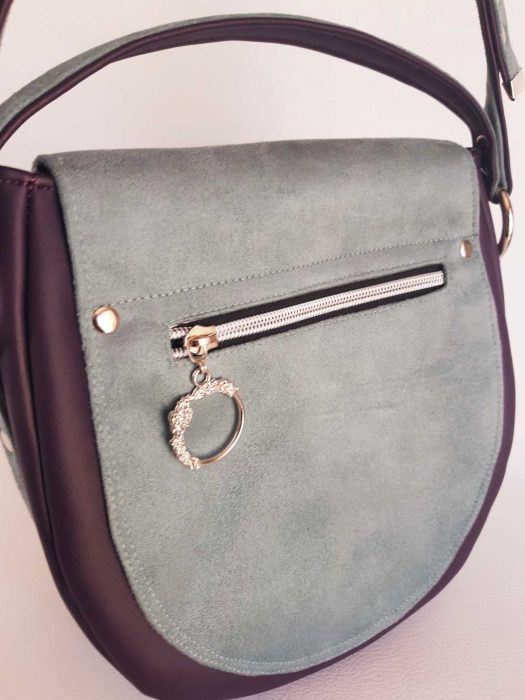
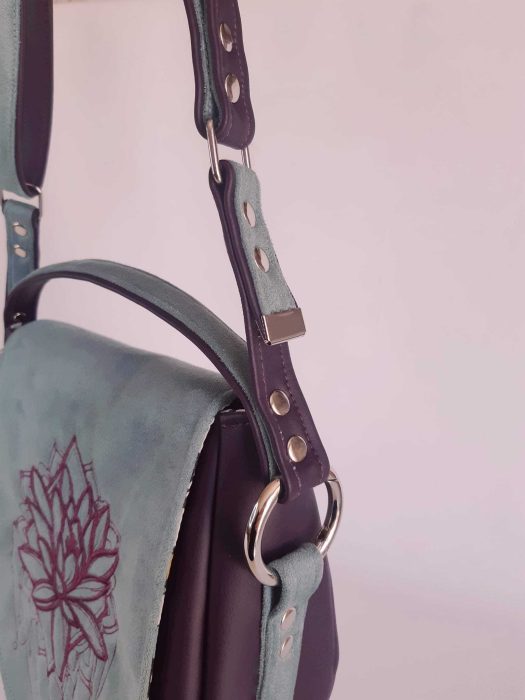
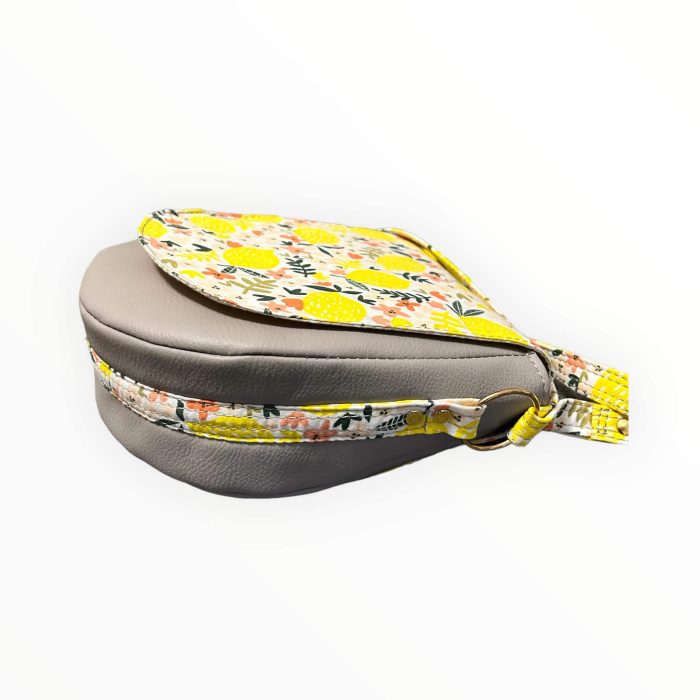
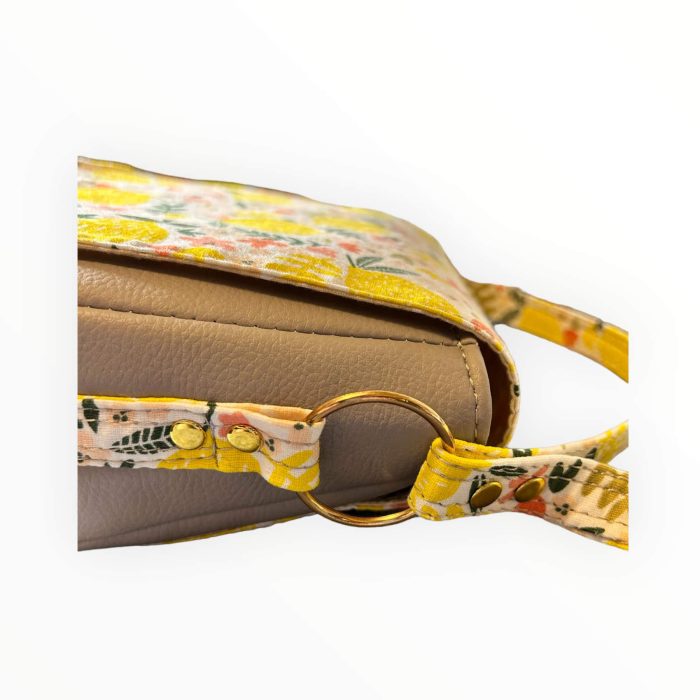
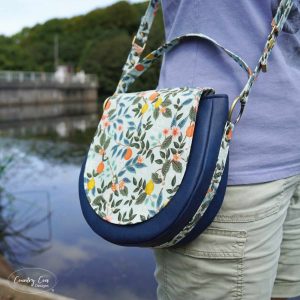
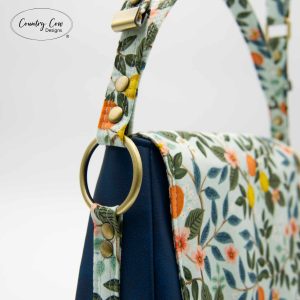
This shape is different to our usual style. We’ve seen a few semi-circle bag patterns out there but we wanted to do something different. Adam decided it needed a grab handle but he didn’t want it sewn onto the flap like you usually see on this style of bag. Adam’s speciality is in unique straps so he came up with this idea!
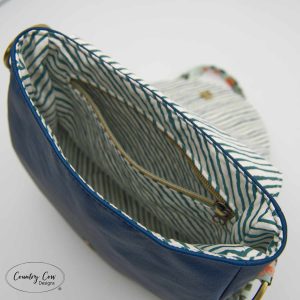
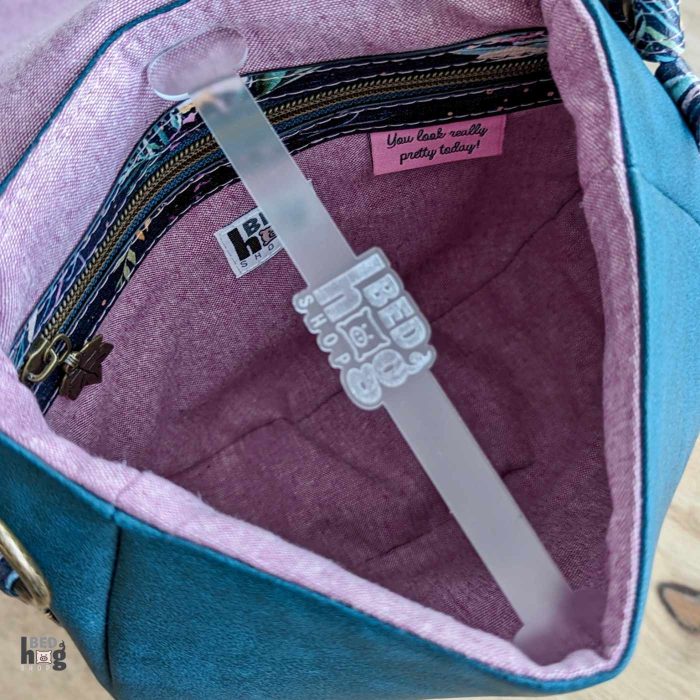
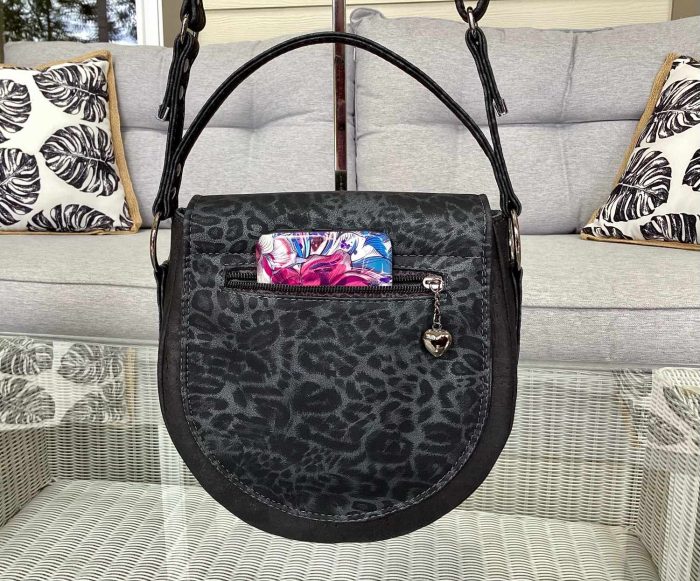
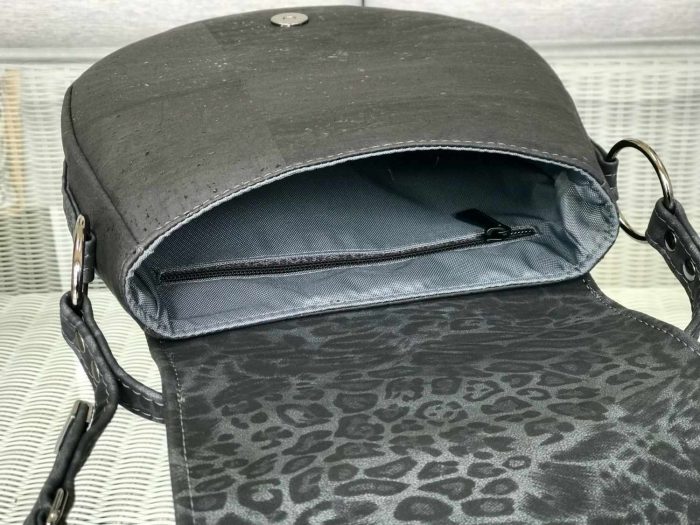
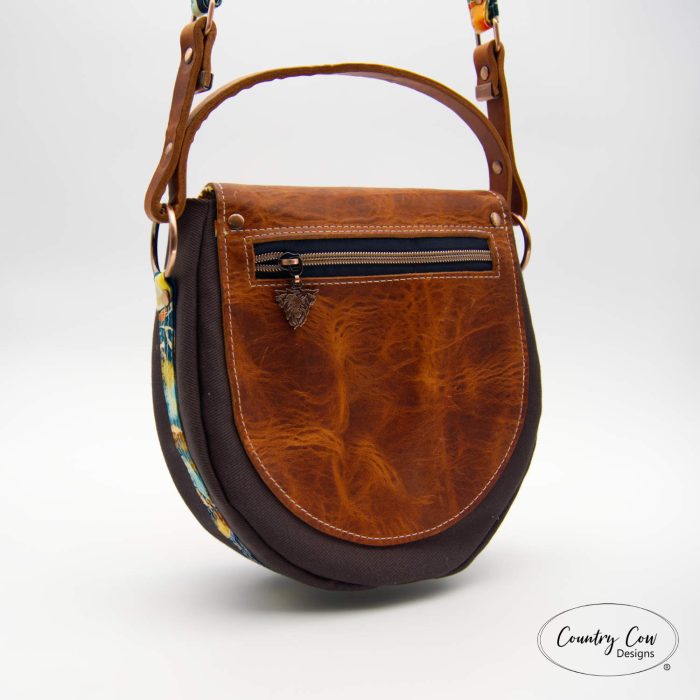
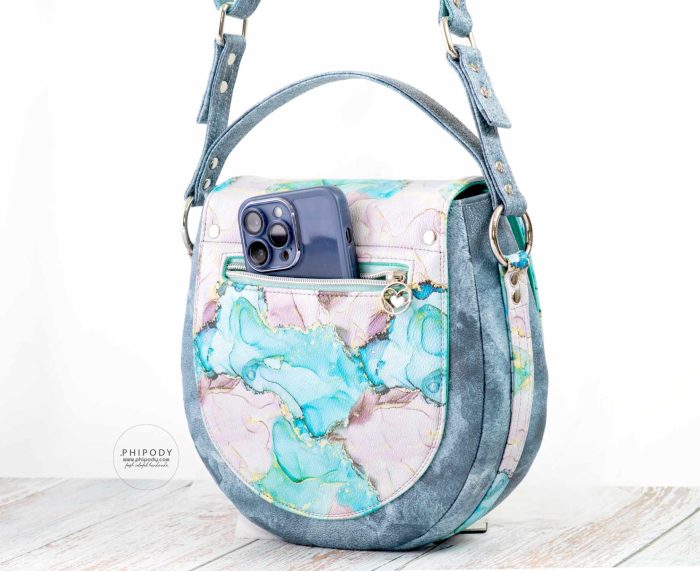
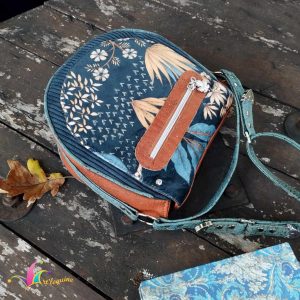
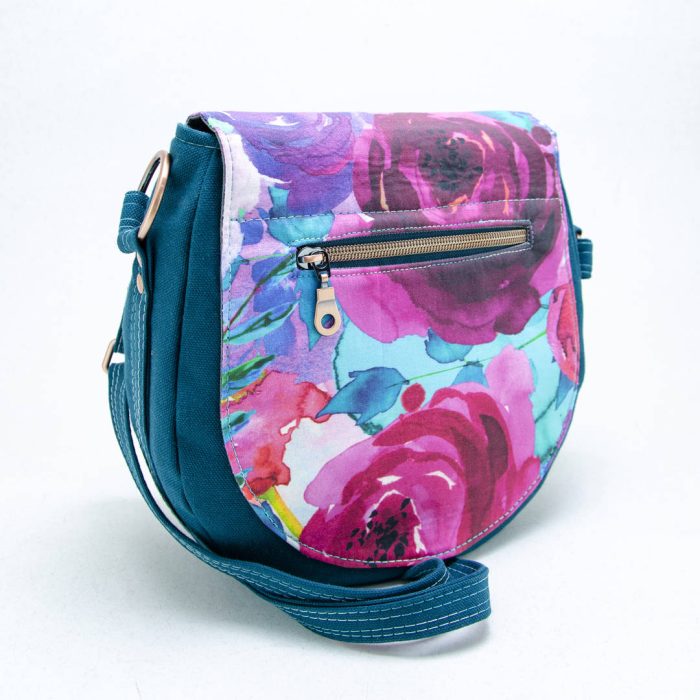
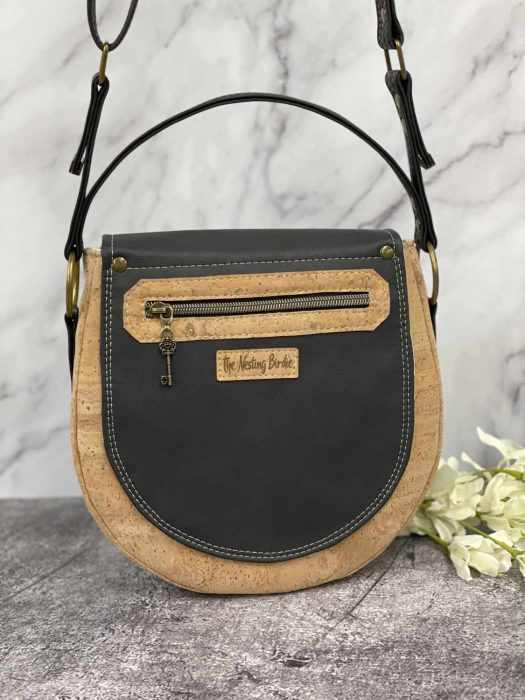
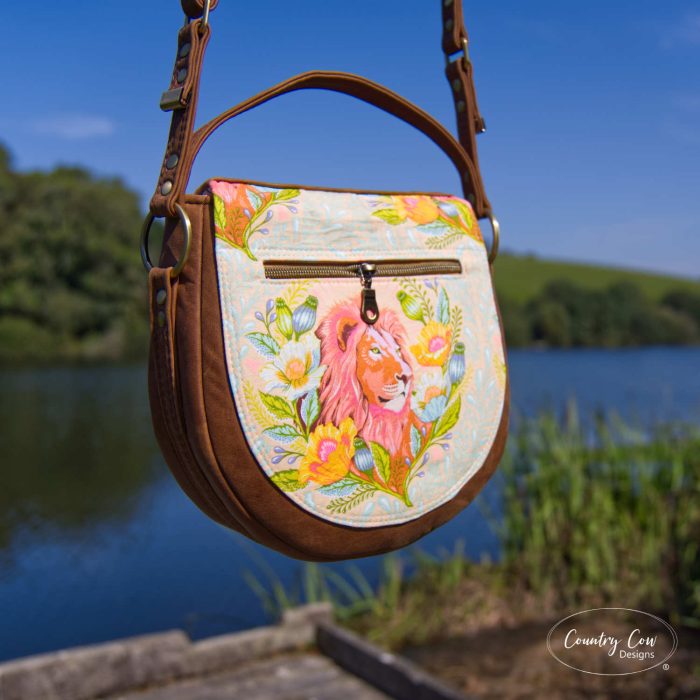
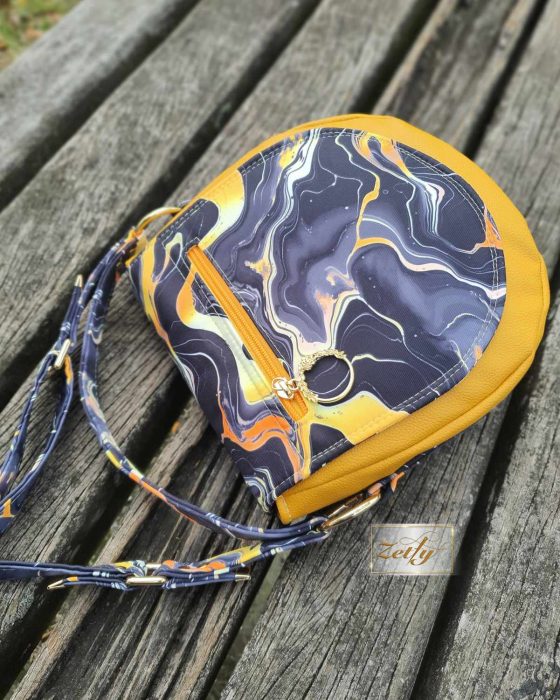
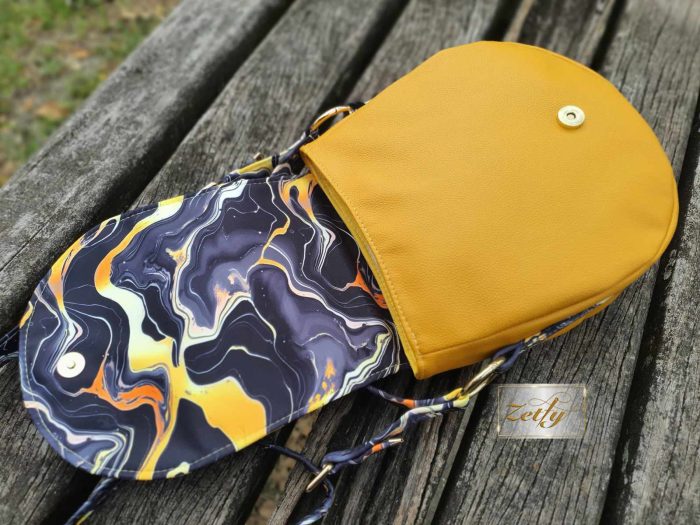
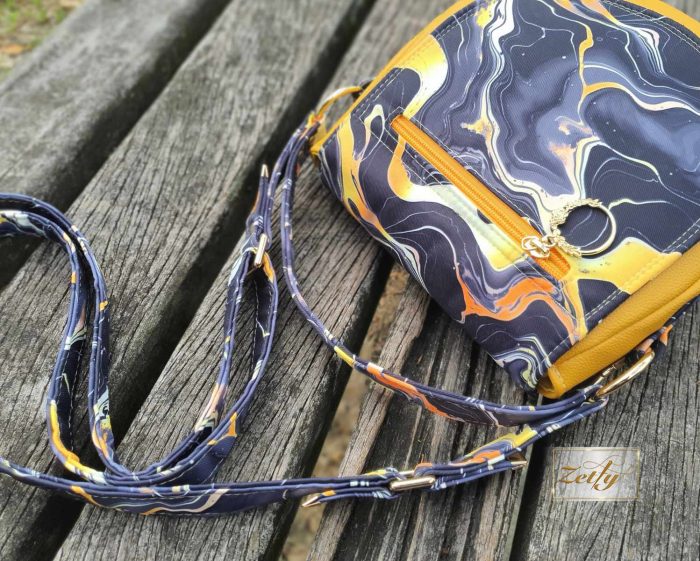
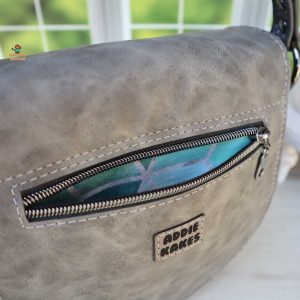
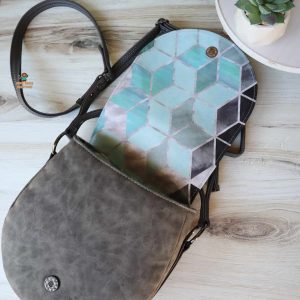
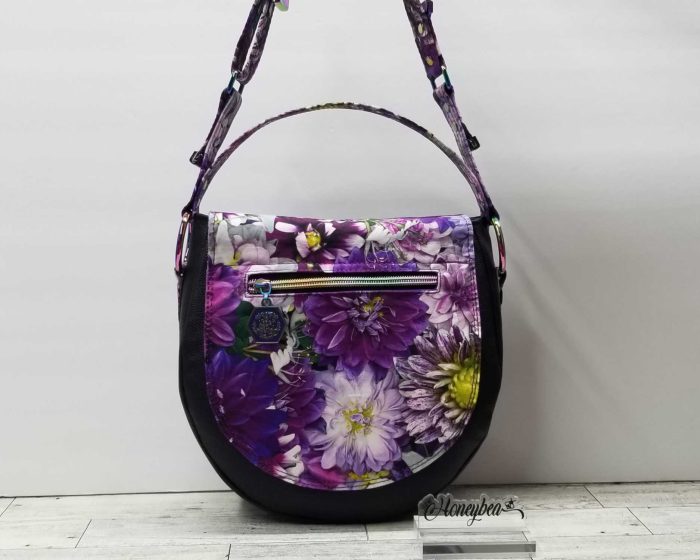
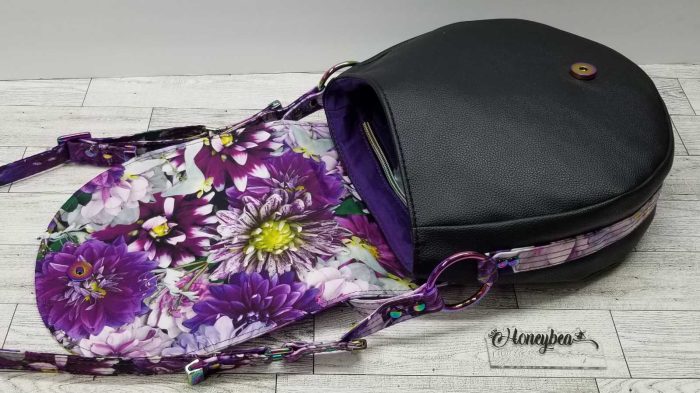
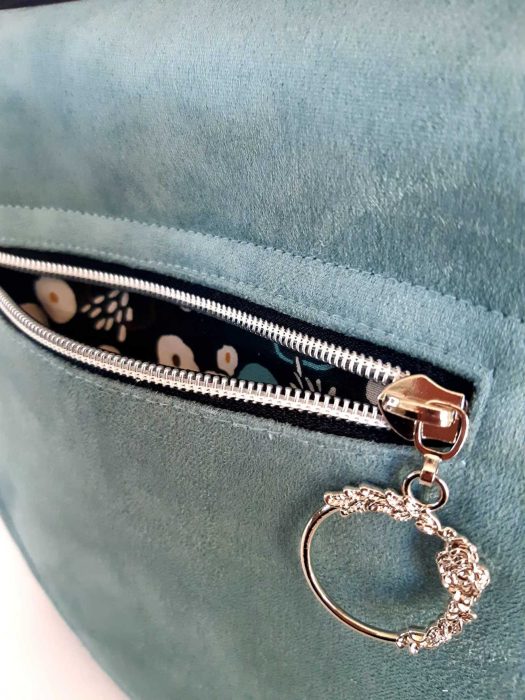
I wanted to have a pocket on the back of the bag but I also liked the idea of a double flap style so I decided to have the flap sewn in on the back so it’s the same shape as the front of the bag but features a zip pocket.
WHAT LEVEL OF SEWING SKILL DO YOU NEED TO MAKE THIS BAG?
This is an intermediate sewing pattern so it’s not going to be as easy as our beginner patterns. However, we walk you through every step of the process. The real challenge to this bag is the curves, and the final topstitch. If you’ve done both of those things before, you’re no going to struggle. And if you haven’t, maybe it’s time to give it a try?
For more in-depth tips, you can also watch the video tutorial.
If you’d prefer to try an beginner pattern, why not try out our Teloujay 1 pattern?
WHAT FEATURES DOES THIS BAG HAVE?
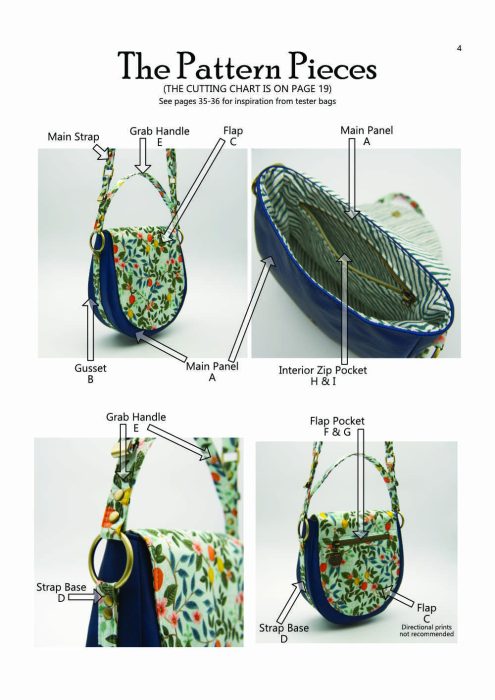
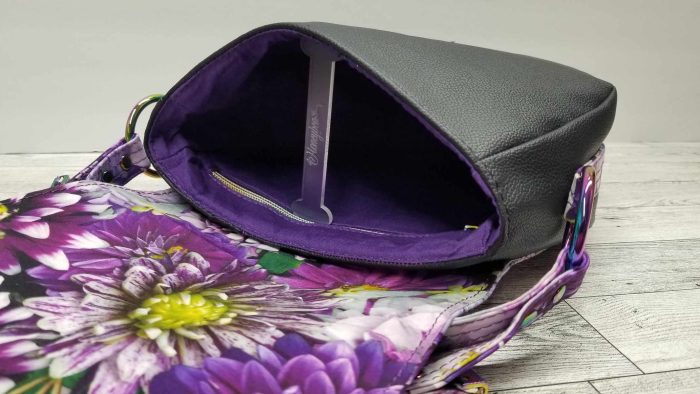
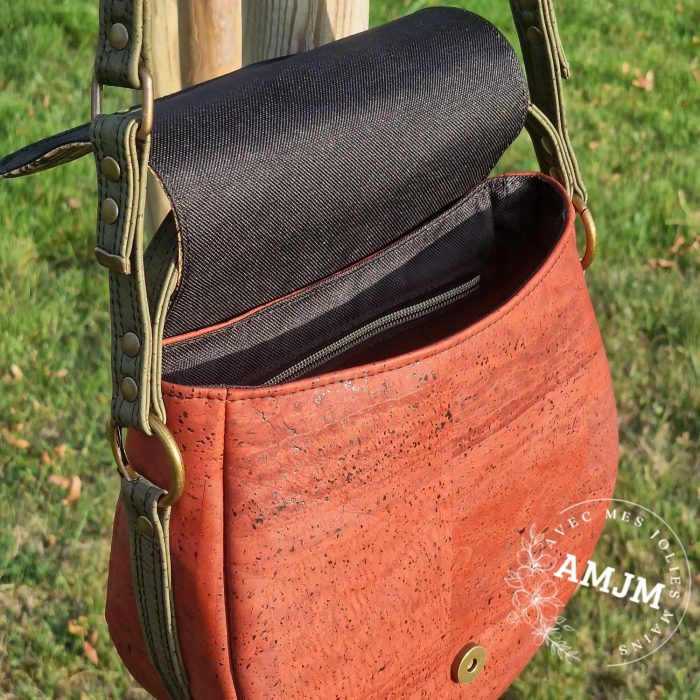
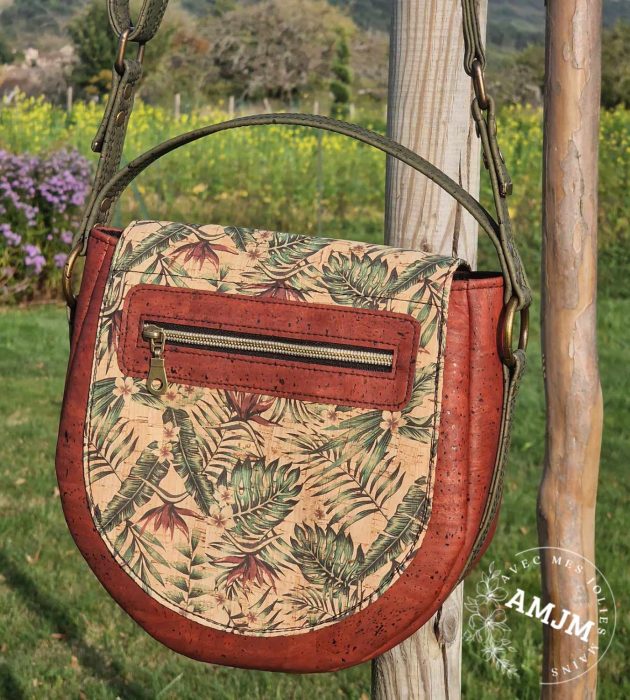
- 1 Exterior zip pocket
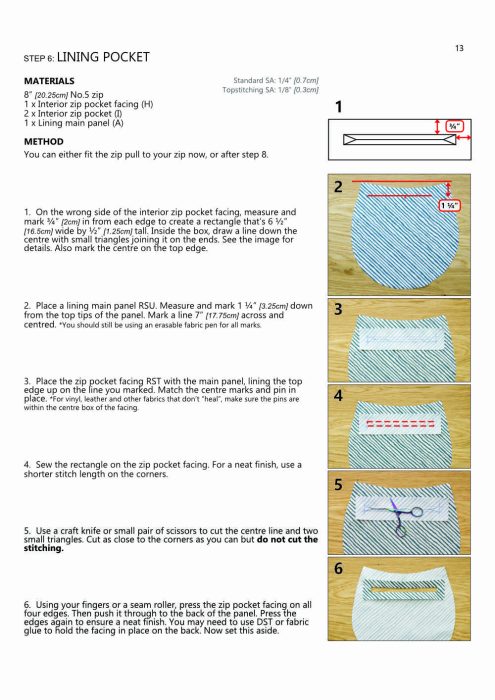
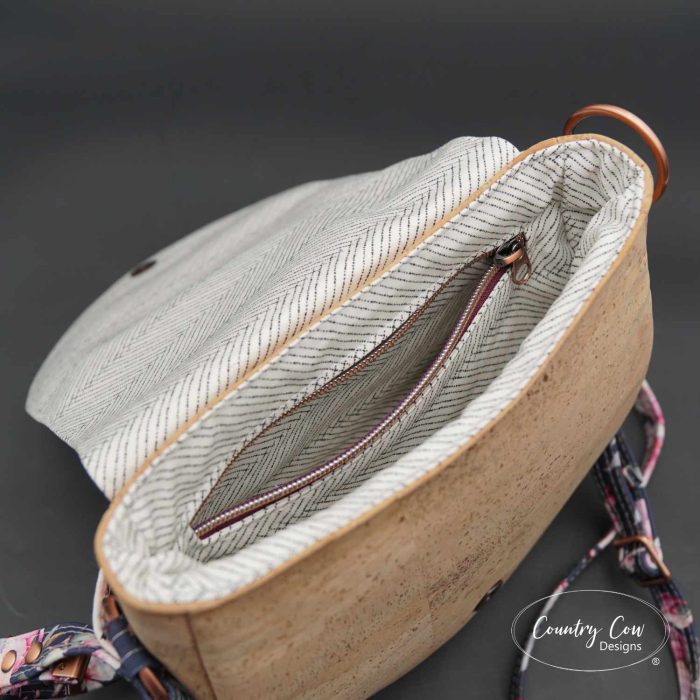
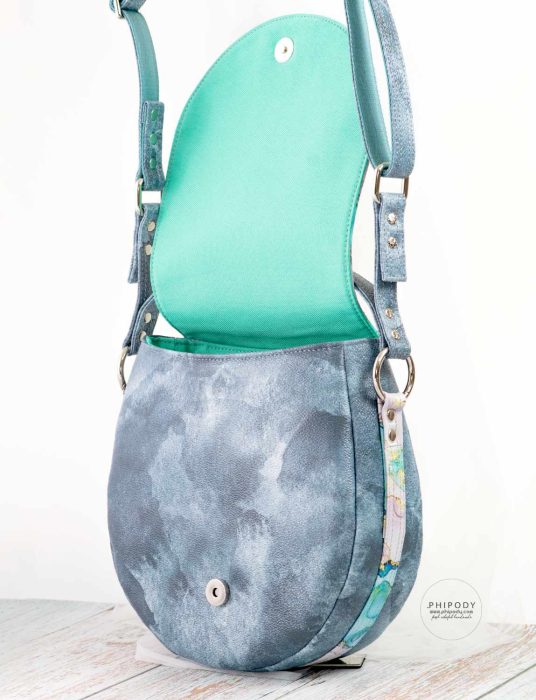
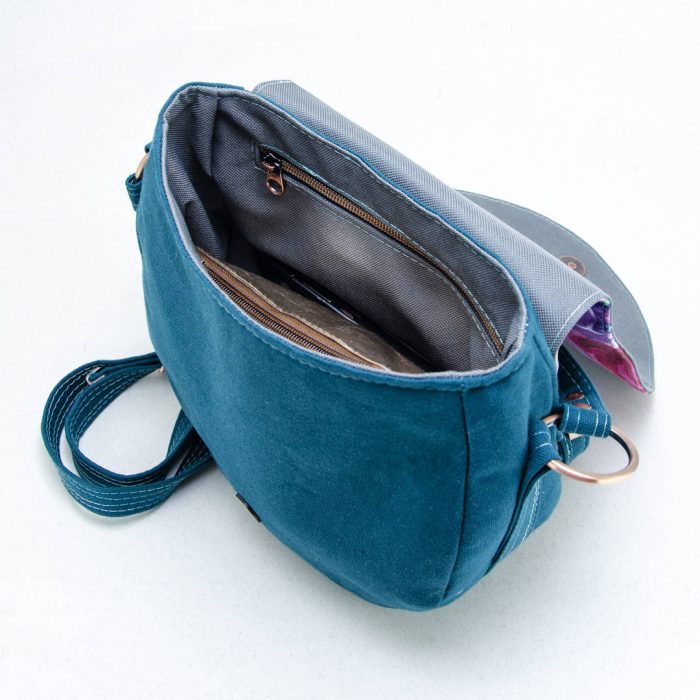
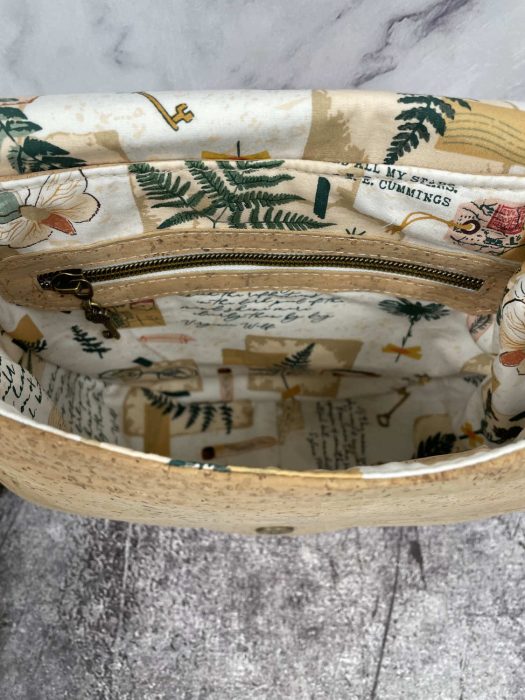
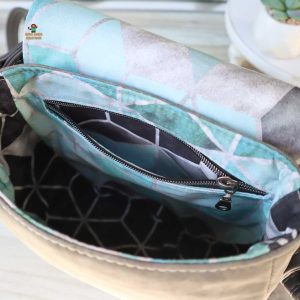
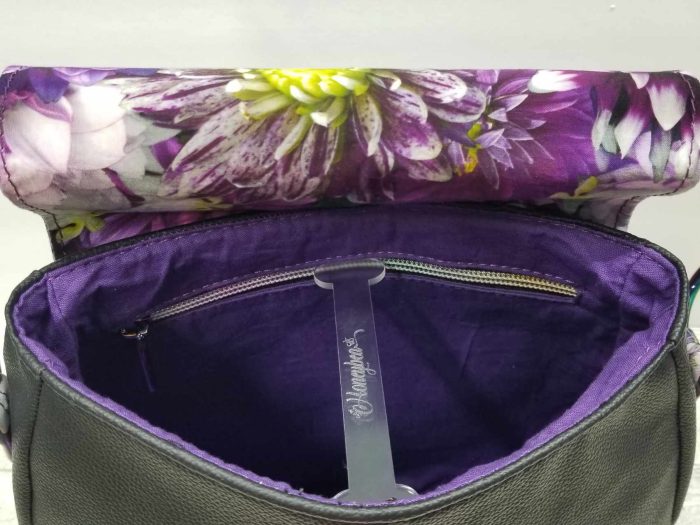
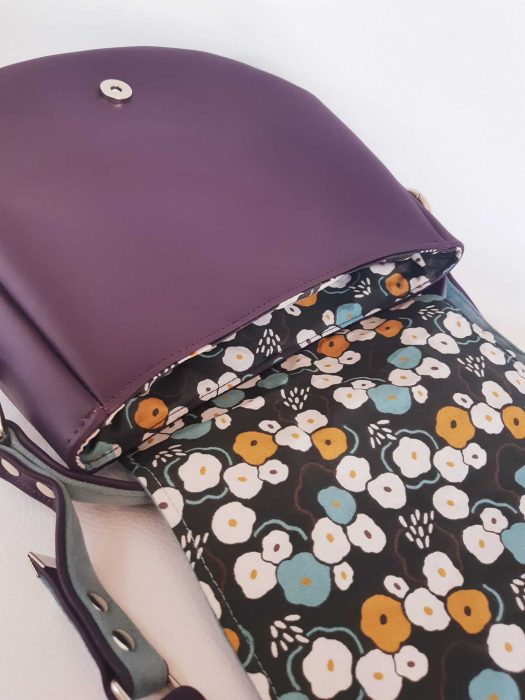
- 1 Interior zip pocket
- Flap closure
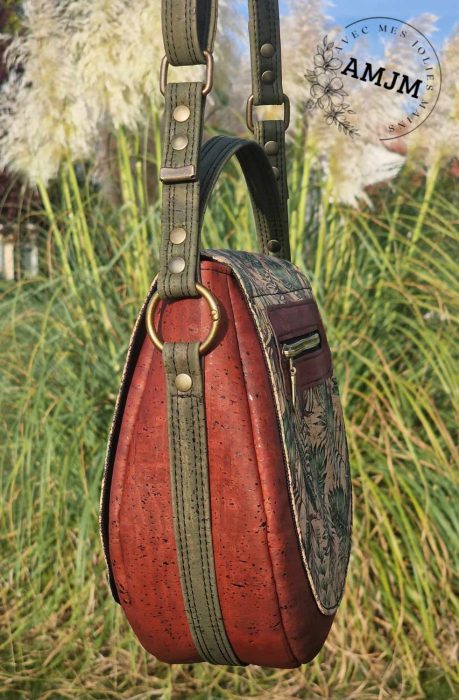
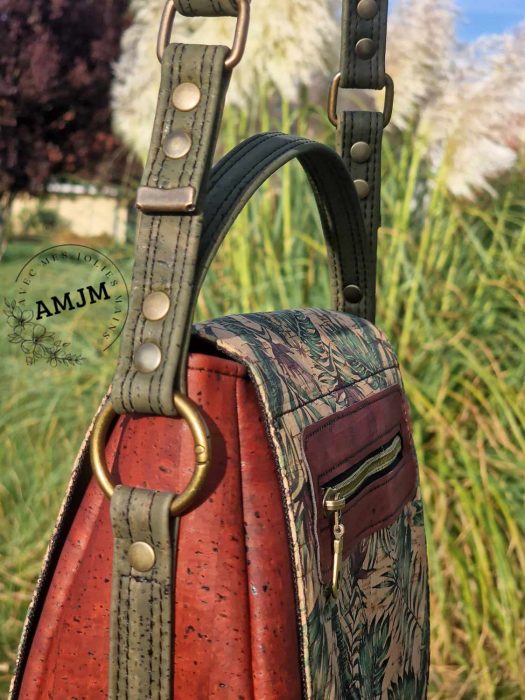
- Grab handle
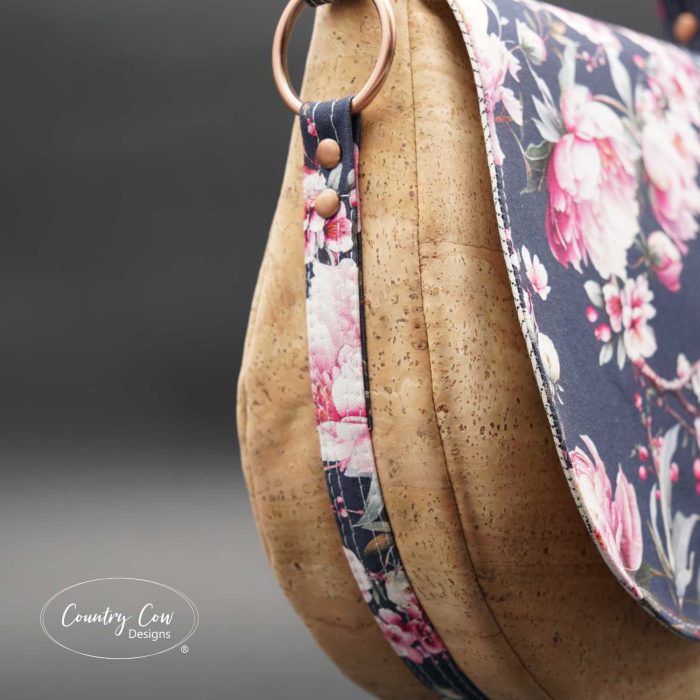
- Adjustable crossbody strap
MY TOP TIPS FOR SEWING THIS BAG
My top tips are:
- Take your time on the curves. If you struggle sewing curves, consider hand basting the panels together before sewing them. Your hand stitching does not need to be neat at all, just big messy stitches that will ensure it doesn’t move around when you’re sewing.
- When creating the flap, use a zip foot as mentioned in the pattern. The stabiliser will guide the presser foot and give you a great result on those curves.
- Shorter stitch lengths makes it easier to sew curves
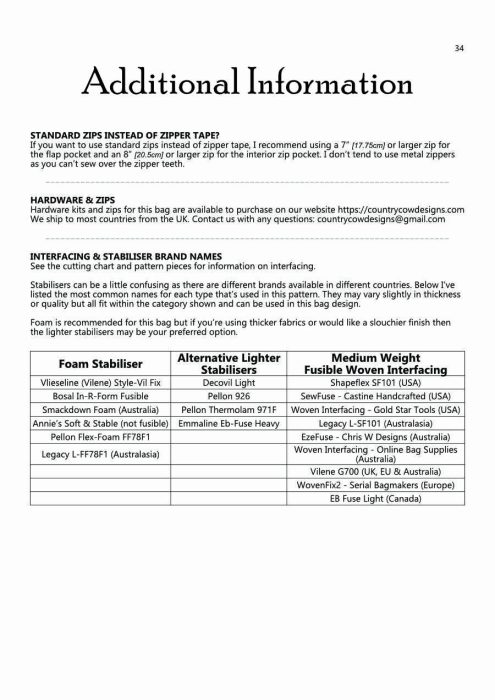
INTERFACING & STABILISERS
Follow the recommendations in the pattern for the best results.
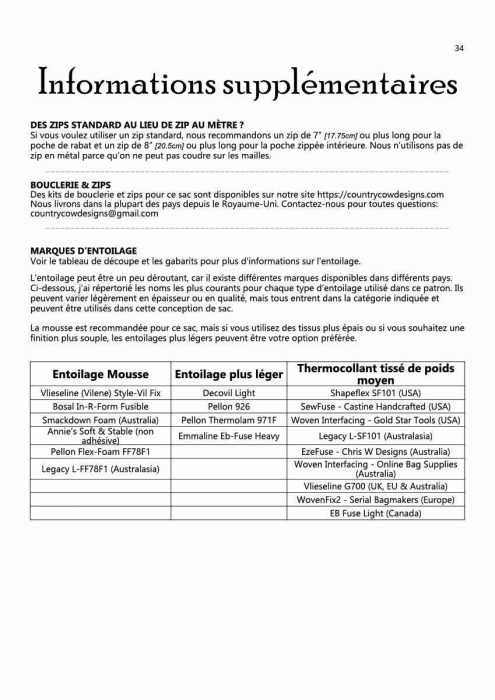
We fuse medium weight woven interfacing to all cotton or light canvas pieces of fabric.
For the main body of the bag we use fusible foam so the stabiliser is kept out of the seams, but is sturdy enough to give the bag body, even when it’s empty.
For the flap we use Decovil Light as foam will make it look a little too bulky.
WHAT DID THE PATTERN TESTERS THINK OF OUR NEW SEWING PATTERN?
“The pattern was sounding great. There was no hardship at all! Way to go Jo! The explanations were very clear too.” – Sophie, Sophies Studio & Co
“I loved making this one!! The pattern is very well explained and the rendition is superb. I think this is a pattern that should be very successful!” – Virginie, Atelier Ophéa
“This bag pattern is so darn gorgeous and trendy.” – Nancy, Lakeside Saks
“I love the strap detail! Super cute bag!” -Andrea, Addie Kakes Kreations
“People are going to have so much fun with this bag!” – Laura, The Nesting Birdie
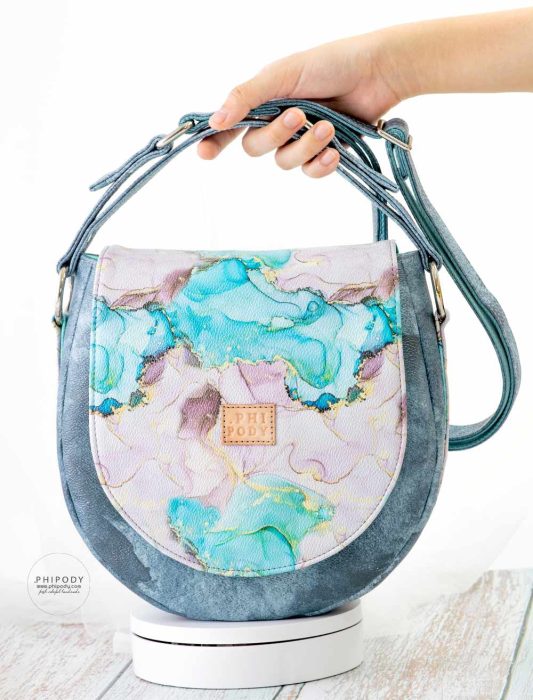
“I must say it’s another fantastic design that I absolutely adore!” – Chera, Phipody
CLEAR STEP BY STEP INSTRUCTIONS
You want to start a sewing project with confidence, feeling certain about each step. That’s what we strive to do with our sewing patterns.
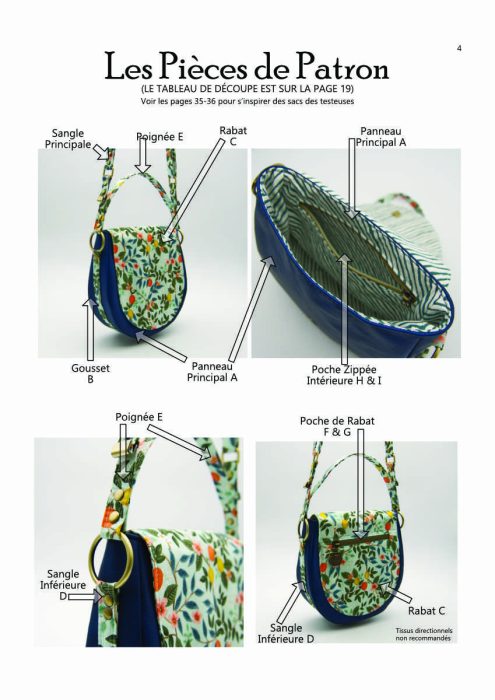
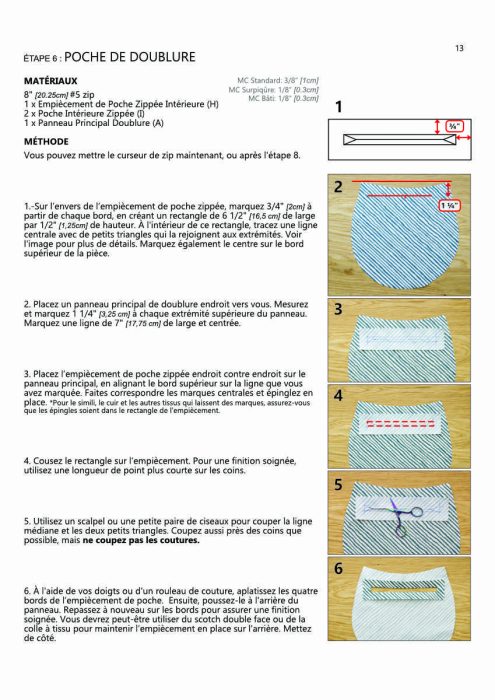
As with all our patterns, we’ve included step by step photo instructions that should leave you feeling completely confident throughout the bag making process. We’ve also included bag layout photos to help you identify every pattern piece. This will help you co-ordinate your fabric choices before you begin. And of course, there’s an additional information page at the end of the pattern in case you’re unsure about stabilisers and interfacing that will work for this bag.
THERE’S A VIDEO TUTORIAL INCLUDED TOO
If you don’t enjoy learning by reading, don’t worry. There’s a full video tutorial included!
In the video, I cover every step of the pattern and provide some additional tips that we couldn’t squeeze into the written pattern. The video is split into chapters for each step of the pattern. Click a timestamp in the video description to jump to the section you need.
OTHER FEATURES
- Imperial and metric measurements
- Provided in both A4 paper and letter paper sizes to ensure a smooth printing experience wherever you live in the world
- A0 pattern pieces if you prefer to use a projector or get your pattern pieces printed by a print shop
- SVG files for those using cutting machines such as Cricut or Cameo
- Available in English or French
We’re confident you’re going to love this pattern and pick up some new techniques to use in your future makes.
Grab a copy of the pattern to get started. Leave a comment below to let us know what you like about this bag pattern, or anything you’d like us to consider changing/adding for future patterns. We hope you enjoy making it as much as we have!
Jo & Adam
TESTER PHOTOS TO INSPIRE YOU
MADE BY AMY, BEDHOGSHOP
Amy added a zip pocket overlay on the interior (not included in the pattern instructions)
MADE BY RUTH, PARADISE SHACK
MADE BY NANCY, LAKESIDE SAKS
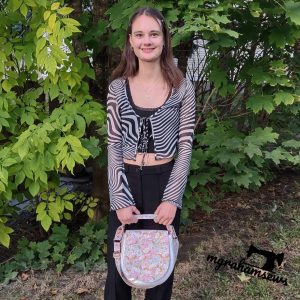
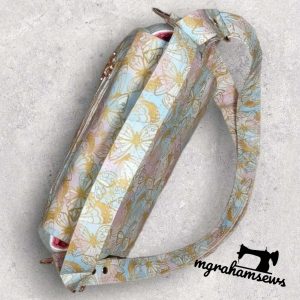
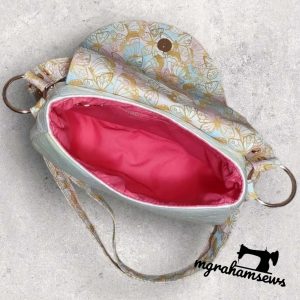
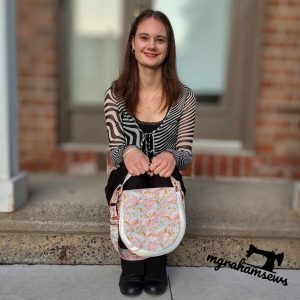
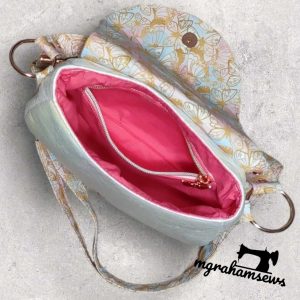
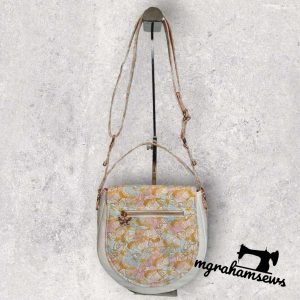
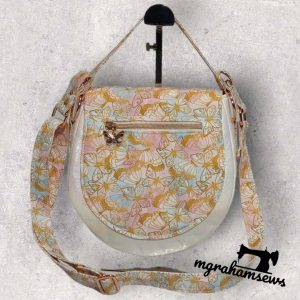
MADE BY MICHELLE, M GRAHAM SEWS
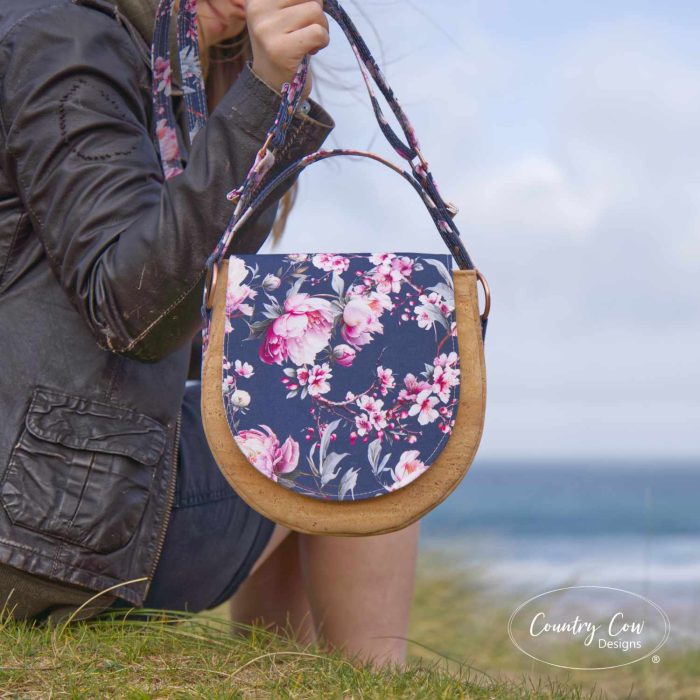
MADE BY JO, COUNTRY COW DESIGNS
MADE BY ADAM, COUNTRY COW DESIGNS
Adam changed the grab handle for a full leather one
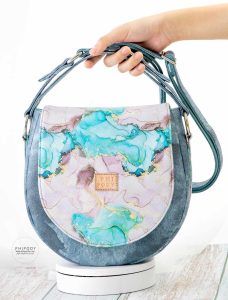
MADE BY CHERA, PHIPODY
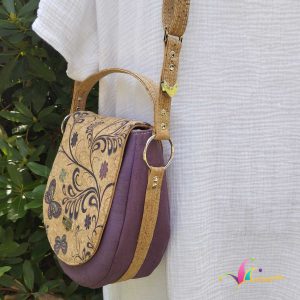
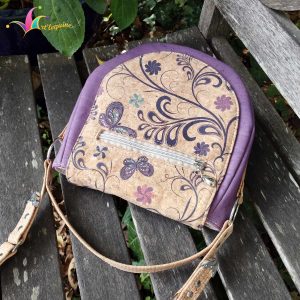
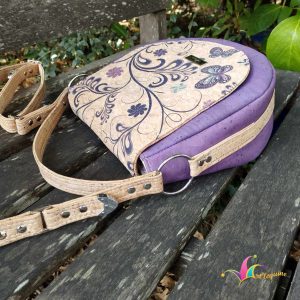
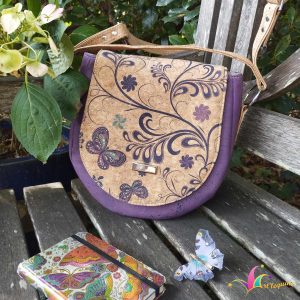
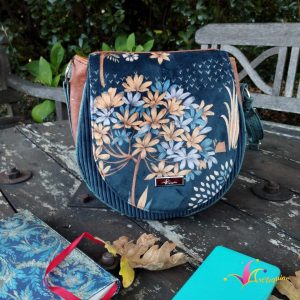
MADE BY SANDRINE, ART’ LEQUINE
For the blue one, Sandrine printed it at a smaller size, added piping and an overlay to the exterior zip pocket (instructions for these changes are not included in the pattern instructions)
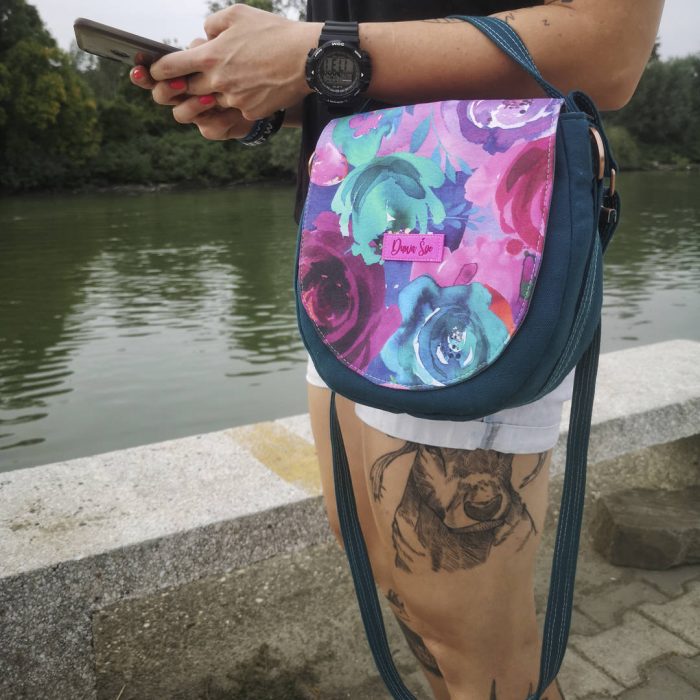
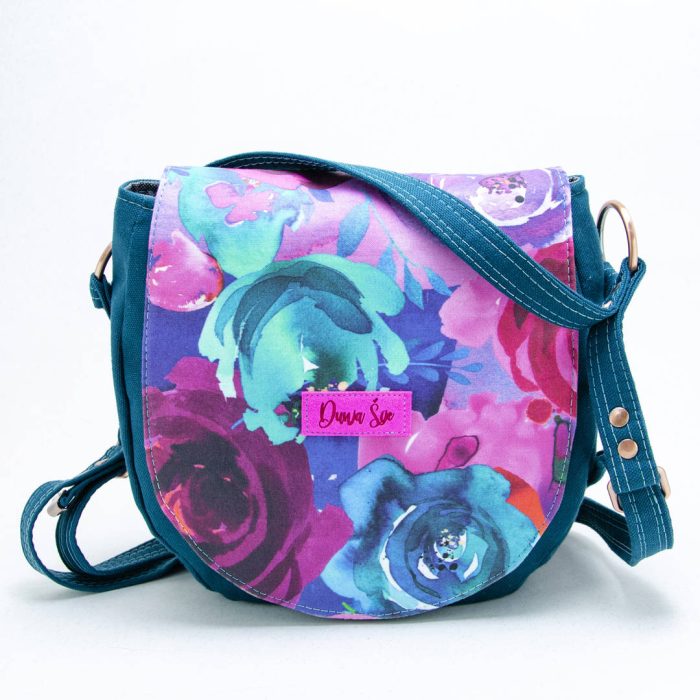
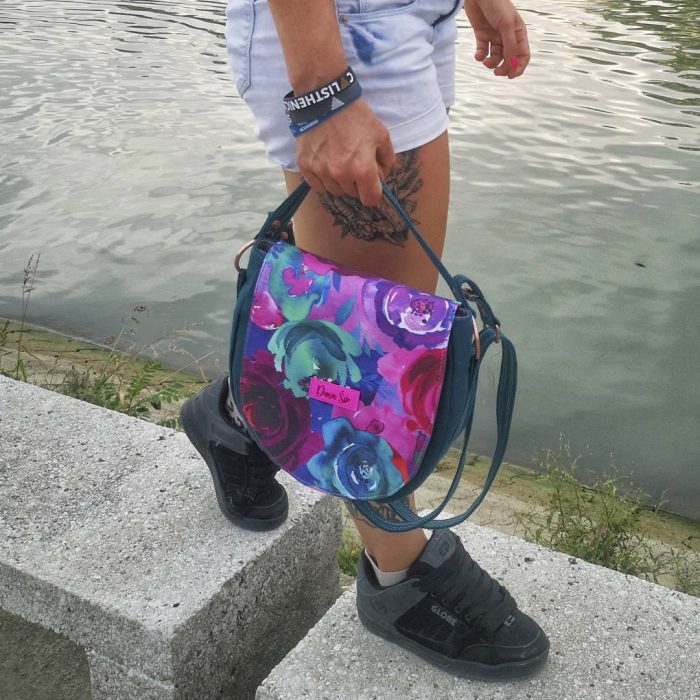
MADE BY DUNJA V
MADE BY LAURA, THE NESTING BIRDIE
Laura added a zip pocket overlay on the interior (not included in the pattern instructions)
Made by Jo, Country Cow Designs
Used a one directional fabric and added a leather overlay to cover the seam on top of the flap. Instructions not provided in the pattern
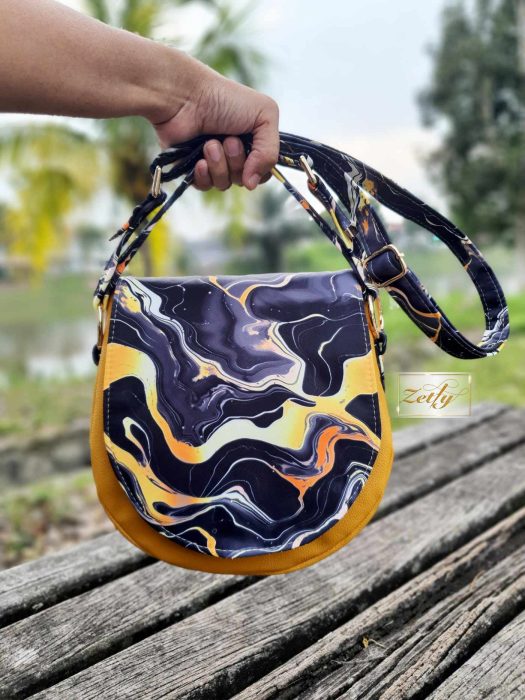
made by Zetty, Frety Homecraft
made by Andrea, Addie Kakes Kreations
made by Bea, Sew Honey Bea
made by Barbara, Bee Dee Swiss Made
made by Virginie, Atelier Ophéa
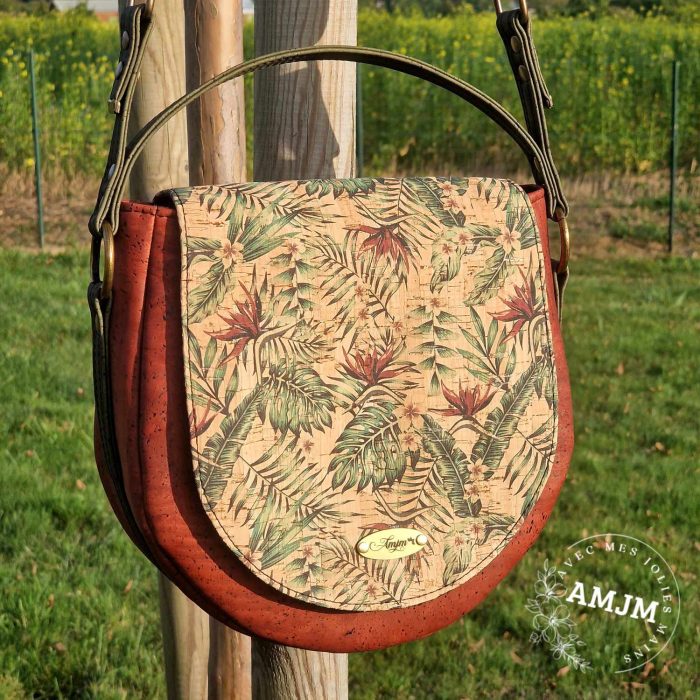
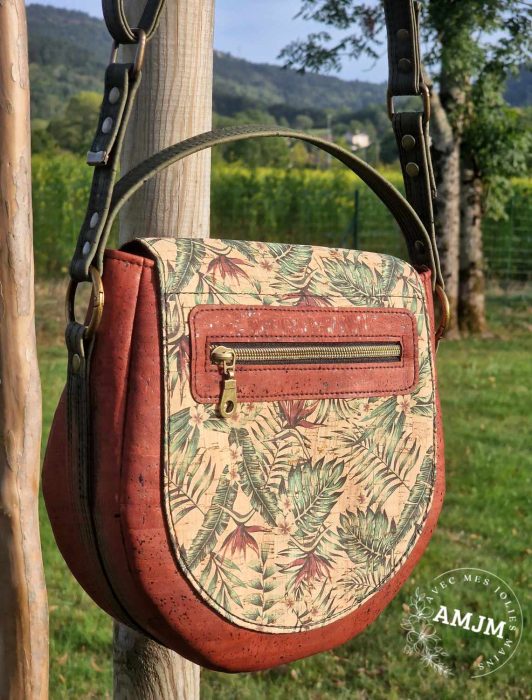
made by Magalie, AMJM
made by Sophie, Sophie’s Studio & Co
SAC BANDOULIÈRE MERIDIAS – UN NOUVEAU PATRON
Écrit par Jo Kay (Country Cow Designs) le 6 octobre 2023. Publié dans Blog.
Êtes-vous à la recherche d’un joli patron de couture de sac bandoulière ? Ne cherchez pas plus loin que notre NOUVEAU sac bandoulière Meridias.
Faites défiler la page pour voir les incroyables photos des testeuses et trouver de l’inspiration avant de créer votre propre sac !
ACHETEZ LE PATRON DE COUTURE ICI
QUELLE EST LA PARTICULARITÉ DE CE PATRON ?
Cette forme est différente de notre style habituel. Nous avons vu quelques modèles de sacs en demi-cercle, mais nous voulions faire quelque chose de différent. Adam a décidé qu’il avait besoin d’une poignée, mais il ne voulait pas qu’elle soit cousue sur le rabat comme on le voit habituellement sur ce style de sac. La spécialité d’Adam est dans les sangles uniques, alors il a eu cette idée !
Je voulais avoir une poche à l’arrière du sac, mais j’aimais aussi l’idée d’un style à double rabat, alors j’ai décidé d’avoir le rabat cousu à l’arrière pour qu’il ait la même forme que le devant du sac mais dispose d’une poche zippée.

DE QUEL NIVEAU DE COUTURE AVEZ-VOUS BESOIN POUR RÉALISER CE SAC ?
Il s’agit d’un patron de couture intermédiaire, donc ce ne sera pas aussi facile que nos patrons pour débutants. Cependant, nous vous guidons à travers chaque étape du processus. Le véritable défi de ce sac est les courbes et la surpiqûre finale. Si vous avez déjà fait ces deux choses, vous n’allez pas lutter. Et si ce n’est pas le cas, il est peut-être temps d’essayer ?
Pour des conseils plus détaillés, vous pouvez également regarder le tutoriel vidéo en français et en anglais.
Si vous préférez essayer un modèle pour débutants, pourquoi ne pas essayer notre patron Teloujay 1 ? (en anglais)
QUELLES SONT LES CARACTÉRISTIQUES DE CE SAC ?
- 1 poche extérieure zippée
- 1 poche intérieure zippée
- Fermeture Rabat
- Poignée
- Sangle de bandoulière réglable
MES MEILLEURS CONSEILS POUR COUDRE CE SAC
Mes meilleurs conseils sont :
- Prenez votre temps sur les courbes. Si vous avez du mal à coudre des courbes, envisagez de bâtir les panneaux à la main avant de les coudre. Votre couture à la main n’a pas besoin d’être soignée du tout, juste de gros points qui garantiront que les panneaux ne bougent pas pendant la couture.
- Lors de la création du rabat, utilisez un pied-de-biche à zip comme mentionné dans le patron. L’entoilage guidera le pied-de-biche et vous donnera un excellent résultat sur ces courbes.
- Des longueurs de point plus courtes facilitent la couture des courbes

ENTOILAGE
Suivez les recommandations du patron pour obtenir de meilleurs résultats.
Nous entoilons toutes les pièces de coton ou toile fine avec un thermocollant tissé de poids moyen.
Pour le corps principal du sac, nous utilisons de la mousse thermocollante afin que l’entoilage soit en dehors des coutures, mais qu’il soit suffisamment robuste pour donner la structure au sac, même lorsqu’il est vide.
Pour le rabat, nous utilisons Decovil Light car la mousse le rendra un peu trop volumineux.

QU’ONT PENSÉ LES TESTEUSES DE NOTRE NOUVEAU PATRON ?
« Le patron est super. Il n’y avait aucune difficulté ! Bravo Jo ! Les explications étaient également très claires. » – Sophie, Sophie’s Studio & Co
« J’ai adoré faire celui-ci !! Le patron est très bien expliqué et le rendu est superbe. Je pense que c’est un modèle qui devrait avoir beaucoup de succès ! » – Virginie, Atelier Ophéa
« Ce modèle de sac est tellement magnifique et à la mode. » – Nancy, Lakeside Saks
« J’adore le détail de la poignée ! Sac super mignon ! » -Andrea, Addie Kakes Kreations
« Les gens vont tellement s’amuser avec ce sac ! » – Laura, The Nesting Birdie
« Je dois avouer que c’est un autre design fantastique que j’adore absolument ! » – Chera,Phipody

INSTRUCTIONS CLAIRES ÉTAPE PAR ÉTAPE
Vous voulez commencer un projet de couture avec confiance, en vous sentant confiant à chaque étape. C’est ce que nous nous efforçons de faire avec nos patrons de couture. Comme pour tous nos modèles, nous avons inclus des instructions photo étape par étape qui devraient vous laisser complètement confiant tout au long du processus de fabrication du sac. Nous avons également inclus des photos de disposition de sac pour vous aider à identifier chaque pièce du patron. Cela vous aidera à coordonner vos choix de tissus avant de commencer. Et bien sûr, il y a une page d’information supplémentaire à la fin du patron au cas où vous ne seriez pas sûr des entoilages qui fonctionneront pour ce sac.
IL Y A AUSSI UN TUTORIEL VIDÉO INCLUS
Si vous n’aimez pas apprendre en lisant, ne vous inquiétez pas. Il y a un tutoriel vidéo complet inclus en Français et un tutoriel vidéo complet inclus en Anglais !
Dans la vidéo, je couvre chaque étape du modèle et fournit quelques conseils supplémentaires que nous ne pouvions pas insérer dans le patron écrit. La vidéo est divisée en chapitres pour chaque étape du patron. Cliquez sur les temps dans la description de la vidéo pour accéder à la section dont vous avez besoin.
AUTRES CARACTÉRISTIQUES
- Mesures impériales et métriques
- Fourni dans les formats A4 et lettre pour assurer une expérience d’impression fluide où que vous viviez dans le monde
- Pièces de patron A0 si vous préférez utiliser un projecteur ou faire imprimer vos pièces de patron par une imprimerie
- Fichiers SVG pour ceux qui utilisent des machines de découpe telles que Cricut ou Cameo
- Disponible en anglais ou en français
Nous sommes convaincus que vous allez adorer ce modèle et choisir de nouvelles techniques à utiliser dans vos futures créations.
Prenez une copie du patron pour commencer. Laissez un commentaire ci-dessous pour nous faire savoir ce que vous aimez dans ce patron de sac, ou tout ce que vous aimeriez que nous envisagions de changer / ajouter pour les futurs patrons. Nous espérons que vous apprécierez d’en faire autant que nous !
Jo & Adam
