Welcome to our blog. Does your heart sink when you turn out your bag and see puckers on the curves? It kind of feels like you tripped on the final hurdle. Don’t be too hard on yourself though. Usually you’re the only one who’ll notice them. What are the best ways to avoid or reduce puckers on your next project? Here are my five top tips for sewing gusset curves: *This post includes Amazon affiliate links.
1. Sew accurate seam allowances
When you’re sewing the gusset together (the zip part to the base), make sure you use accurate seam allowances. If your seam is out by just 1/8″, it can make a big difference to the finished gusset. A slightly smaller or slightly larger gusset is going to make a difference to how it fits and can result in puckers!
2. Snip the gusset
Warning: this tip includes maths!
If you don’t snip into the gusset where it sits on the curves, it won’t fit. Why? Because when you sew a gusset onto the panel, you’re using a seam allowance. That means that the circumference you’re sewing is smaller than the circumference of the main panel, thus the gusset has to be smaller than the panel.
We don’t usually make the gusset the same size as the seam allowance circumference as it would be too tight to fit, but the accompanying image illustrates the problem. This is an extreme example as we don’t often sew bags that have an entirely circular gusset.
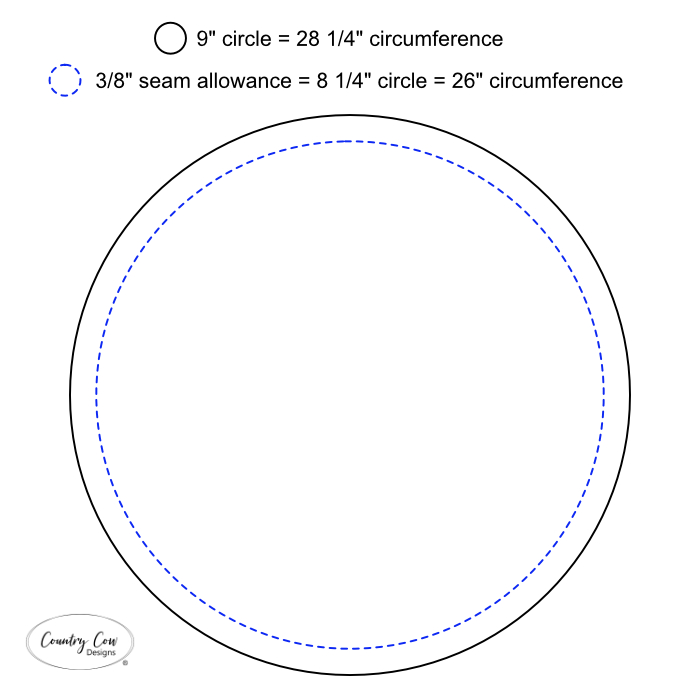
Because it’s smaller, it’s going to be impossible to fit without some snips. Snip in by 1/8″ less than your seam allowance, e.g. 1/4″ snips or a 3/8″ seam. This will allow you to ease the gusset around the curves and make it fit.
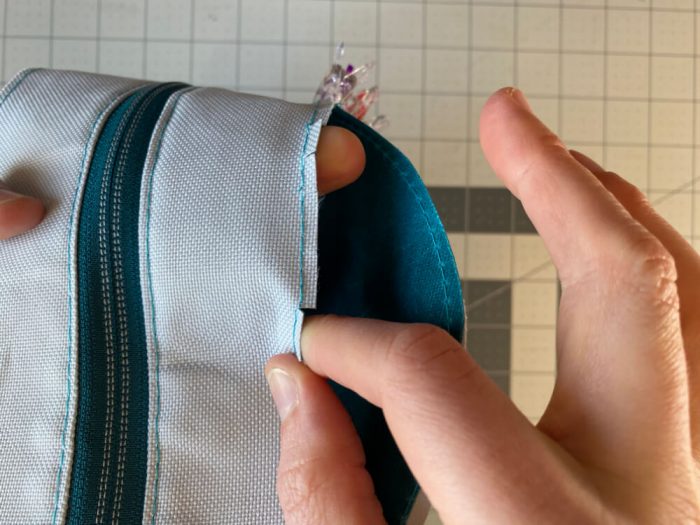
3. Secure the curves
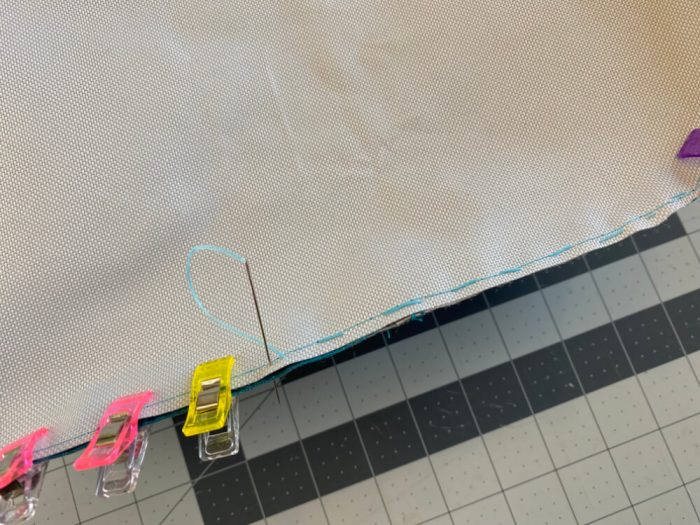
This step adds a little time but it’s worth it when sewing gusset curves! Once your gusset is clipped to the main panel, secure your curves. My preferred method for doing this is to hand baste it with big messy stitches inside the seam allowance. The benefit of stitches is they’ll stop anything from moving when you get to the machine and you can leave them in after you’re done! Another method is to use staples. These are quicker to add, but you need to make sure you avoid them with your needle and you’ll also need to remove them after.
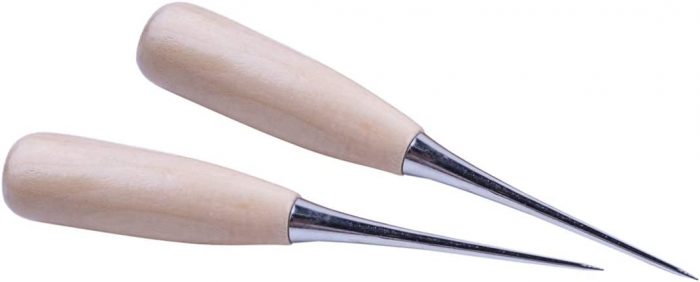
4. Take your time & use an awl
Patience is key to success! Take your time and you’re more likely to get it right first time (which saves time in the long run). Use an awl or stiletto to guide the fabric as it approaches the machine. This is much easier than trying to use your fingers. Just make sure it doesn’t get too close to your needle. Below is an example of the type of awl we use.
5. Practice makes IMPROVEMENT
Remember that none of us are perfect. But practice really does make or improvement. The more you sew gusset curves, the easier they get. So don’t give up yet.
Let us know in the comments if you have any tips to add. I hope you enjoyed this blog post.
lovely and informative as ever. bless. nice weekend!
Hi, thanks for the tips.
Before i sew curves, i take a minute to mark out my seam allowance around the cure…just a few dots so that i can see them through my presser foot. I always use my stiletto and sew s l o w l y lol. I have the wee punch for cutting into the curves in thicker fabrics or i use my pinking shears to trim on finer fabric. So far..so good🤞🤞
Great tips, thank you.
Great info as always. I too mark my seam allowance and then baste, which I learned from you when we did a sew along on the bowler bag or one of the others, can’t remember which but basting is great!!!
Sewing inside a curve is easier than outside. Likewise, allowing materials to naturally curve as one sews helps feed things evenly — don’t force a curved project flat while sewing, allow it to “take its shape” while being constructed. Totally agree with your tips and hope you like mine. Thanks for a lovely blogpost. Really enjoy your Channel, too.