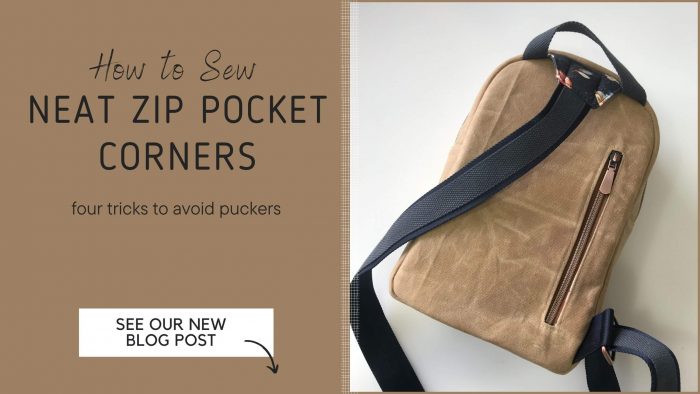
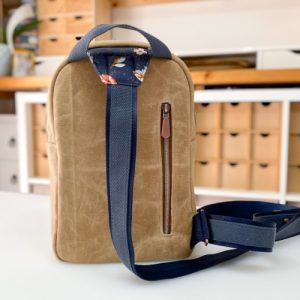
When I first started bag making, my zip pockets didn’t look great. They had big puckers and creases in the corners. It wasn’t for lack of trying. I’d spend ages working on them, but I still couldn’t make them look good. I was tempted to avoid zip pockets altogether but instead I decided to scour the internet and ask friends for advice. Here are four tricks I picked up along the way which should help you get neat corners first time! Please note this post contains affiliate links.
1. Reduce your stitch length on the corners
I don’t just mean a little bit, I mean a lot! I usually use a 2.5-3mm stitch length when I’m sewing the zip pocket facing, but when I approach the corners I go all the way down to a 1-1.5mm stitch length. Give it a try, it makes a big difference!
2. Use a craft knife to get closer to the corners when cutting the facing
To get neat corners, you need to cut as close as possible to the corners BUT you need to avoid snipping the stitches. The simplest way to do this is to use a craft knife with the sharp edge of the blade facing away from the stitching. This way you can get it right into the corner without cutting the stitches. Make sure your craft knife has a fresh blade in it so it cuts easily and neatly.
3. Press the seams before you push it through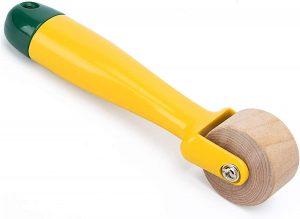
As soon as it’s sewn, press each edge of the facing on the seam. If your fabrics don’t like heat, use a seam roller instead. These little tools are so handy when you’re working with waterproof canvas or waxed canvas! Here’s an example of the seam roller we use. Be sure to press all four edges.
4. Press the seams again after you’ve pushed it through
Once you’ve pushed the pocket facing through the hole, press every edge of the seam again, rolling it between your fingers or using a seam roller. Don’t underestimate how big a difference this extra bit of time will make to the finished bag.
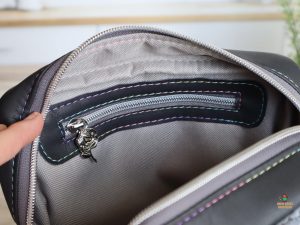
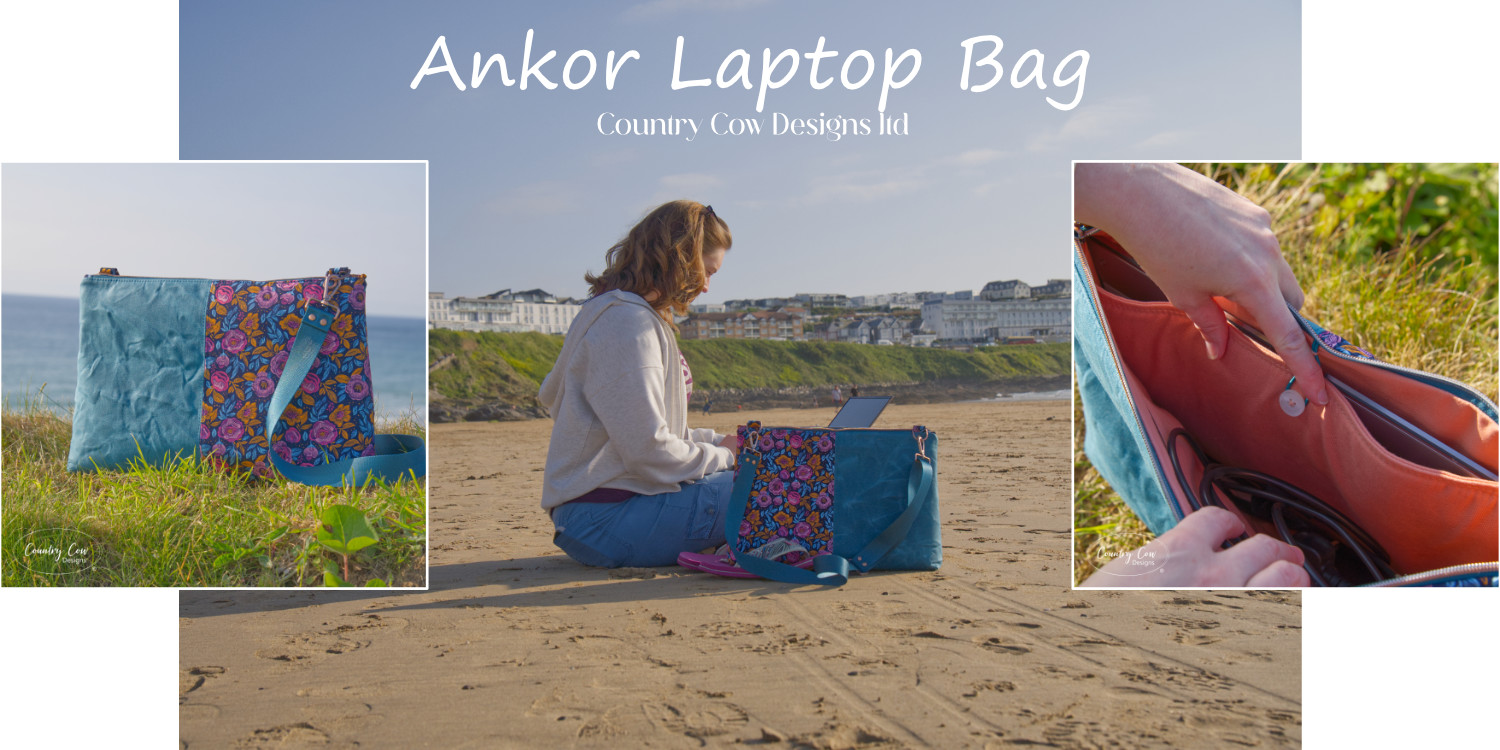
If you’re still struggling to get your corners looking neat, there’s another option. Use an overlay instead. For tips on how to do that, check out our Ojyma pattern. Below is an image courtesy of one of our Ojyma pattern testers, Addie Kakes, which shows a zip pocket overlay.
I hope you enjoyed this week’s blog post. Drop a comment below to let me know if this worked successfully for you, and as always, please leave a comment if you have helpful tips relating to this subject!
I only sew the long edges on the pocket facing, I find not having the ends sewn at all eliminates any puckering.
Thanks … I’m sewing zippers with a small stitch because you mentioned it a while back in a video. It has made all the difference.
Thanks good timing and good reminders!
I use a Bernina 880 plus
I am starting to get better at them sometimes. Yes it’s better when you take your time. Thanks Jo
I would never have thought of making my stitches smaller! It seems obvious now. Thank you for the advice!
I’m going to try the overlay method. I’ve tried the reduced stitch size with a craft knife and the two long edge lines but still have issues at times. I recently purchased a Juki DU1181 but still use my Singer Confidence it’s a love/hate relationship.